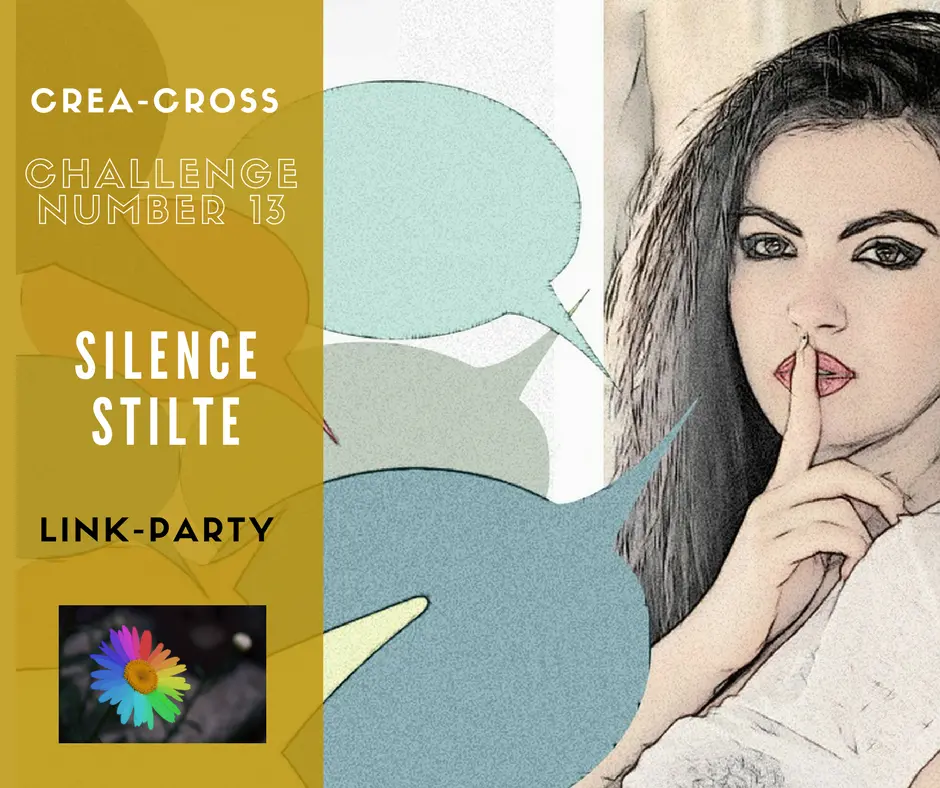
Busy bags cheap DIY activities – Crea-Cross
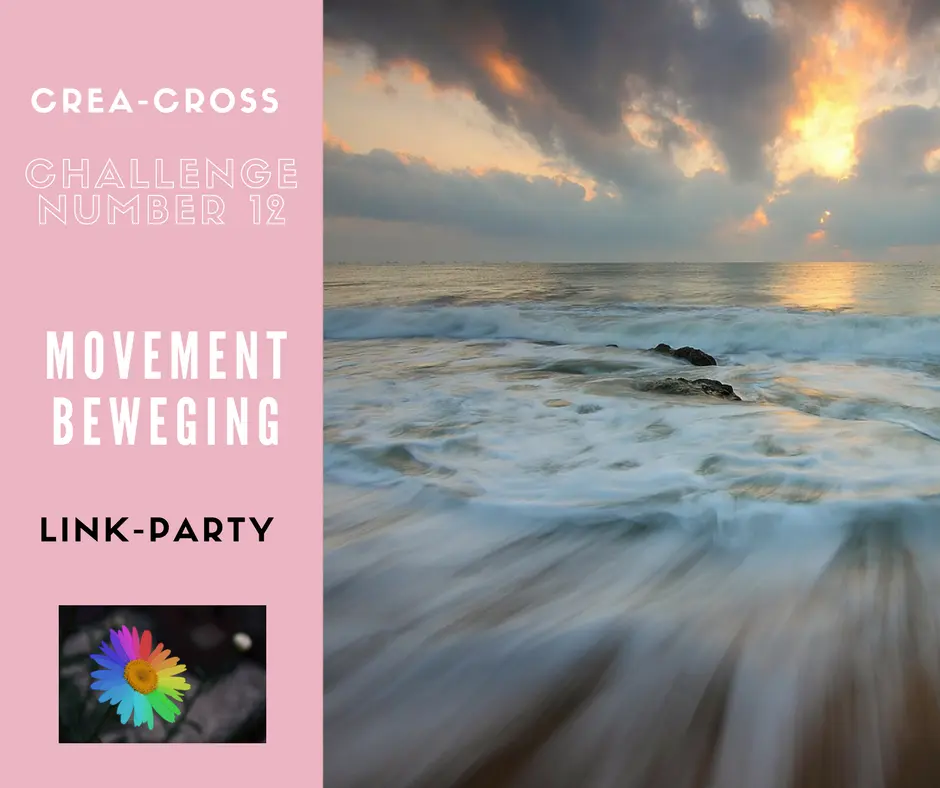
Week 13 of Crea-cross already… Maybe I should have know the number 13 wouldn’t work so well!
If you don’t know Crea-cross you can read about it on the crea-cross 2017 page above.
Co-host
This week Marije is my co-host. I’m so happy she took this difficult prompt and I’m curious to see what she did with it.
Silence
As I already said, I found this a difficult prompt. I wonder if I would have had this idea if the internet wouldn’t exist. But than again, I wouldn’t want to blog either.
I started googling and pinteresting and came accross great activities for children, put in a quiet bags or busy bags.
Activities they can do on their own, without any help and in silence… hear hear 😉
Because we mothers, do need some piece and quiet sometimes! 😉
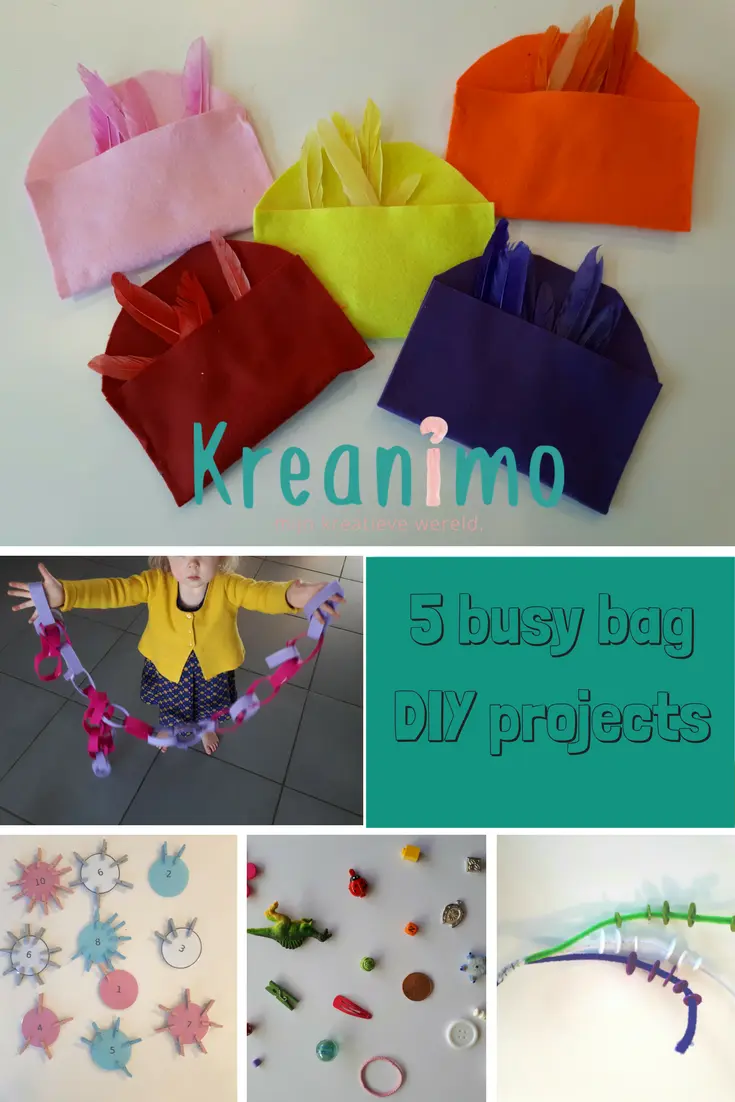
Busy bags diy
Colorful feathers in velt pockets.
 I bought colored feathers and felt in a local dollar shop and made pockets out of the felt. With some scissors and textile glue that’s easy peasy!
When finished this is a sorting activity!
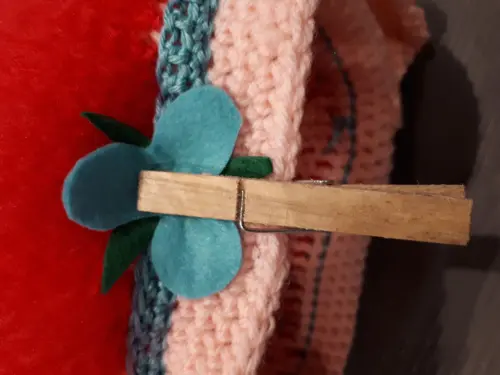
Counting with small clothes pins
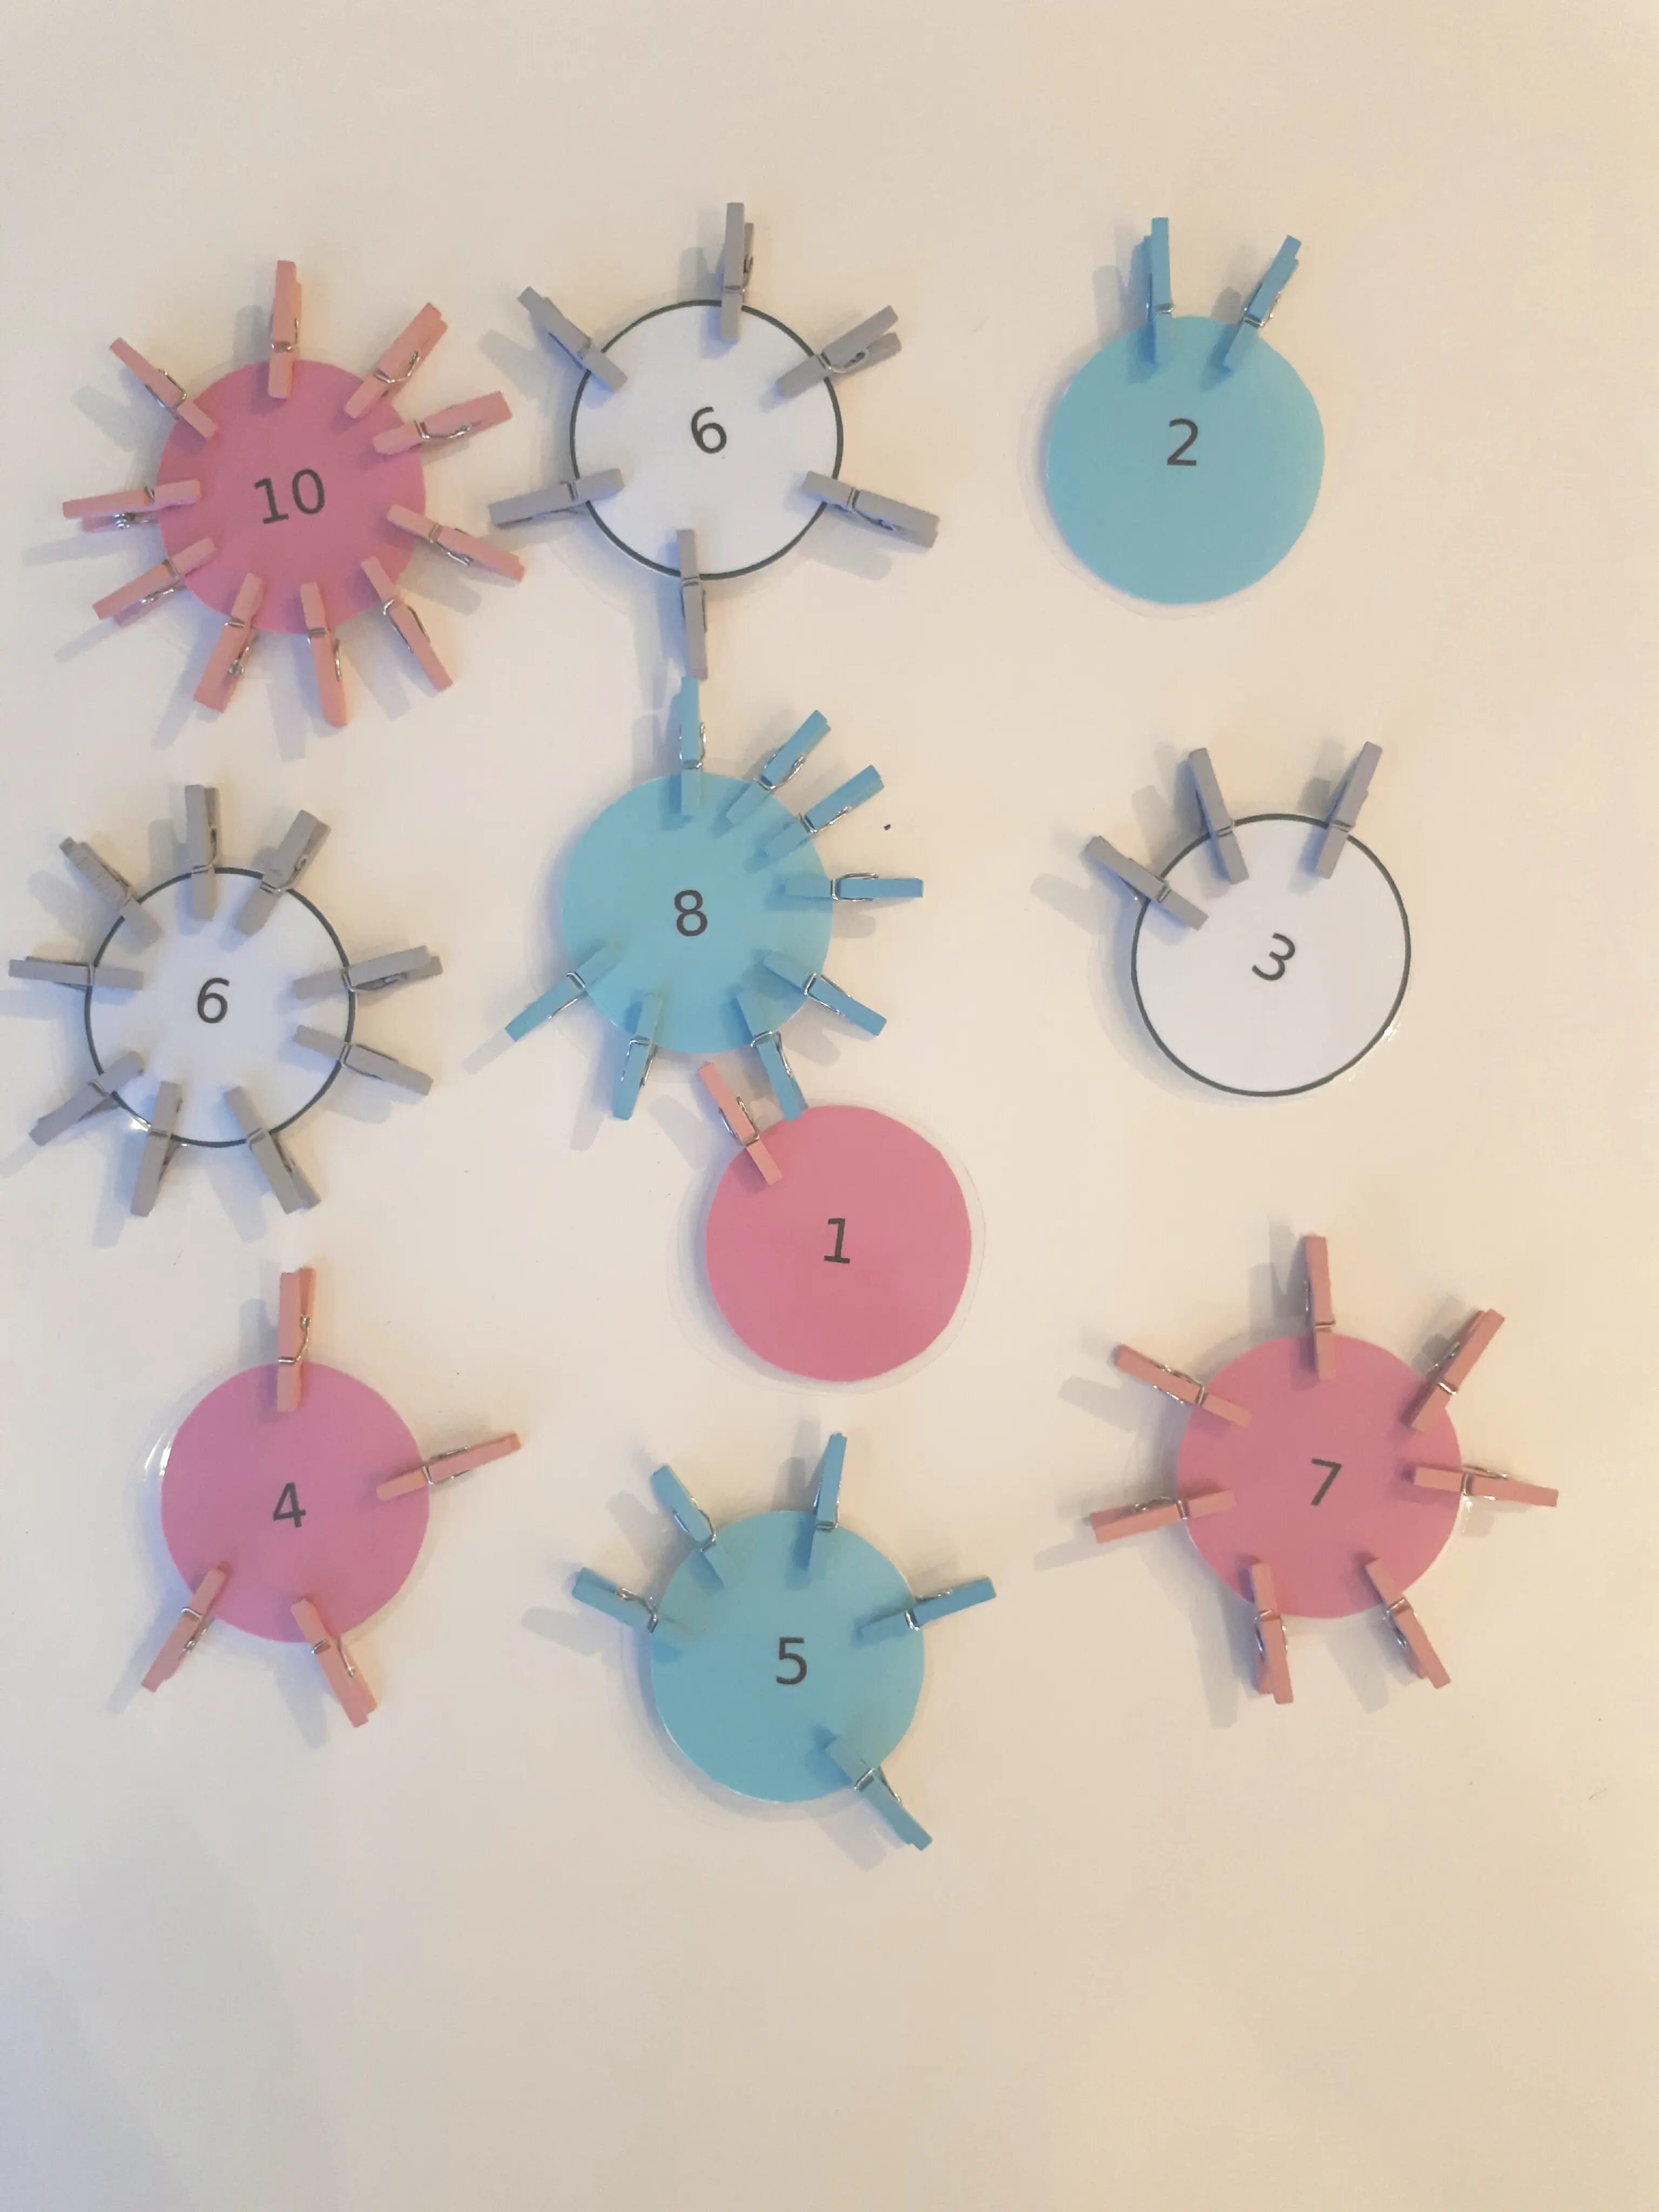
I found these lovey baby pink and baby blue clothes pins.
I drew some circles with numers on them on the computer and laminated the circles. This activity is for sorting and counting.
The number of pins and the color of the pins should be correct.
Smaller children can just sort by color.
Button sorting.
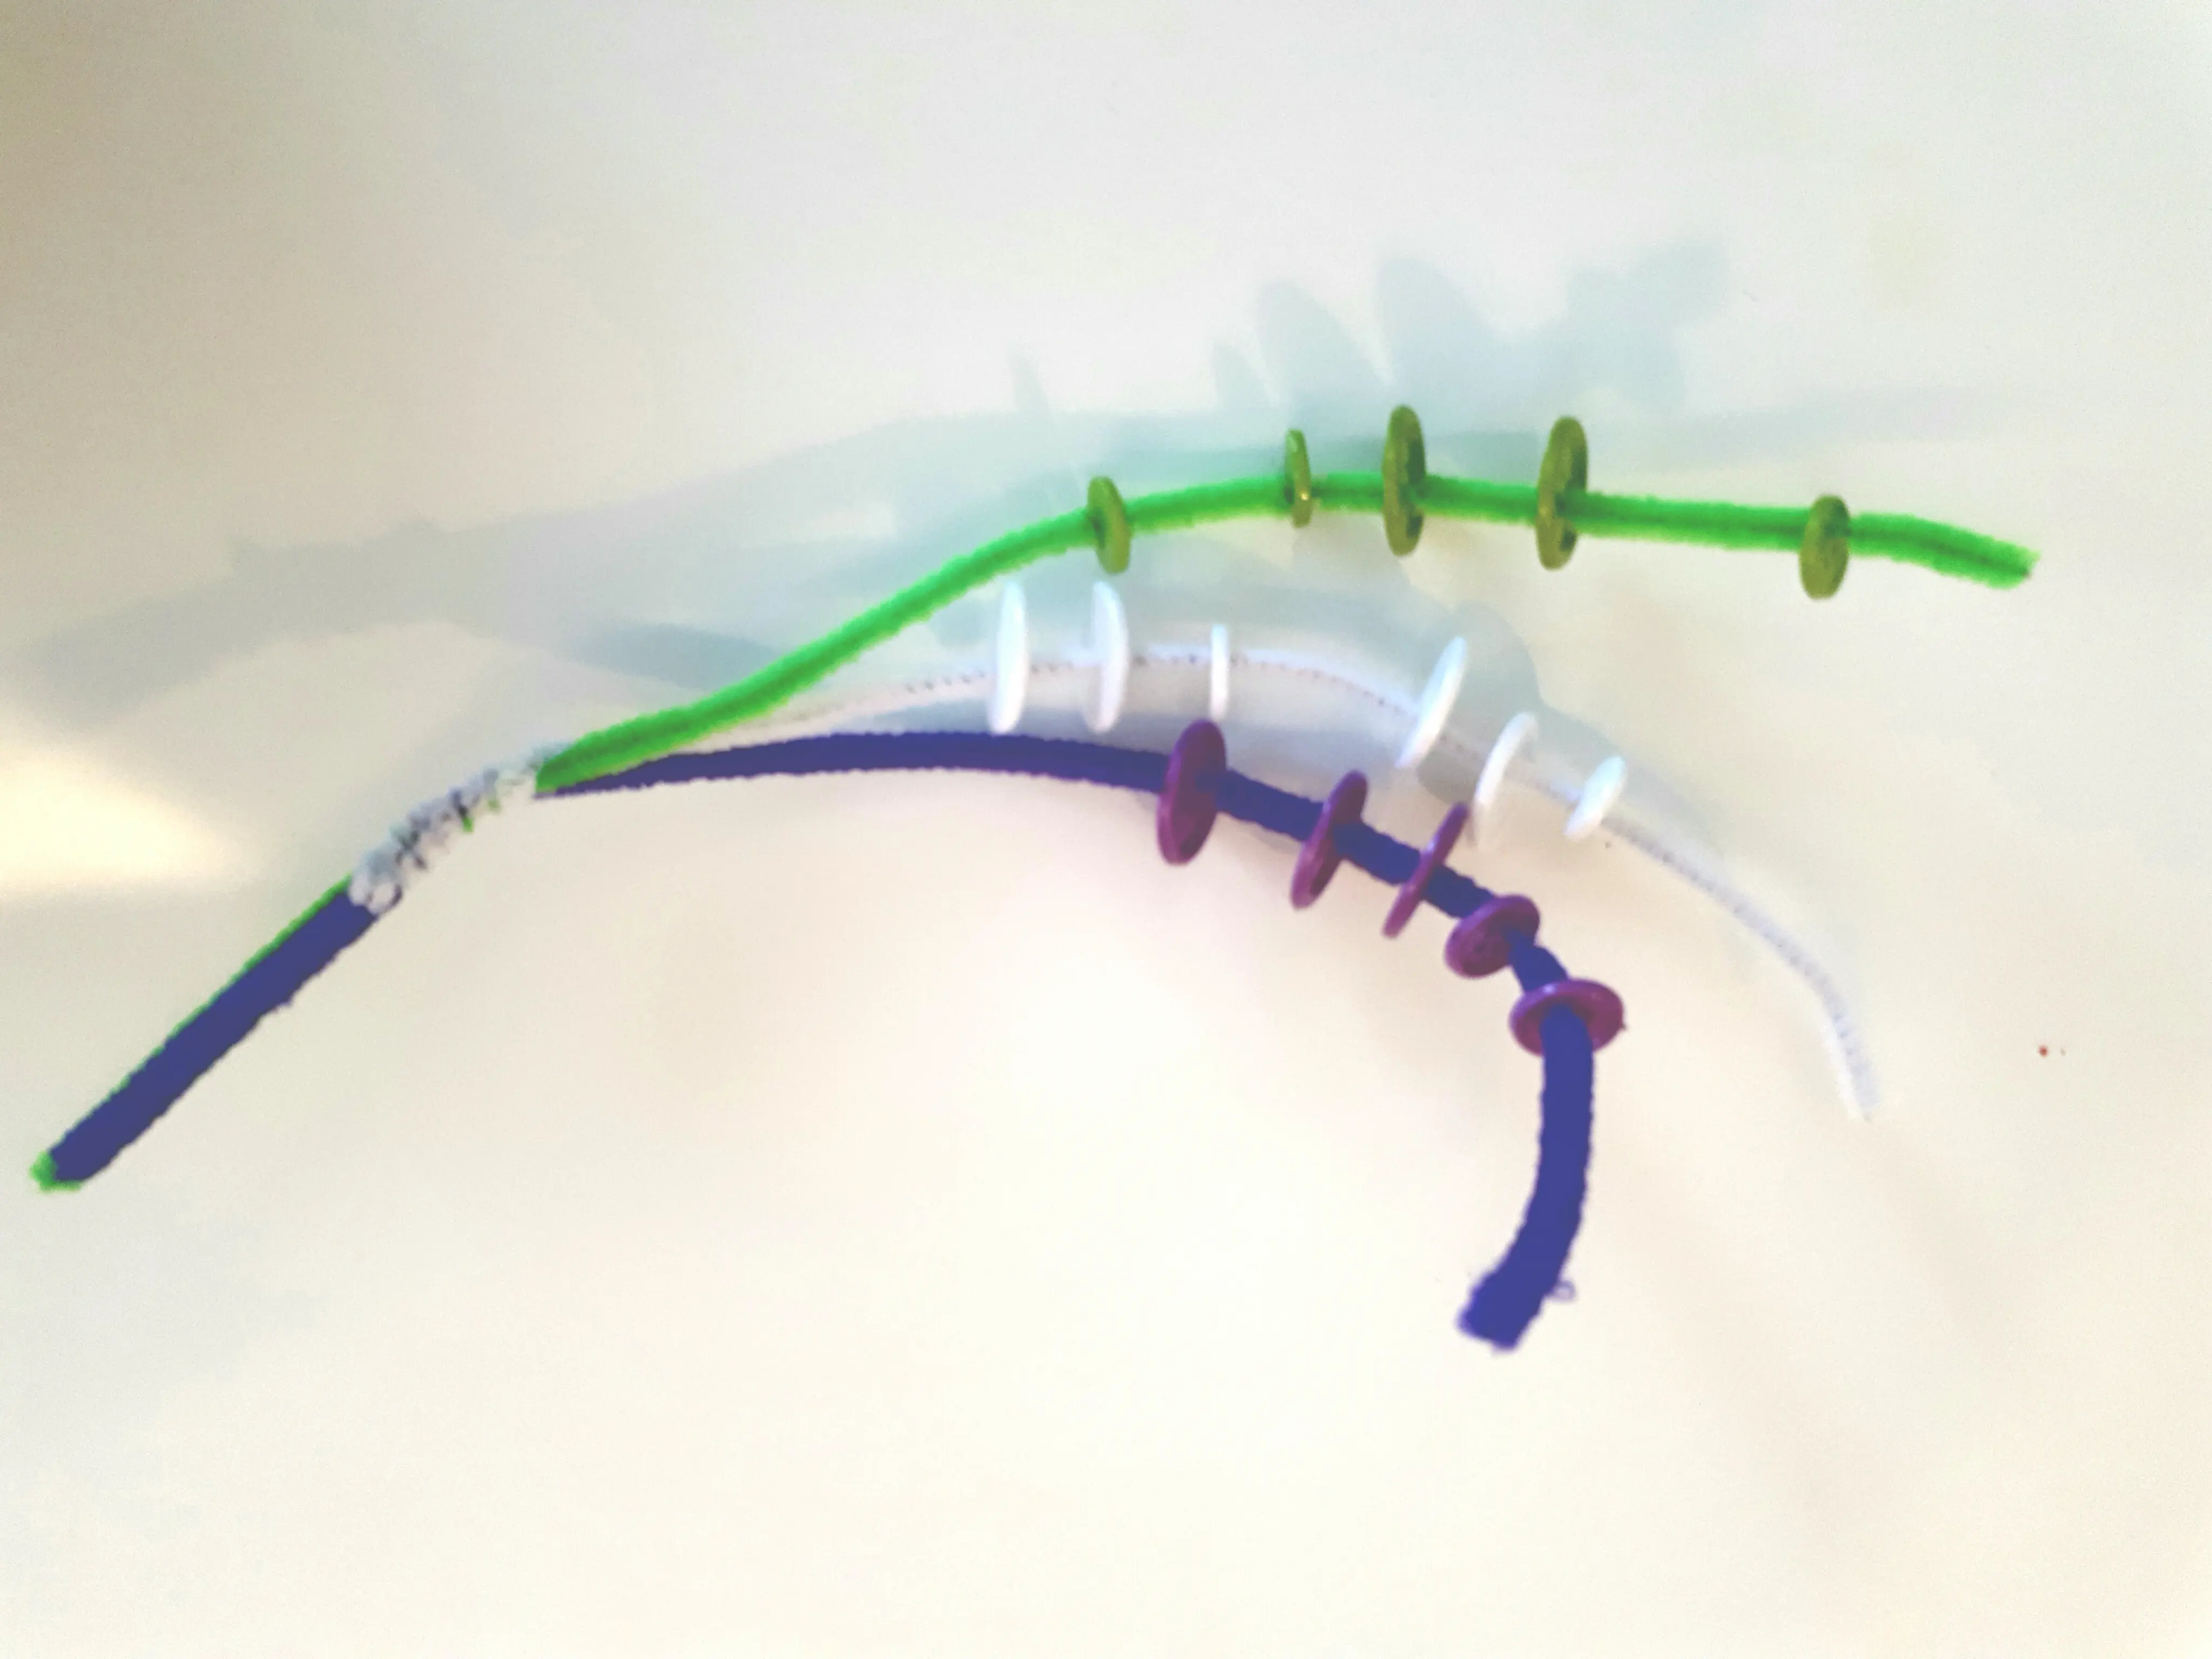 Using pipe cleaners and buttons in de same colors, I made a sorting branch.
Very easy and cheap an works like charm.
reusable garland
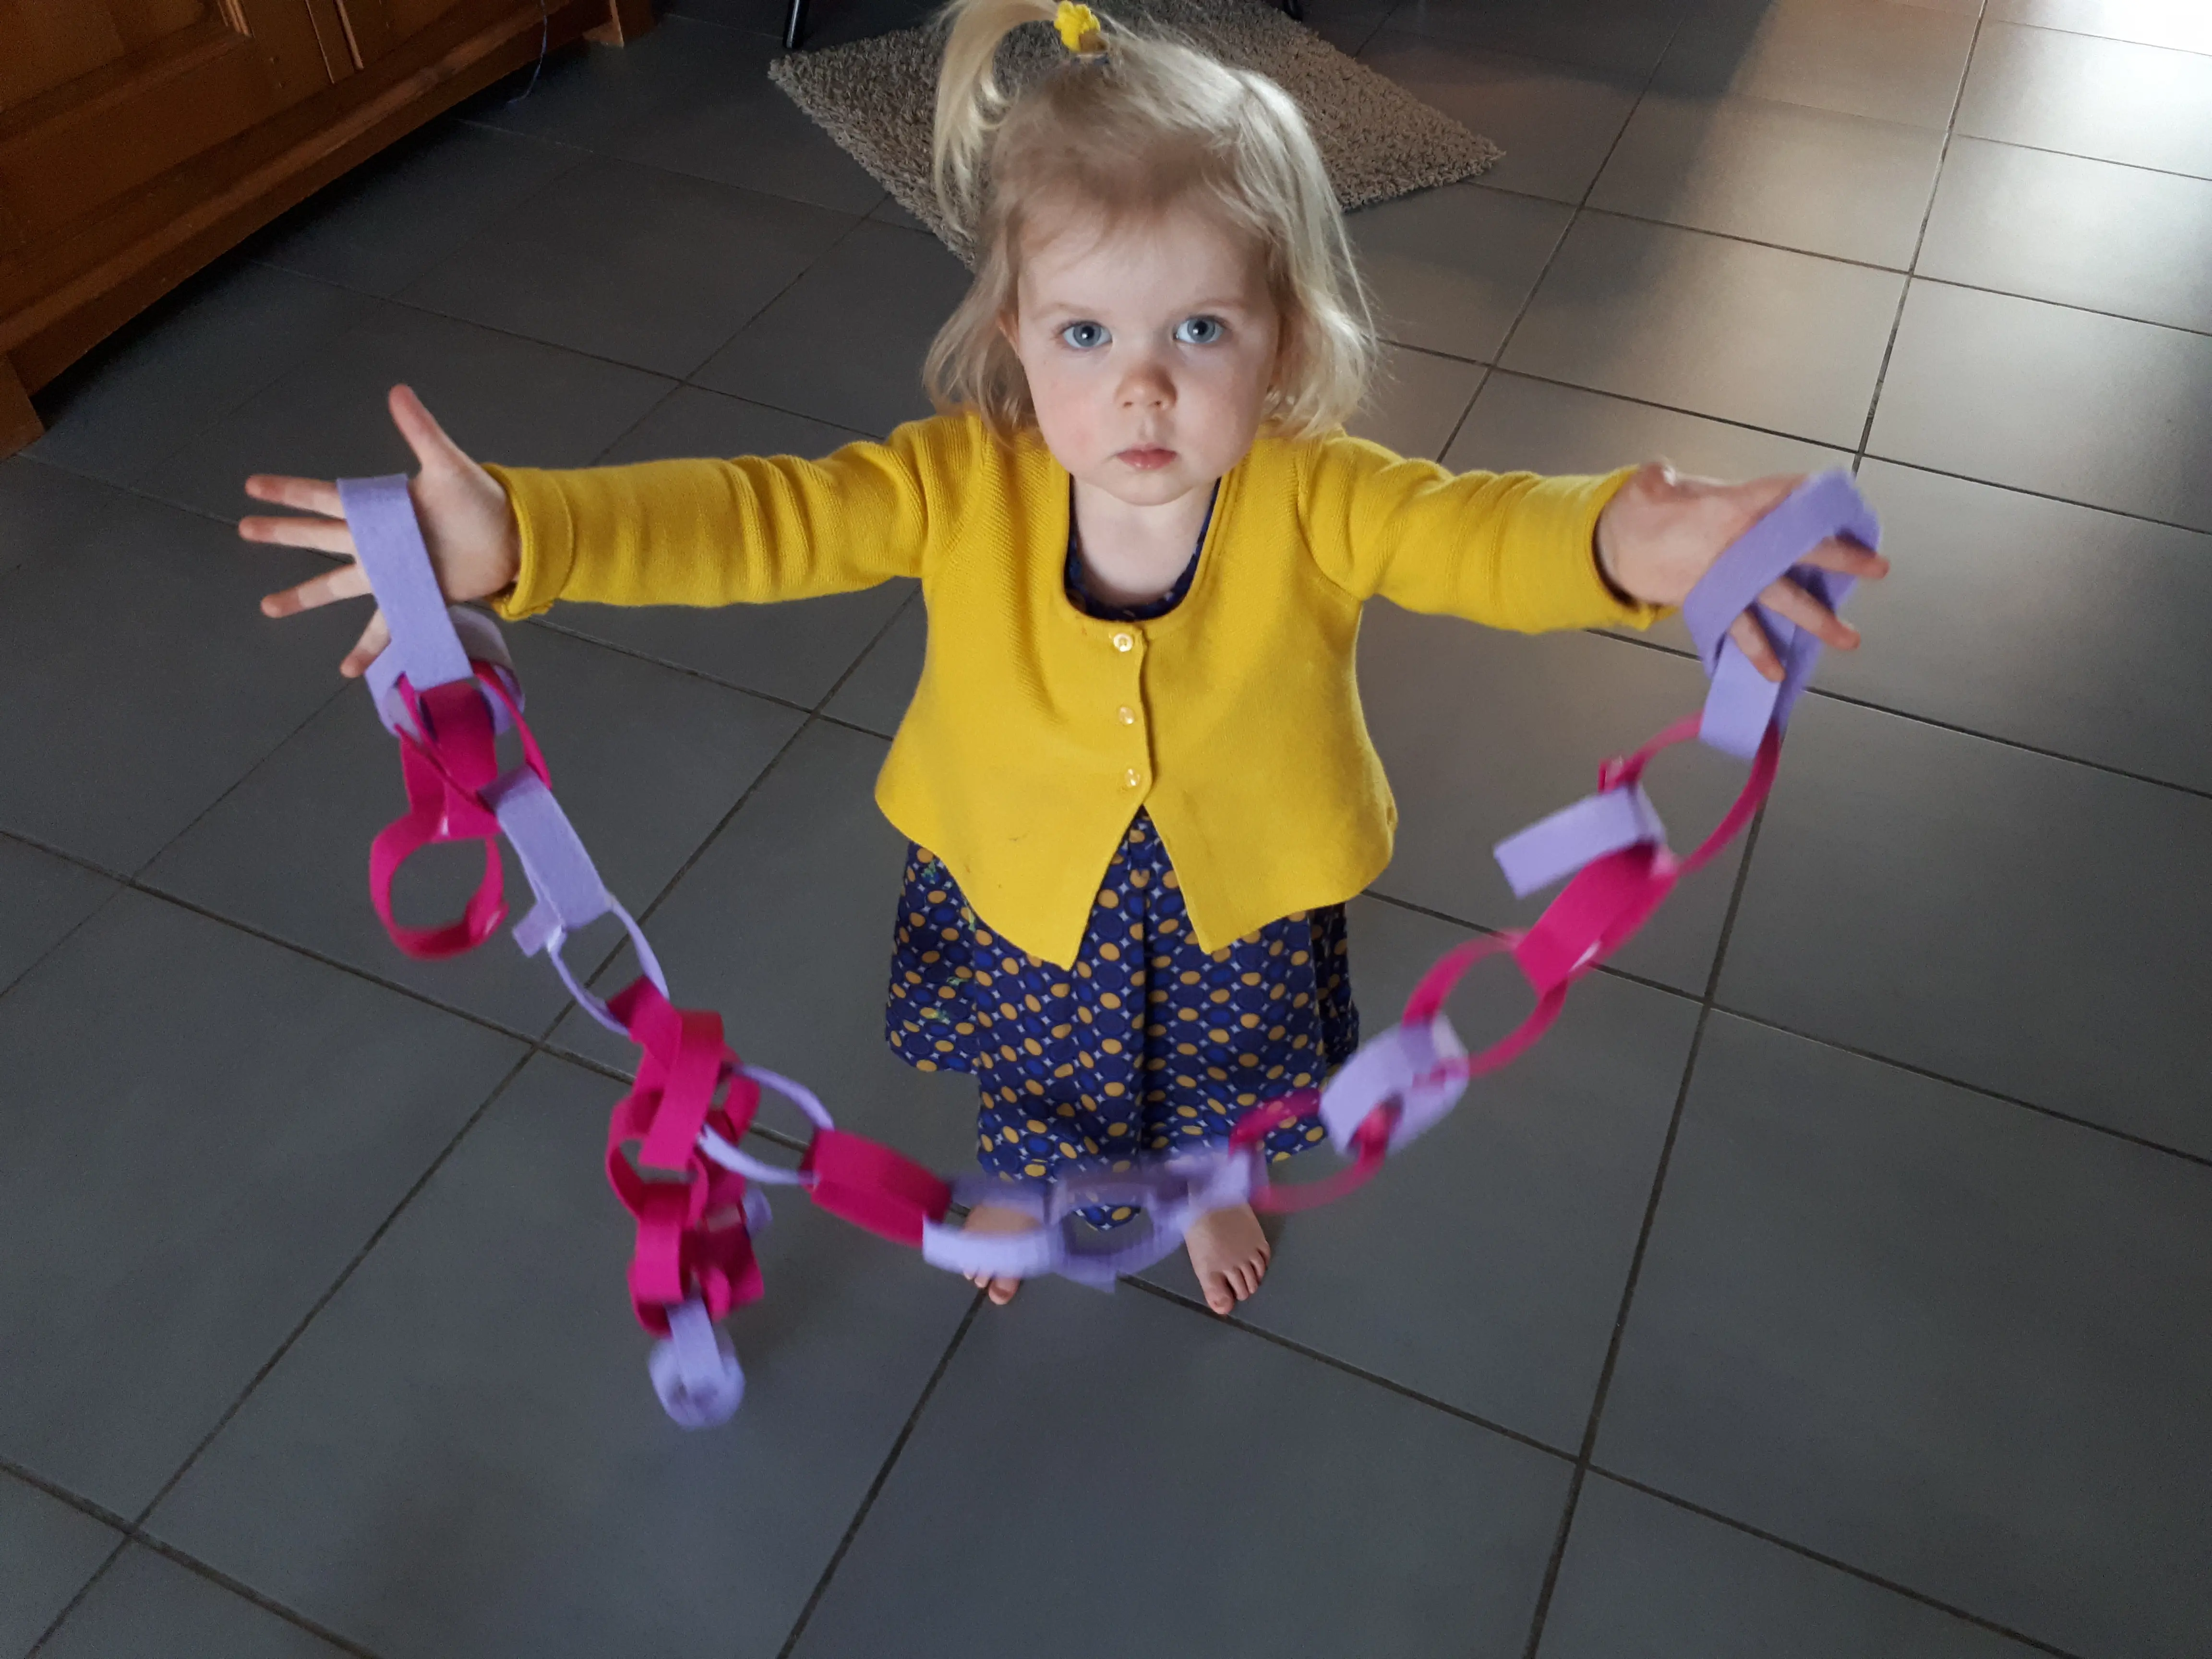 With long pieces of felt and self-adhesive velcro I made this reusable garland. My youngest loved it. I want to make this in several colors, so that we can reuse them at the birthday parties of the kids. In the movie you can see how she puts it together. (It is in Dutch, my daughter doens’t speak English 😉 )
For the older childeren I put a card with possible color patterns into the bag. That way it’s more challenging for them.
My first sewing project.
I also found a little I spy bag I wanted to sew, but fair is fair, I’ve never sewn before. Using the manual I did my first sewing project.
I got the machine to stitch and everything!
But I should have taken more time to prepare thoroughly! It is safe to use, but it looks like … euhm well – sorry ‘shit’!
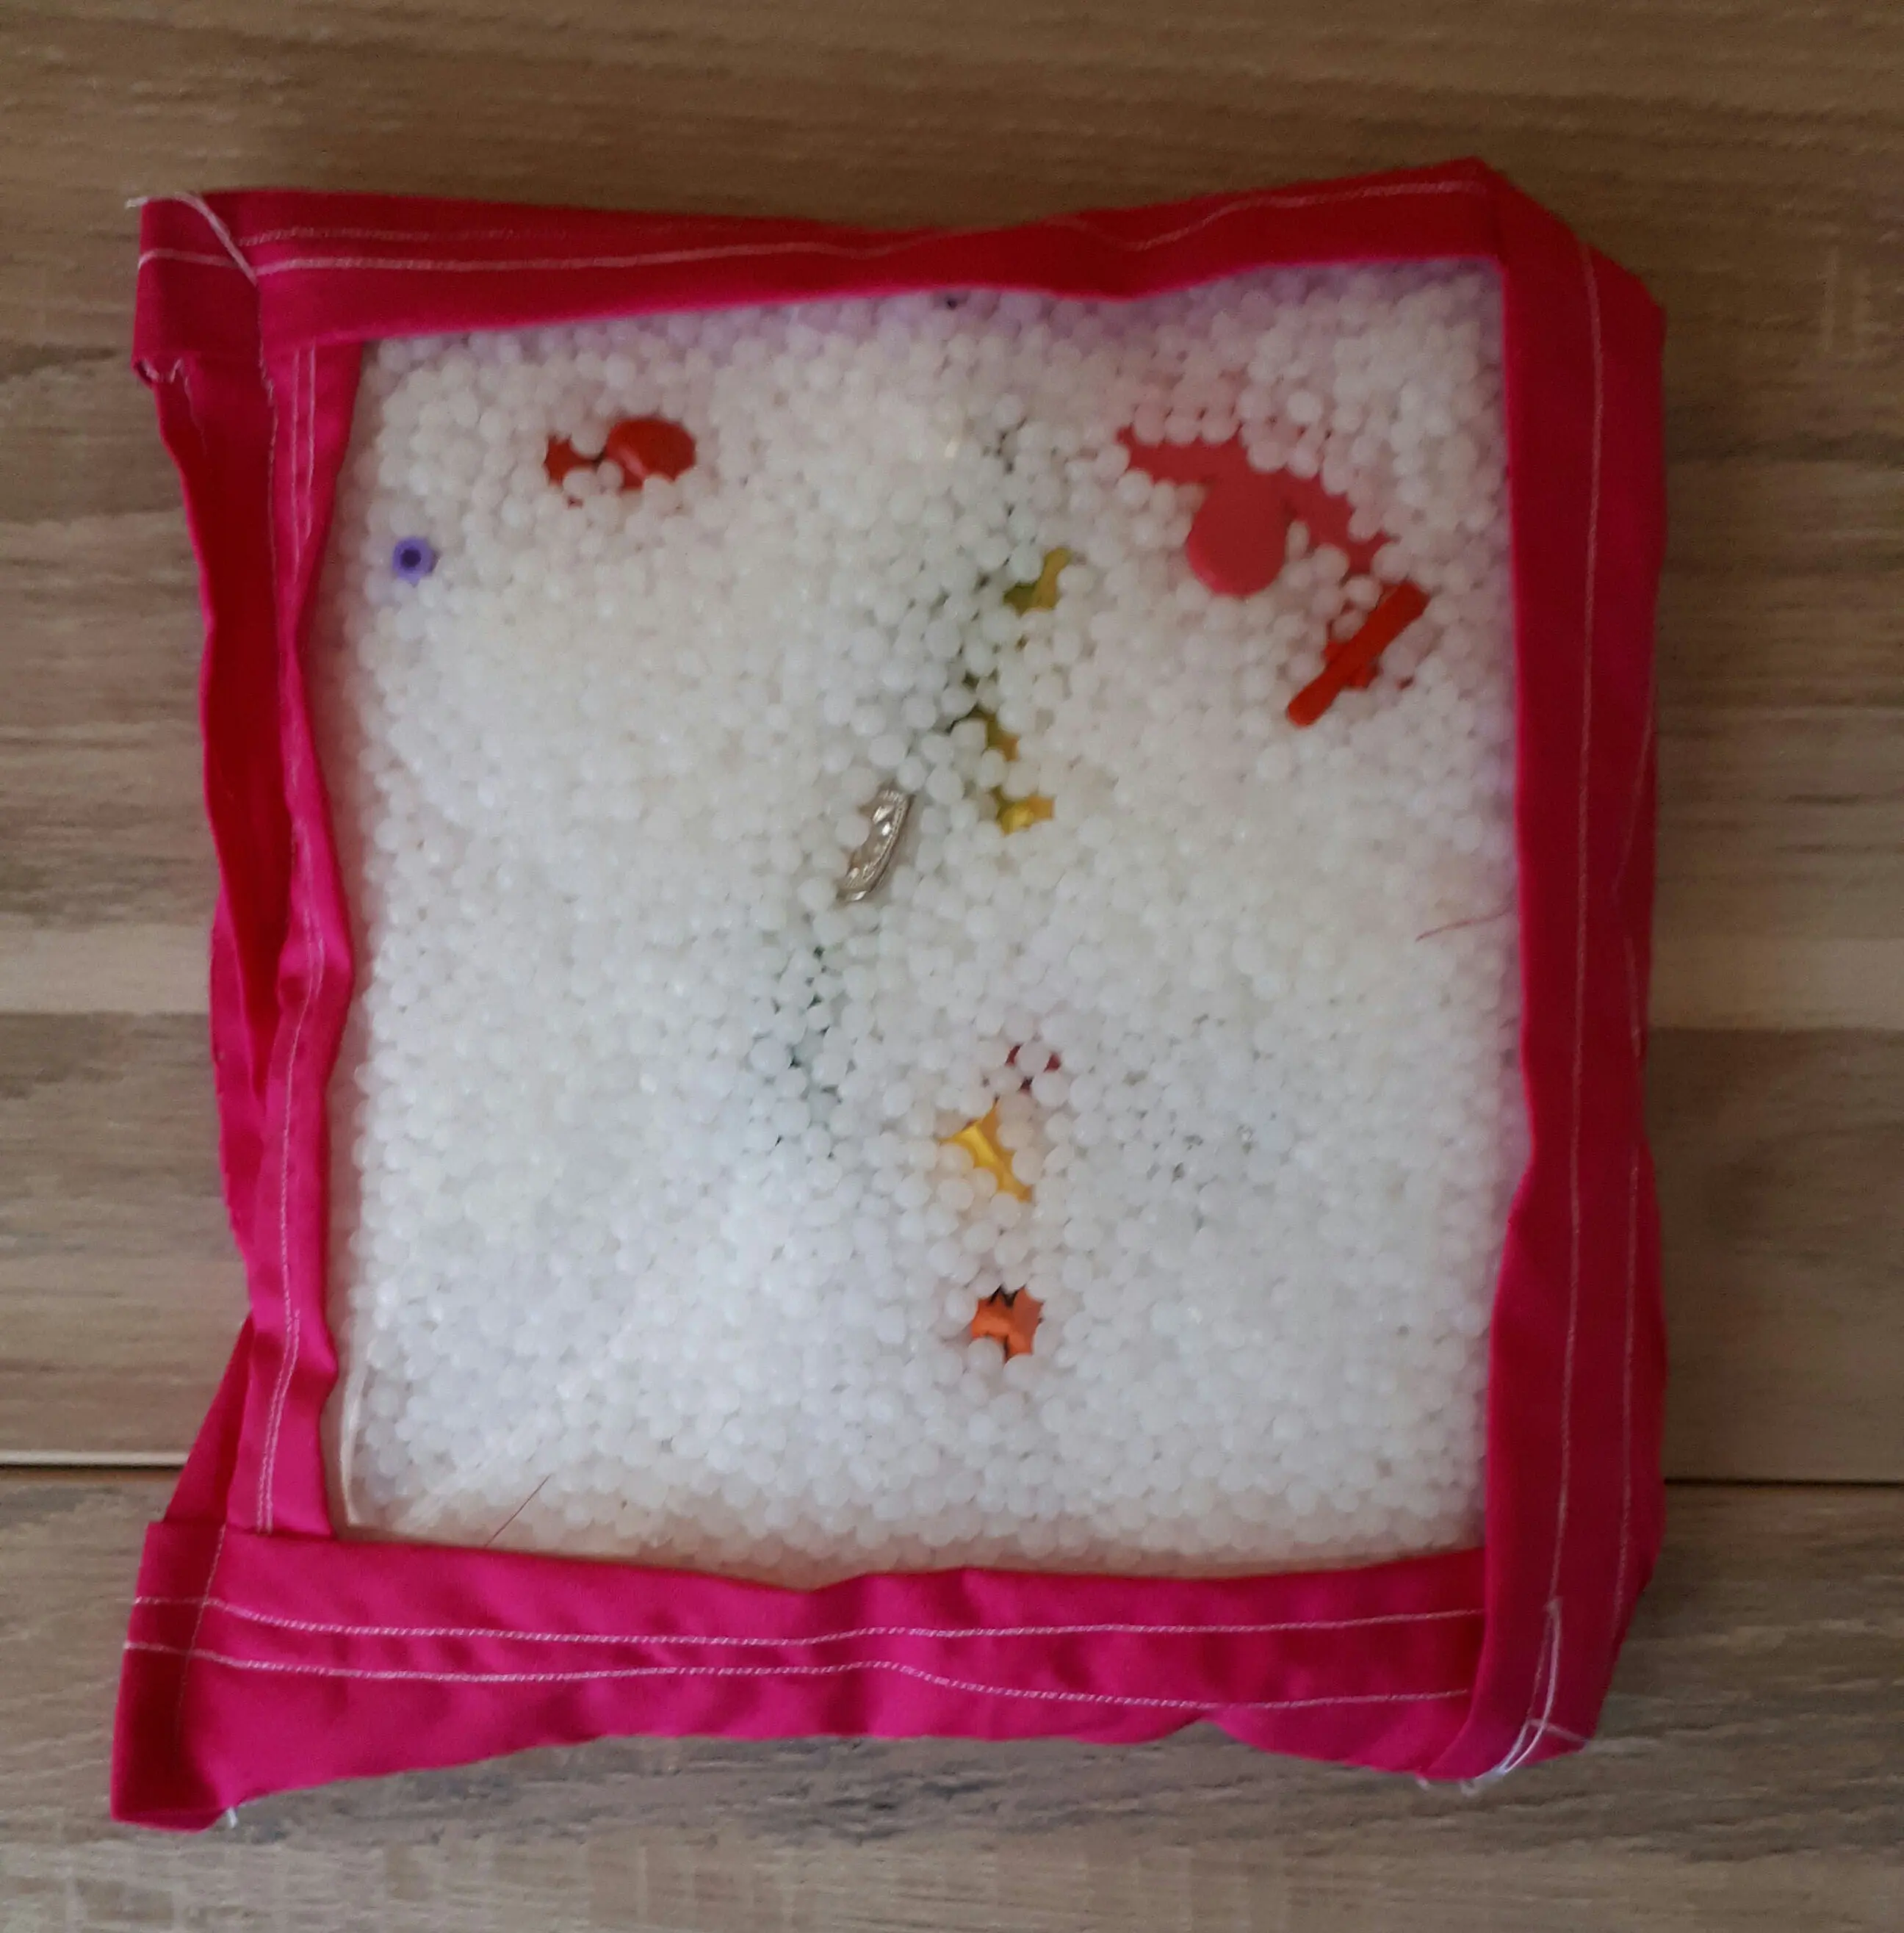
I am going to do this again though! I found a great tutorial! 🙂
Pinterest board for busy bags activities
I made a pinterest board to put all the silence bag or busy bags ideas on, because I really like this idea! Welcome to join!
Letters
Next week the prompt is Letters… so handlettering people, please join in! 😉
Please follow on: Bloglovin – Facebook – Twitter–Instagram –Pinterest –Youtube
[inlinkz_linkup id=706189 mode=1]