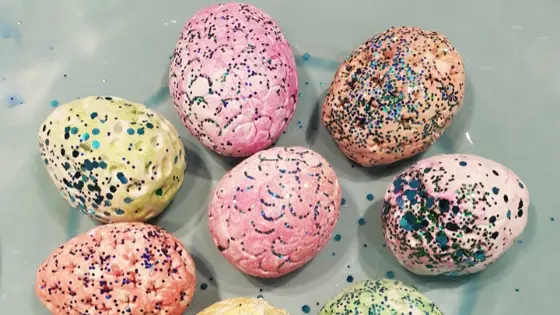
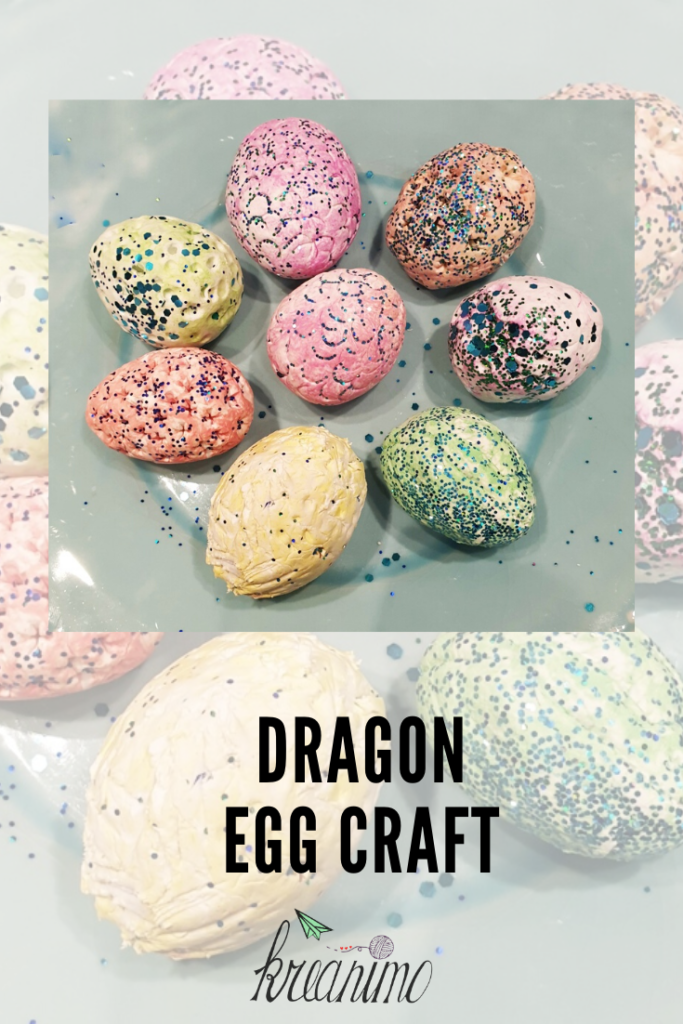
Dragons keep tickeling our imagination. This dragon egg craft is super easy, but kids will love to make them. In our house one dragon egg wasn’t enough! It had to be a whole family! 😉
take some clay. Don’t give too much clay to little hands. The less clay the easier it will be to mold!
put some drops of acrylic paint on the clay and start kneading so the color mixes with the clay! If you want it darker, just put some more paint on the clay.
roll the clay into a ball. Try to remove the cracks so the ball becomes smooth.
try to shape the ball into an egg by rolling the upper side a bit.
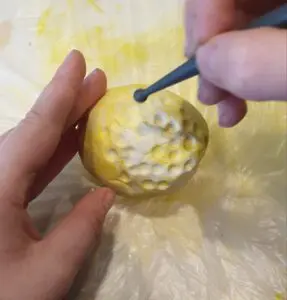
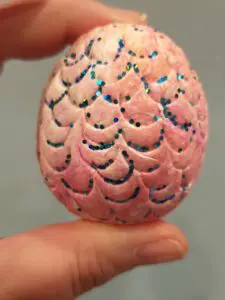
now you have an egg in a lovely color. By using the clay tools you can give the dragon egg a pattern.
roll the egg into the glitter.
Let your dragon egg dry. Every inch normally takes about 24 hours to dry, so let it have enough time to dry up.
When the egg is dry, you can put the varnish on. (That prevents the glitter from falling off!)
Draw your dragon
Let the kids think about their dragon. What would it look like? What can it do?
Let the kids draw the dragon that would come out of their egg.
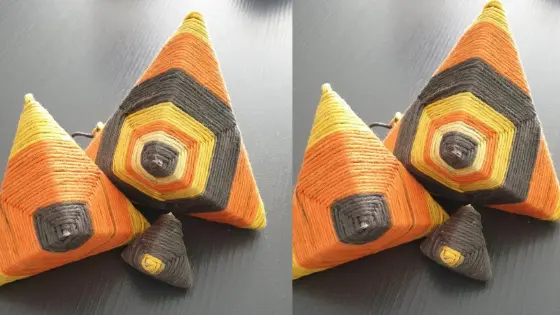
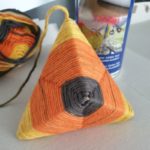
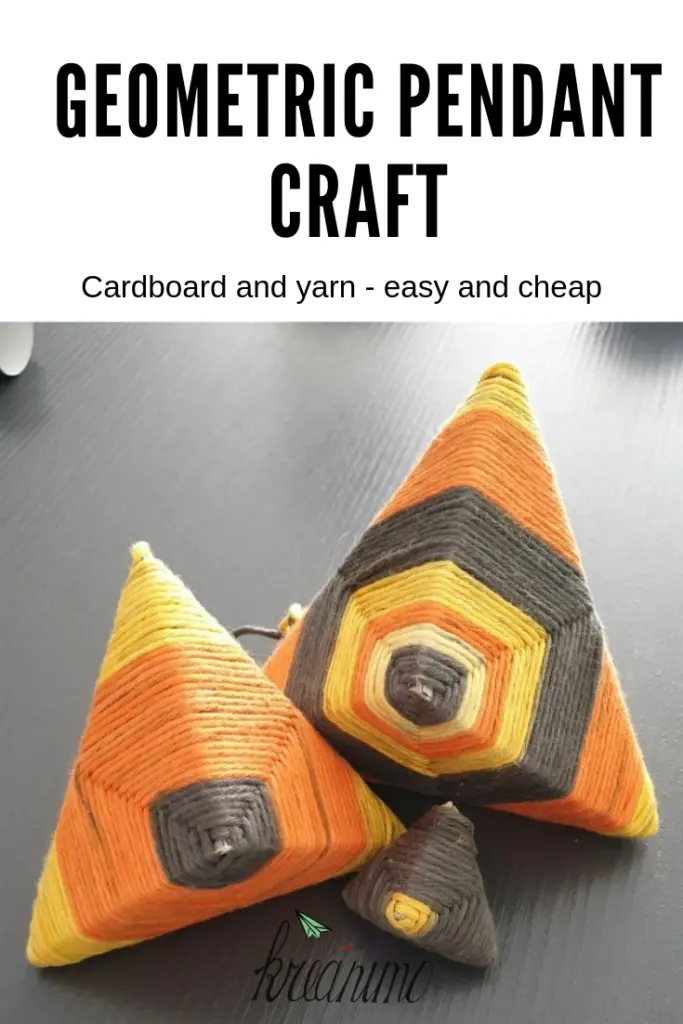
This is a craft project I used to do as a kid. I have no clue where it came from and I do this by heart! But it is fun and it gets great results, so I really wanted to share this one! Let me tell you how you can craft this geometric pendant.
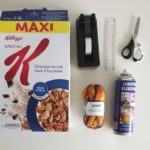
Materials for the geometric decorative pendant?
cardbord. I love to use empty corn-flakes boxes! They are just flexible enough.
scissors
glue (spray)
yarn
ruler
tape
Step by step:
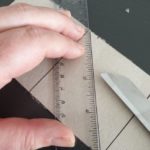
Open the cardbord box, so you can draw on the inside.
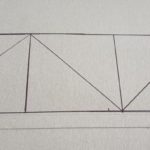
Draw 3 squares of exact the same size next to eachothers (see picture). The longest side is always 3 times the size of one side of the square.
Draw the 3 zig zag lines as shown on the picture below.
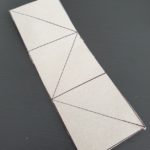
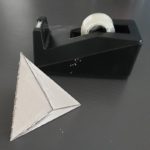
Cut out the shape you drew
Go over alle the construction lines with the point of the scissors, That way you can easily fold the shape.
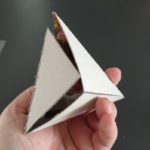
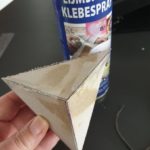
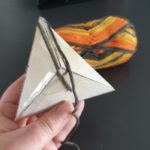
Fold the shape and tape it.
Spray some glue on the geometric shape.
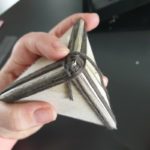
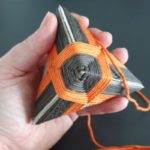
Start going around the shape with the yarn as shown on the picture. Keep the starting point in mind, if you start at the wrong point, it will not work.
Spray some more glue at the end so the yarn sticks.
Plooi dan de geometrische vorm en plak hem met plakband dicht.
Daarna spuit je wat lijmspray op de punt en begin je het garen rond de vorm te draaien. Bekijk eerst even de tekening en volg de pijltjes. Het is belangrijk dat je op de juiste manier begint.
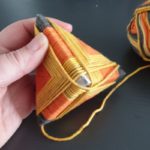
Leave a long tail if you want to hang the geometric shape as a pendant – You can cut it off shorter if you want to use it to decorate something else.
Materiaal – materials
Karton openen – open cardboard
Figuur tekenen – = zijkant is 1/3 van de lengte. Draw one short side is 1/3 of the long side.
Knip de figuur uit – cut out
Rits alle lijnen met de punt van een schaar of breekmes – go over all the line with a knife, so the cardboard will fold better
Vouw de vorm – fold the shape
Plak met plakband de vorm dicht – tape it
Spray met lijmspray – spray some glue (or just use craft glue)
Begin aan de scherpe hoek en draai dan rond.. Start a the sharp corner
Volg de richting van de pijlen en blijf dit doen… Follow the arrows and go around the shape with the yarn
Begin – beginning
Midden – middle
Einde – end
Laat een stuk touw als je wil ophangen. Leave some yarn to hang
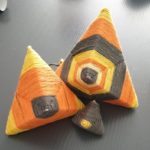
Verschillende vormen met verloopgaren. Differen sizes
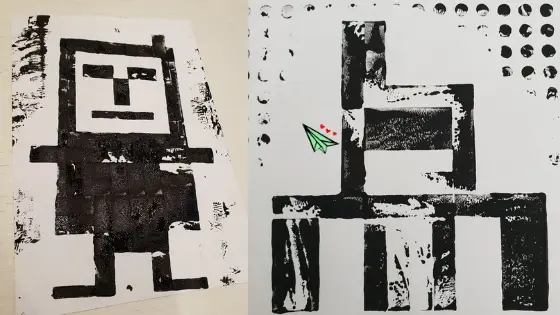
Kids love printmaking. I guess that’s because you don’t have to be a big artist to get nice results. Even when you don’t have that many art skills, your prints can turn out amazing. A while ago I got the idea to makes some prints, using flat lego bricks. We chose to make robots prints with lego.
Materials for prints with lego
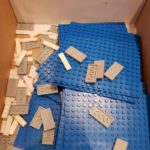
ground plates
flat lego bricks
workplace protection
apron
ink for printmaking
inkroll
paper
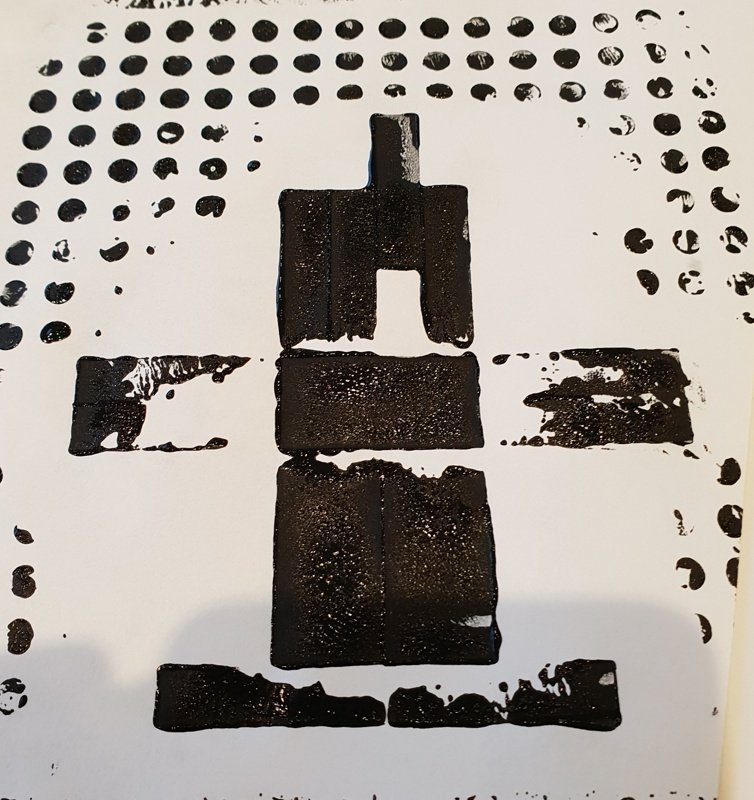
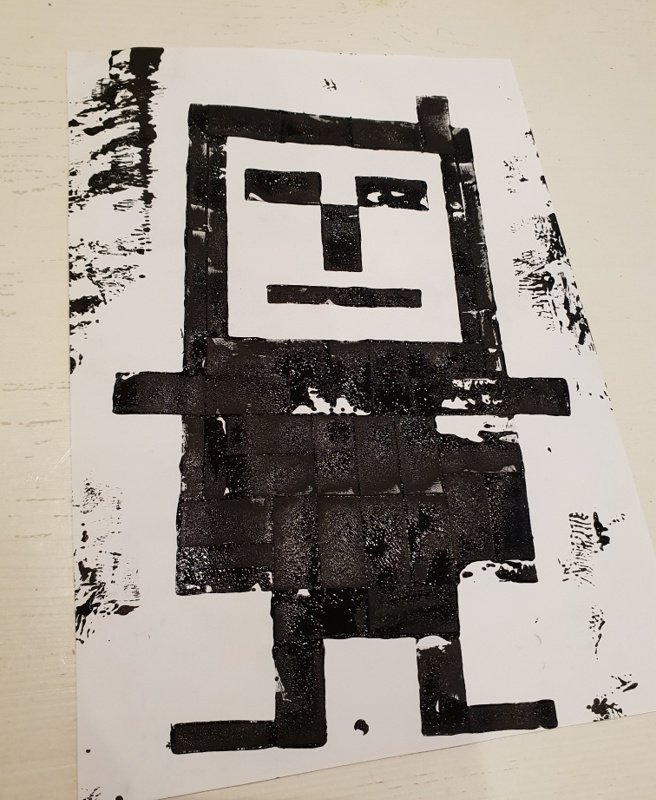
Robot prints with lego
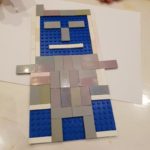
Build a robot on the ground plate, using flat bricks
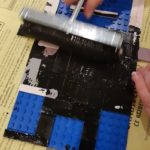
Roll ink onto the robot
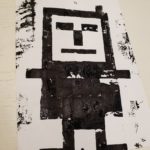
Print your robot
let the robot dry
flat bricks and groundplates
Building a robot
This is how he looked
Roll on
Print
In artclass
The kids learn about shapes, lines, positive and negative. The flat bricks limit the possibilities somewhat. You can’t make curved lines. That’s why I chose to build robots. But kids are inventive. So you can give them freedom.
My daughter made a wand and a spaceship.
Other possibilities
Use different colors or go all abstract on this project…
Little robotBig robotspaceship
These prints were made by my 8 year old son and 6 year old daughter. Do you like our robot prints with lego? What would you make?
Great fun and learning about printmaking in one!
Take care en see you soon
Love Ilse
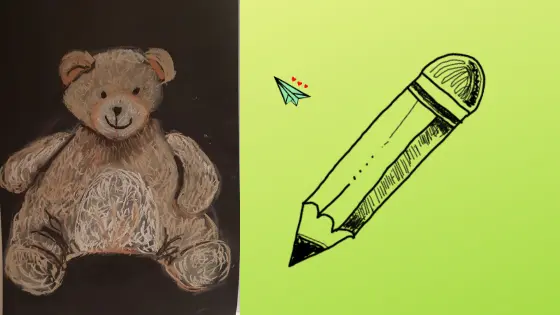
Stuffed animal drawings in soft pastel – art project
One of my own favorite materials when I was an art-class student were soft pastels. I love how you can blend it and add texturen afterwards. Layering, blending, drawing and using your own hand the most! When I thought artclass, one of the least favorite projects were the ones where the kids had to do observational drawings. So some years ago I came up with the idea to link the fun of soft pastels to the more boring observational drawing. I asked them to bring a stuffed animal to class to do stuffed animal drawings in soft pastels.
Observational drawing.
The hardest part when kids have to do observational drawings is making sure they learn to draw what they see, not what they (think) they know. Measuring and studying the object you want to draw is very important.
Tips and tricks for drawing with soft pastels.
When you hold the pastels on the side you can color larger shapes. When you use the tip, you can draw more precise.
Work in layers. Make sure the kids don’t color their sheet too full to start with. It is better to draw layer onto layer and add texture later.
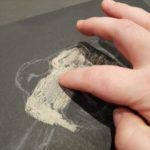
You can blend with your fingers, but you can use a tissue or the special stumper to blend the colors.
You can add texture using the hatching technique. It’s best to first color a shape and add hatches later.
Use a paper in a different backgroundcolor than white. It gives unity to your drawing.
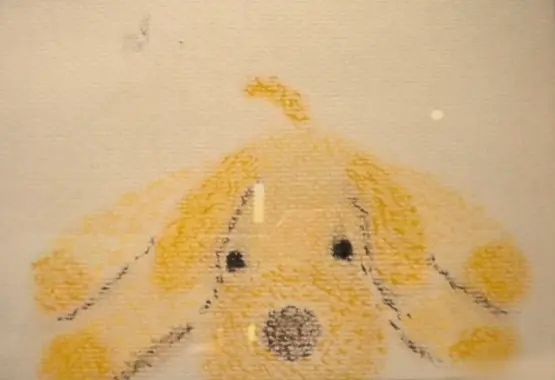
Drawing stuffed animals with soft pastels – art project
Make sure the kids measure their stuffed animal. They can use a ruler of the measuring technique using a pencil.
Talk about all the different shapes they see in their stuffed animal.
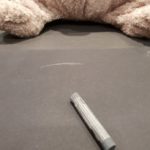
Let the kids chose a background color. If you don’t have pastel paper, you can use colored craft paper, it works too!
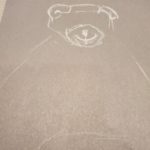
Let them sketch out the big shapes of their animal, using a soft pastel that matches the background color. Dark grey for a black background, light yellow for a yellow background.
Let them color the big shapes. Talk about where the dark parts of their stuffed animal are and how they have to do some shading too.
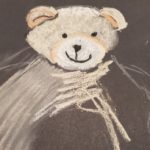
Let them draw lines with the tip on the soft pastel to create texture.
Fixate the drawing when it is finished. (You can use hairspray too)
Draw with a color that matches the color of the sheet of paper.
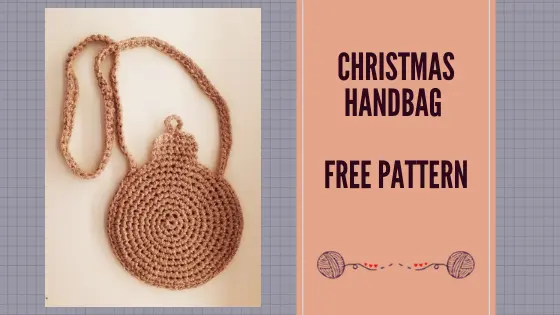
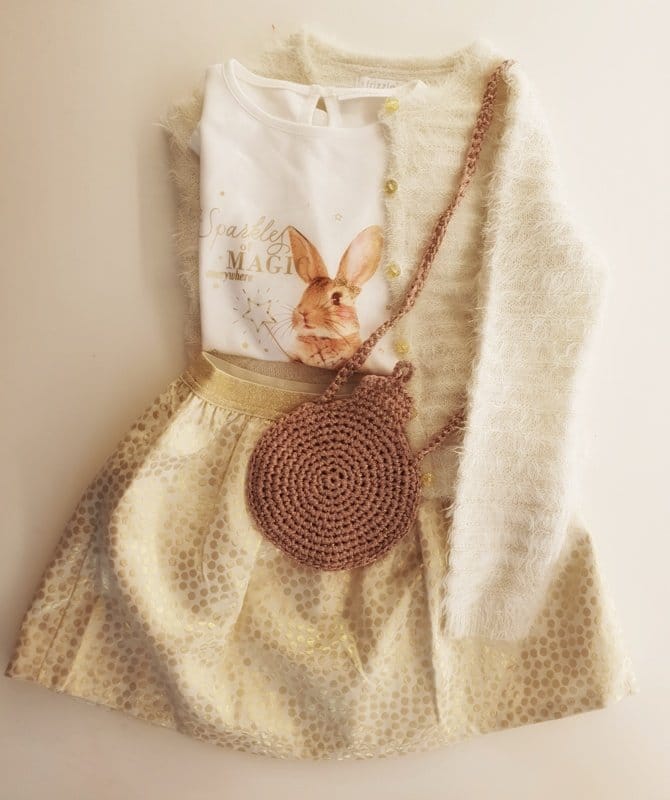
My girls are real ‘girls girls’. They love perfect outfits, accessories and glitter. They chose lovely light colored outfits with gold for the holidays. I still had some lovely glitter yarn that has the perfect color to match the outfits! So I decided to try and crochet a real Christmas handbag with this yarn. The little bags tuned out great and I decided to share with you all.
Christmas handbag materials
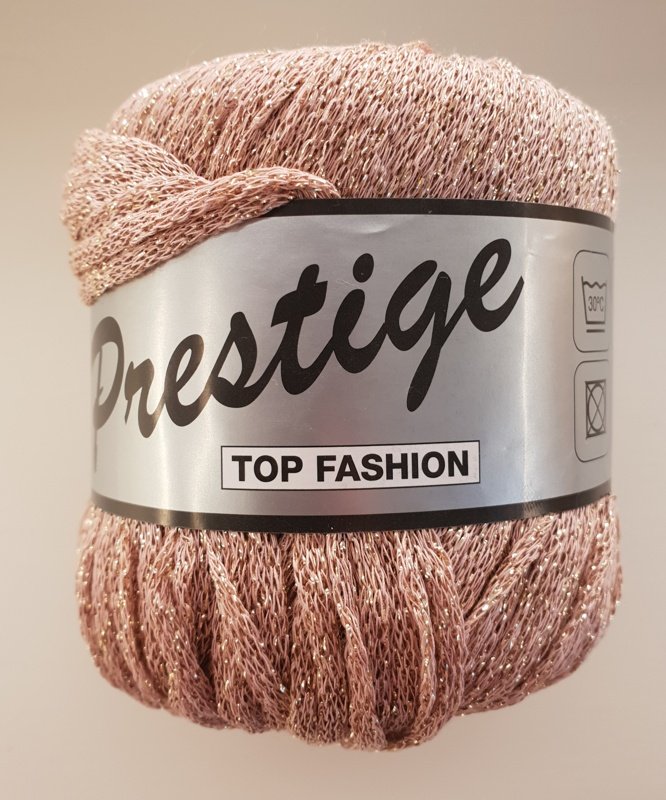
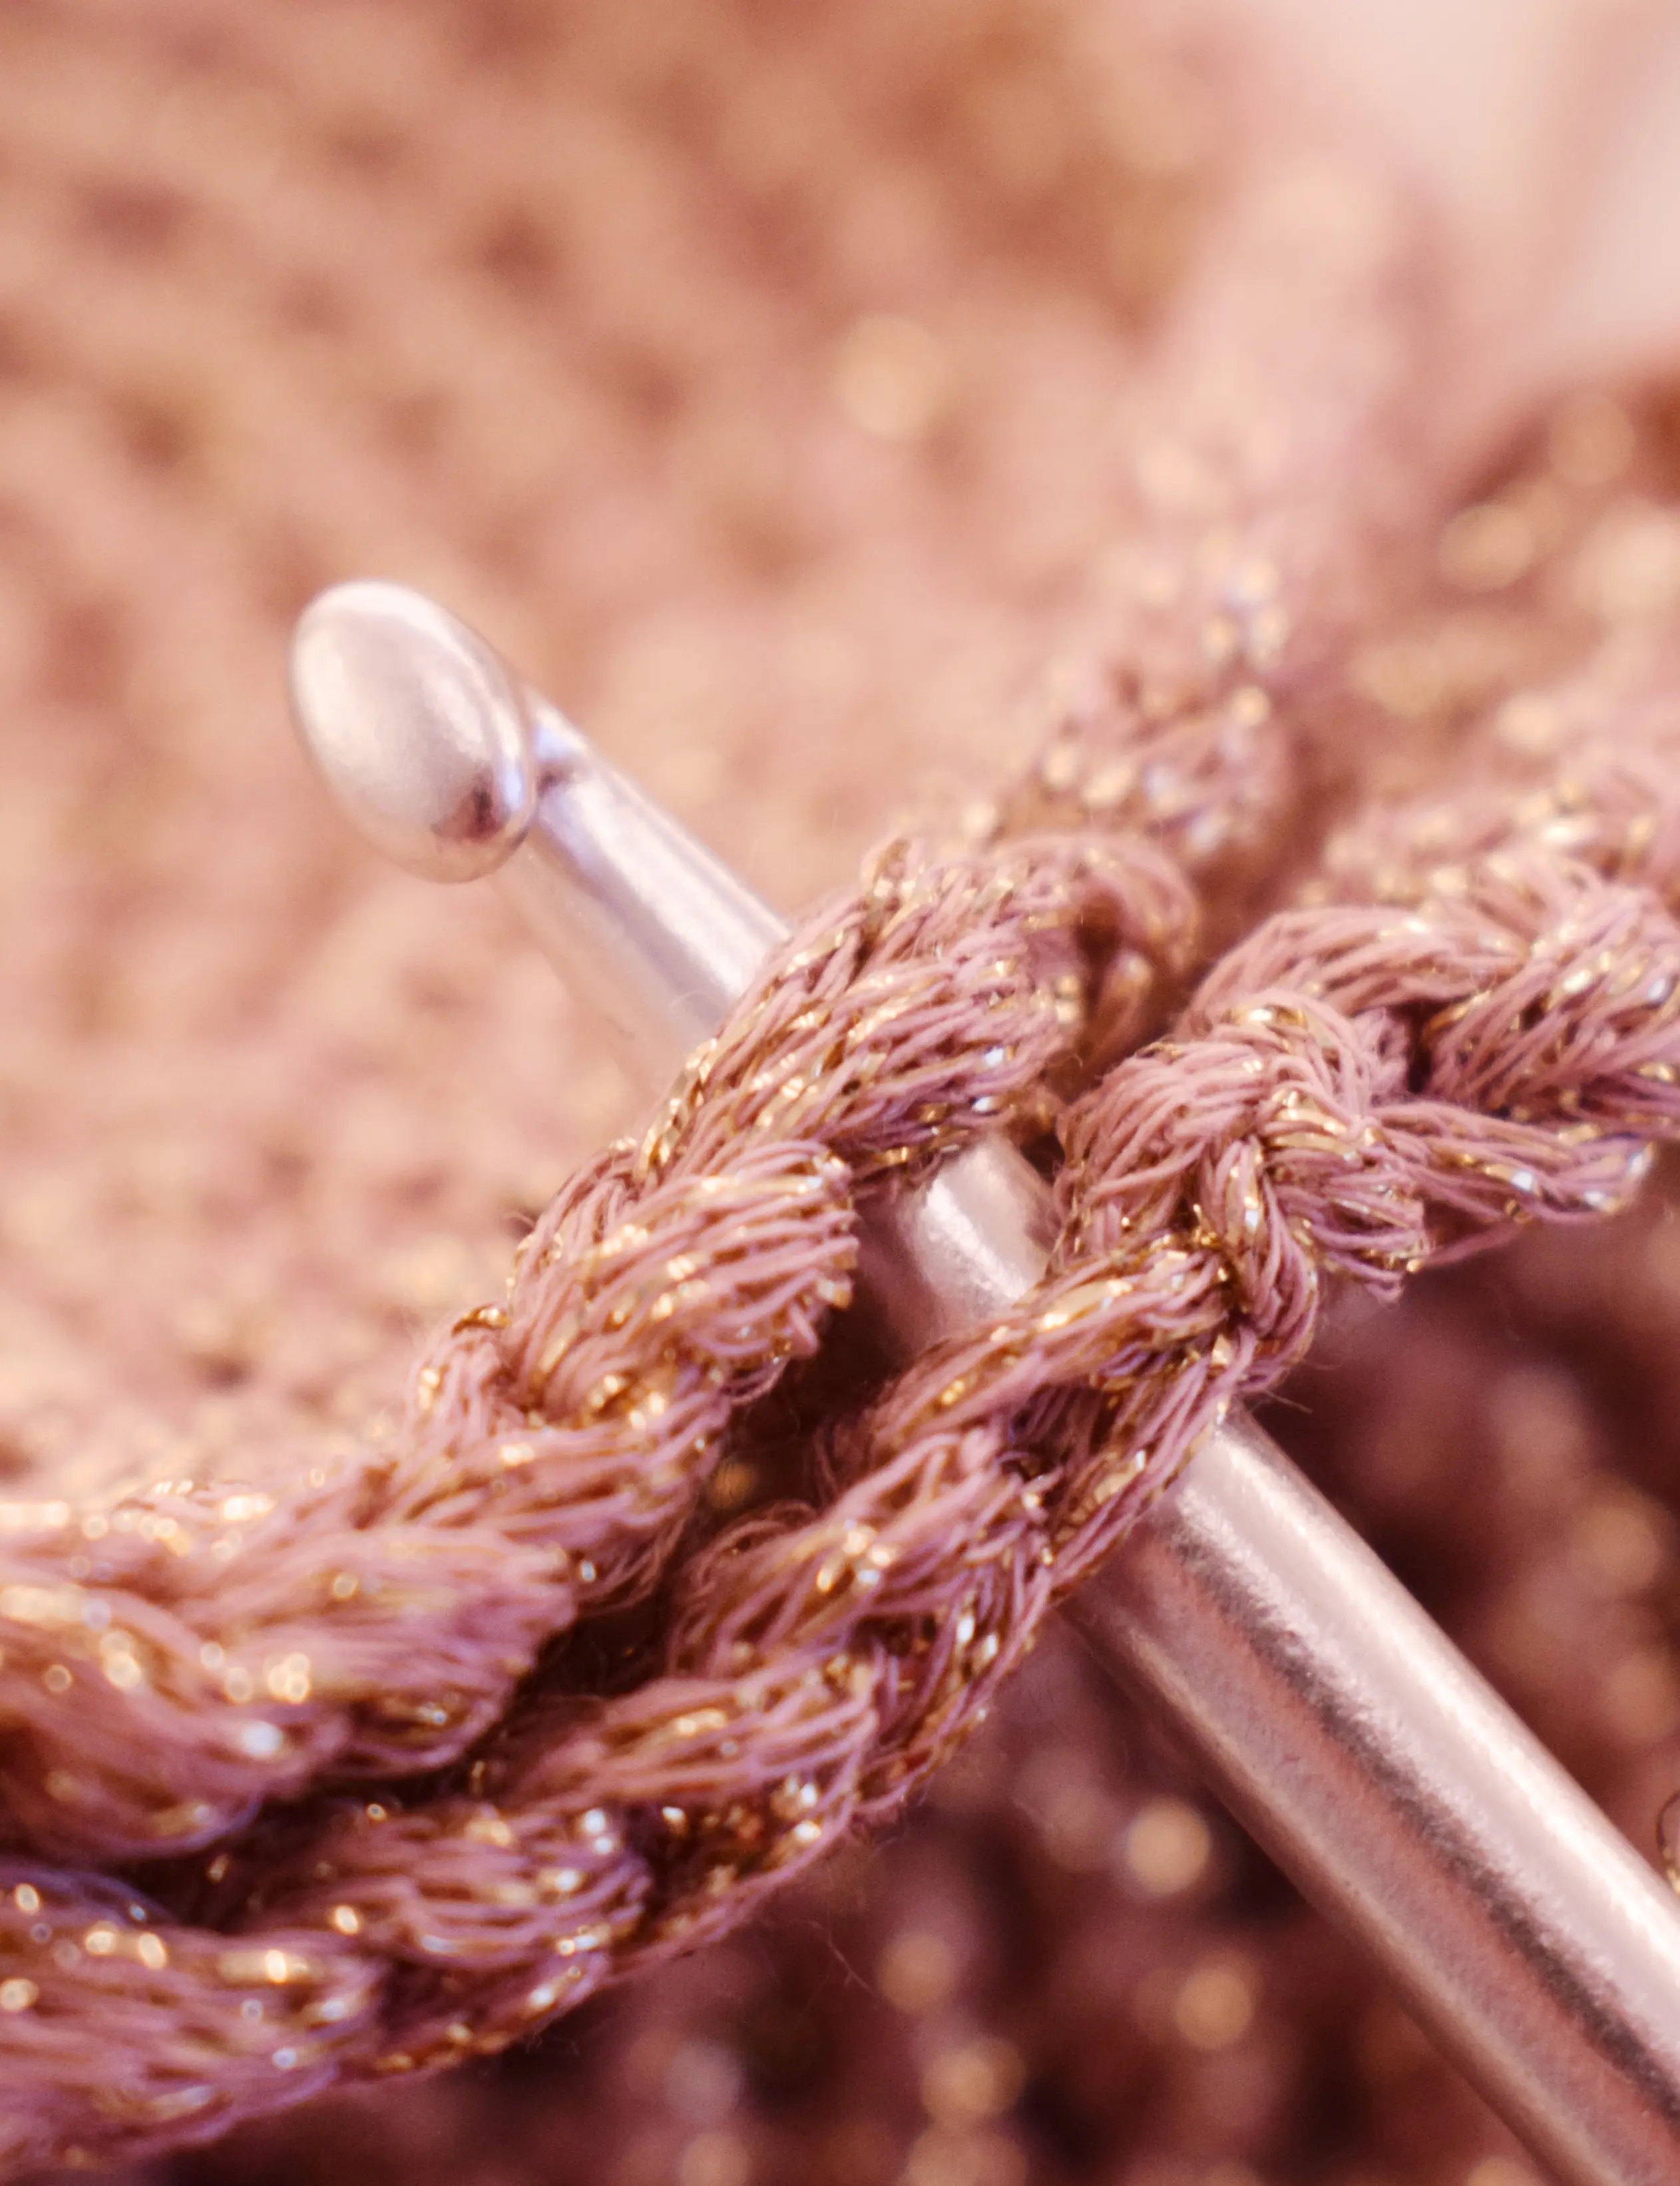
I used Prestige yarn. 50 g is 90 meters. (You have some yarn left when the project is finished).
The yarn is quite bulcky and has glitters. Remember this when you choose another kind of yarn!
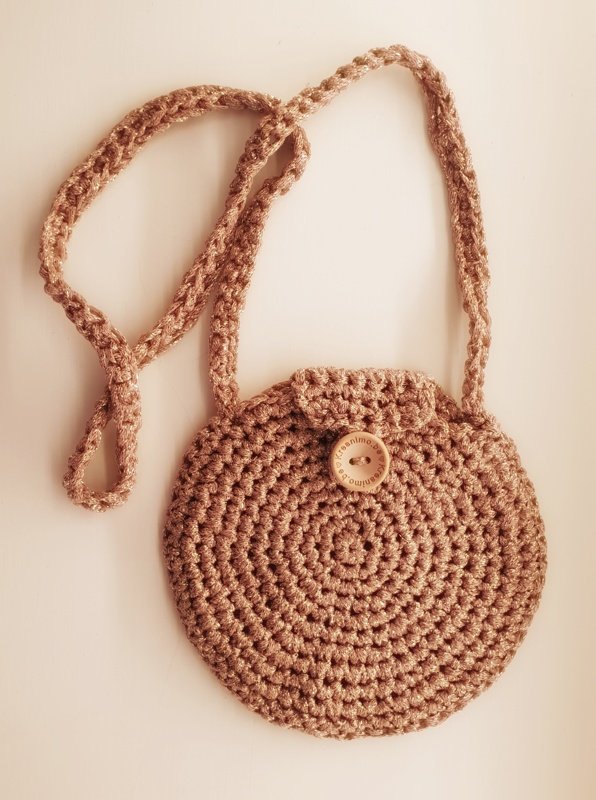
1 wooden button
Hook 5 (4,5 -5 on the label)
Stitch marker – very handy here because you have to crochet a perfect circle!
Christmas handbag free pattern
I used these stitches UK therms: chain, magic loop , secure, slip stitch.
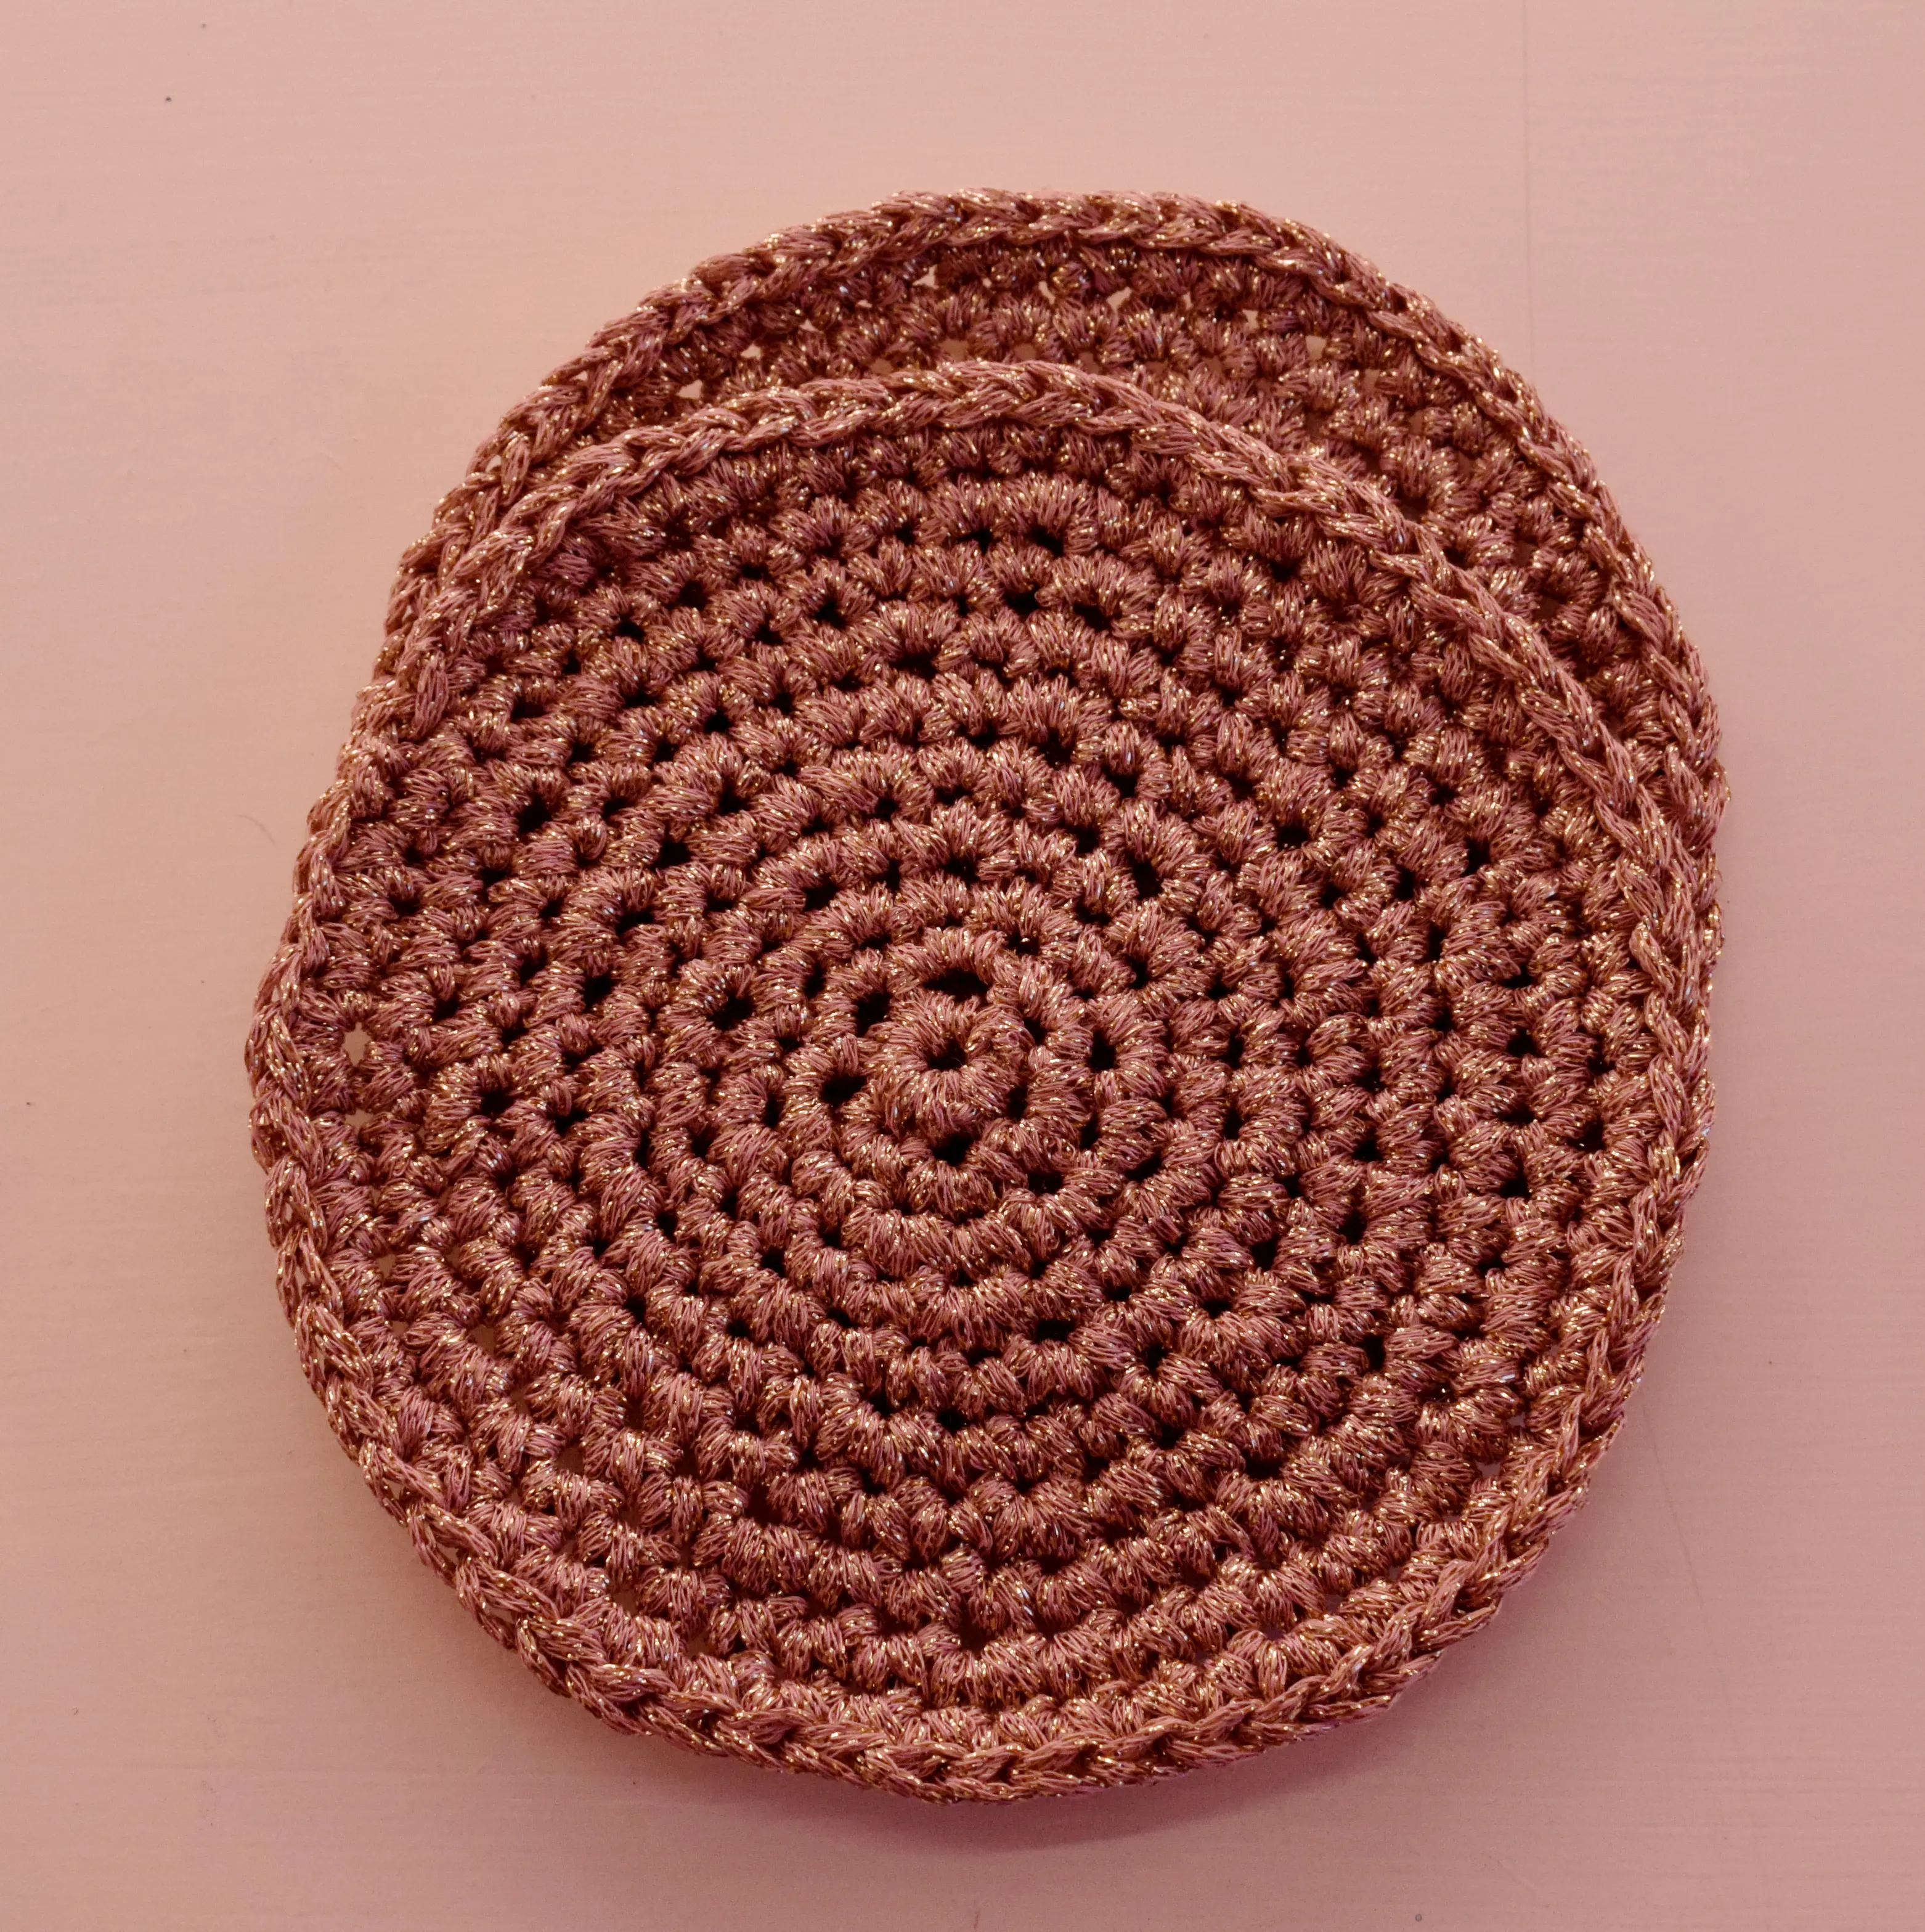
You need two identical circles to start. You connect them later. To get perfect circles it is very important to follow the pattern. If you don’t, you will get corners!
Perfect circle (you need 2)
R1: 6 sc in magic loop (6) R2: 2 sc in every sc (12) R3: (2sc in sc, 1sc) x6 (18) R4: 1sc, (2sc in sc, 2sc) x5, 2sc in sc, sc (24) R5: (2sc in sc, 3sc) x6 (30) R6: 3sc (2sc in sc, 4 sc) x5, 2sc in sc, 1sc (36) R7: (2s, 5sc) x6 (42) R8: 4sc (2sc in sc, 6sc) x5, 2sc in sc, 2sc (48) R9: (2sc in sc, 7sc) x6 (54) R10: 5sc (2sc in sc, 8 sc) x5, 2sc in sc, 3 sc (60)
Finish off.
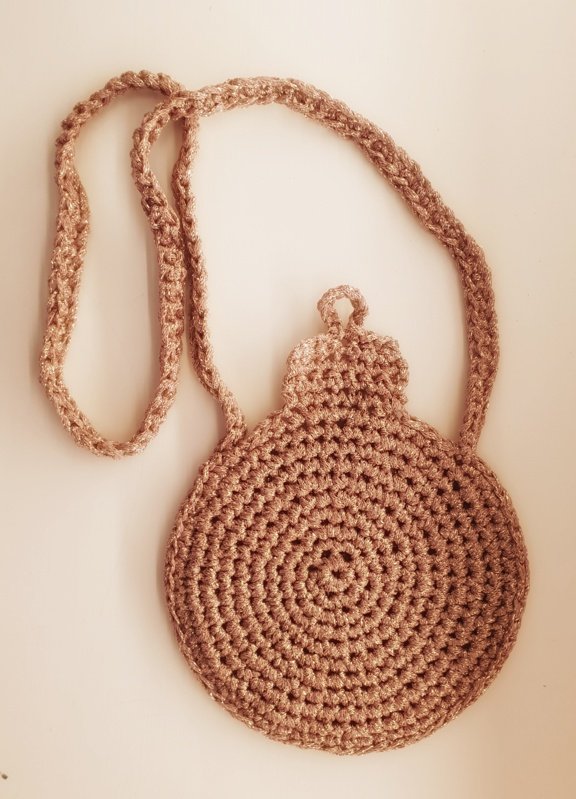
Put the two circles on eachother. Make sure the good sides are on the outside. Crochet the two circles together using secure. Crochet 48 in total. Do not finish off. Chain 110. My daughter is 6 years old and this made the shoulder band long enough. I do recommend to measure the child. If you need a longer shoulderband, just add more chains. At the end of the chain I turned, starting 2 stiched from the hook. I crocheted all the way back to the fist chain using secure stitches. I finished of. I sew the shoulderband on on the other side using a needle. Make sure the shoulderband is not turned when you do tis.
Start again on one side of the bag, 2 stiches from the shoulderband. crochet 7 sc – chain one and turn crochet 7 sc – chain one and turn crochet 7 sc Use slip stitches to get to the 4th sc (middle) Chain 8 Slip stitch in 4th sc Finish off.
Sew one button on the other side. When you close the bag it is ‘just a round bag’.
When it is open it looks like a bauble.
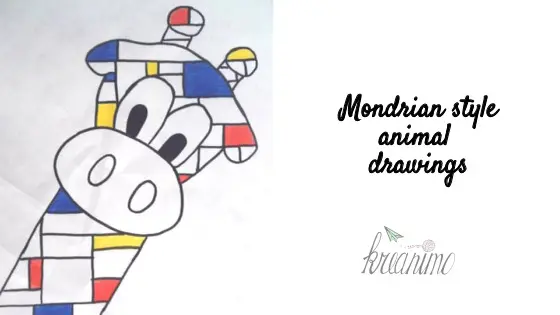
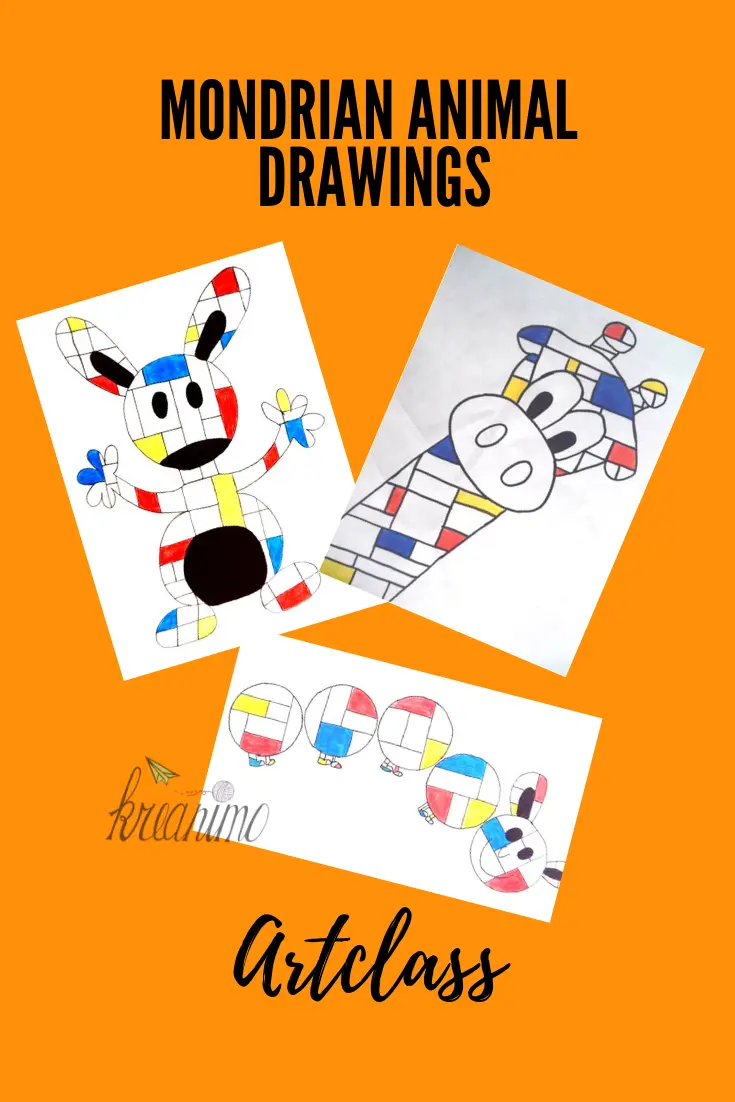
Mondrian is a Dutch painter whose famous for his abstract line paintings using the primary colors. Art projects about his art in class are great because the kids love the simpleness about his art helps them to think it can be successfull, even if they aren’t that talented in art!
Animals in class
Animals are a favourite subject of many children. At all ages kids can be triggered about an art project, just because of the theme!
Talking about Mondrian in class
I always use different painting to show the process that Modrian went through. He started very realistic and started his abstract works later on in his life. The famous tree shows that very well. How it starts by being a tree, but slowly changes into just lines and shapes and some color.
We look at the famous black and white with primary colors. The lines are not the same all over the painting, they have various thicknesses. We talk about the line, shape and primary colors in his work.
Chosing an animal
Using several animal books the kids could search an animal they would like to use. They had to simplify the animal. They left out the details or just used the most important shapes
Dividing the animal into Mondrian shapes
Once the animal was drawn completely, they could trace the drawing and the division lines. All the shapes could be colored, just like Mondrian did. He used red, blue and yellow.
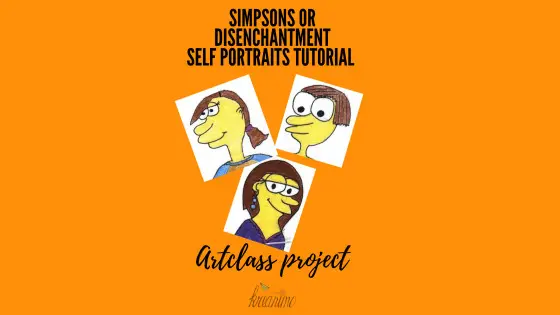
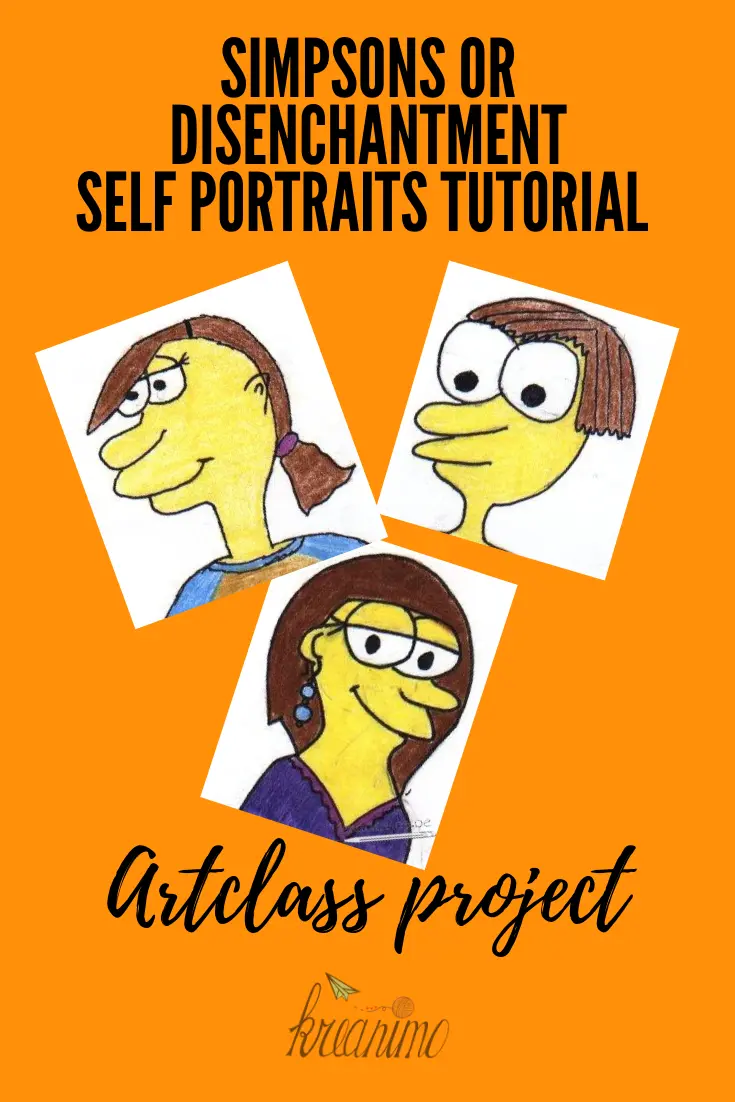
At the beginning of every new school year, we start with a self-portrait in art-class. Many years ago, when I first started teaching, the Simpsons were hip and trendy. My collegue and I decided we wanted to let the kids draw their own Simpsons self-portrait. It’s actually quite simple to get a cartoon portrait to look Simpson style!
Now with the new Netflix series ‘Disenchantement’ the old project can be dusted off and used again!
How do you draw yourself like the ‘The Simpsons’
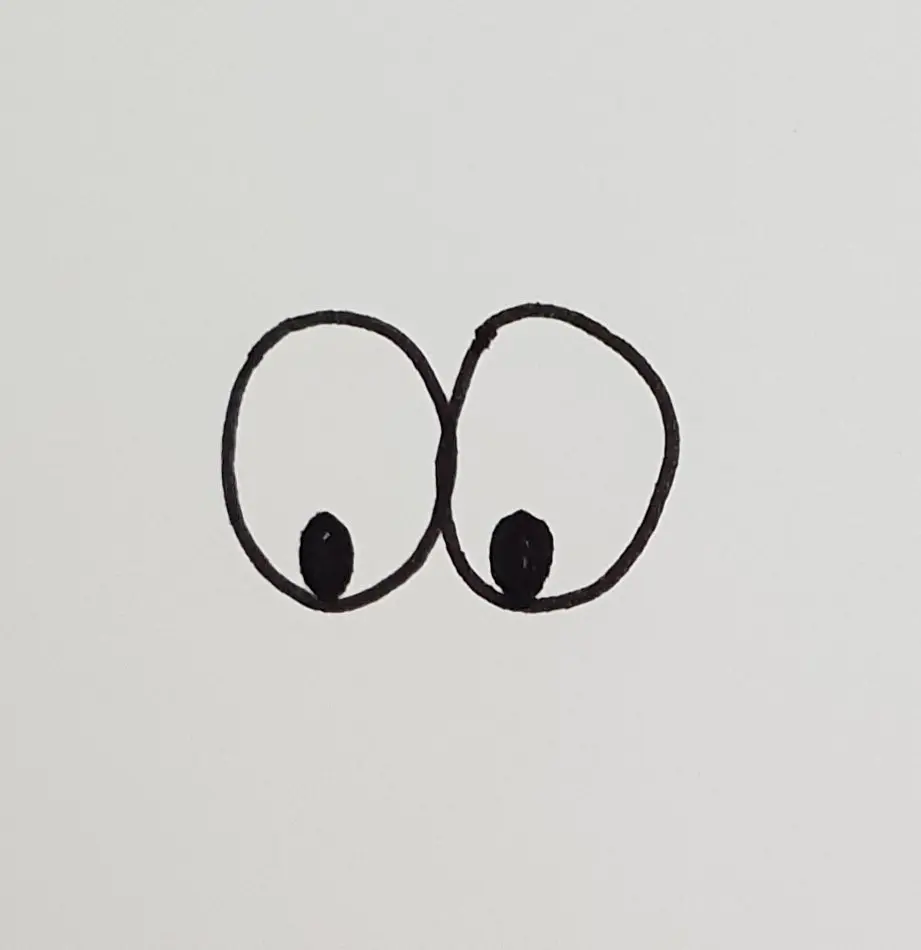
As I said it is actually pretty simple. With a few easy steps you can change a cartoon drawing very easily to the Simpson stule. I put the steps here, so the kids can use them to make their self-portraits the same style! I let them draw in pencil and trace with permanent black fineliners.
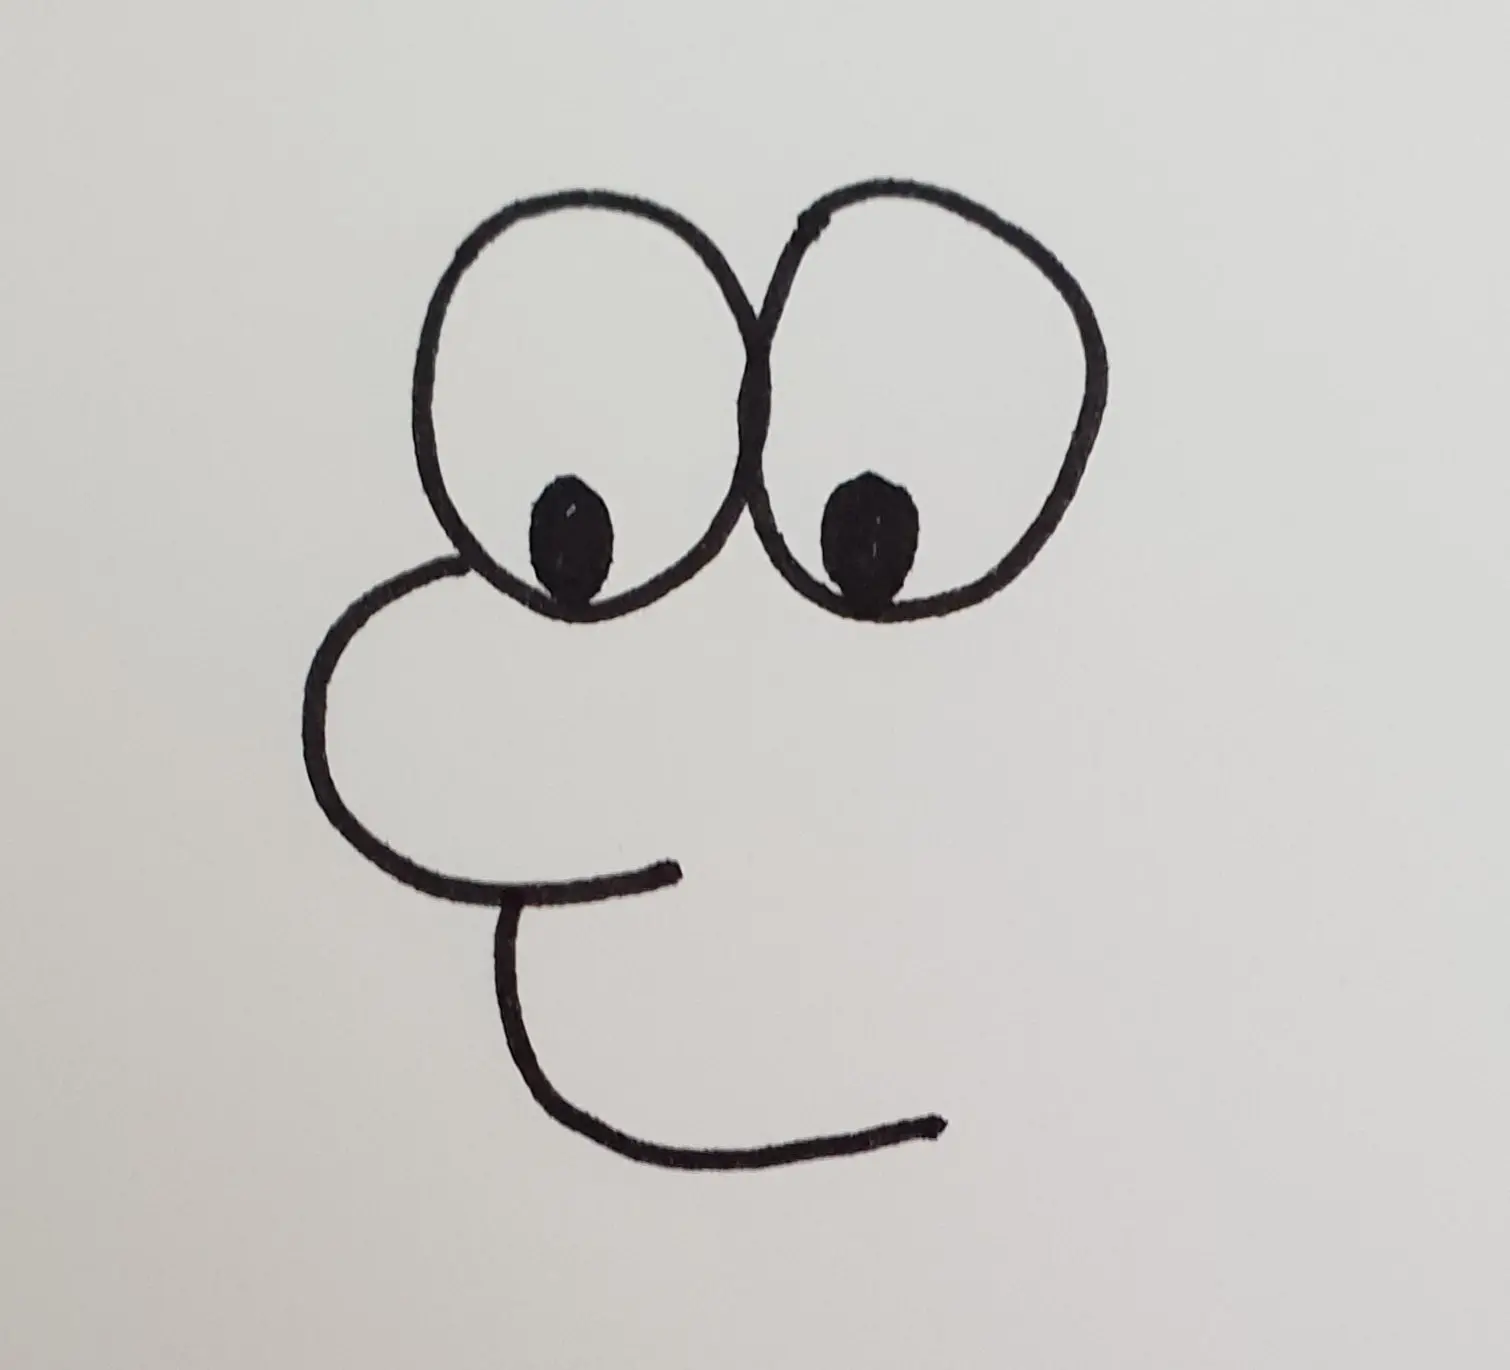
1) Draw 2 eyes against eachother. 2) Start the nose against the eyes. Think about your own nose when you draw. Do you have a large one or a smalle nose?
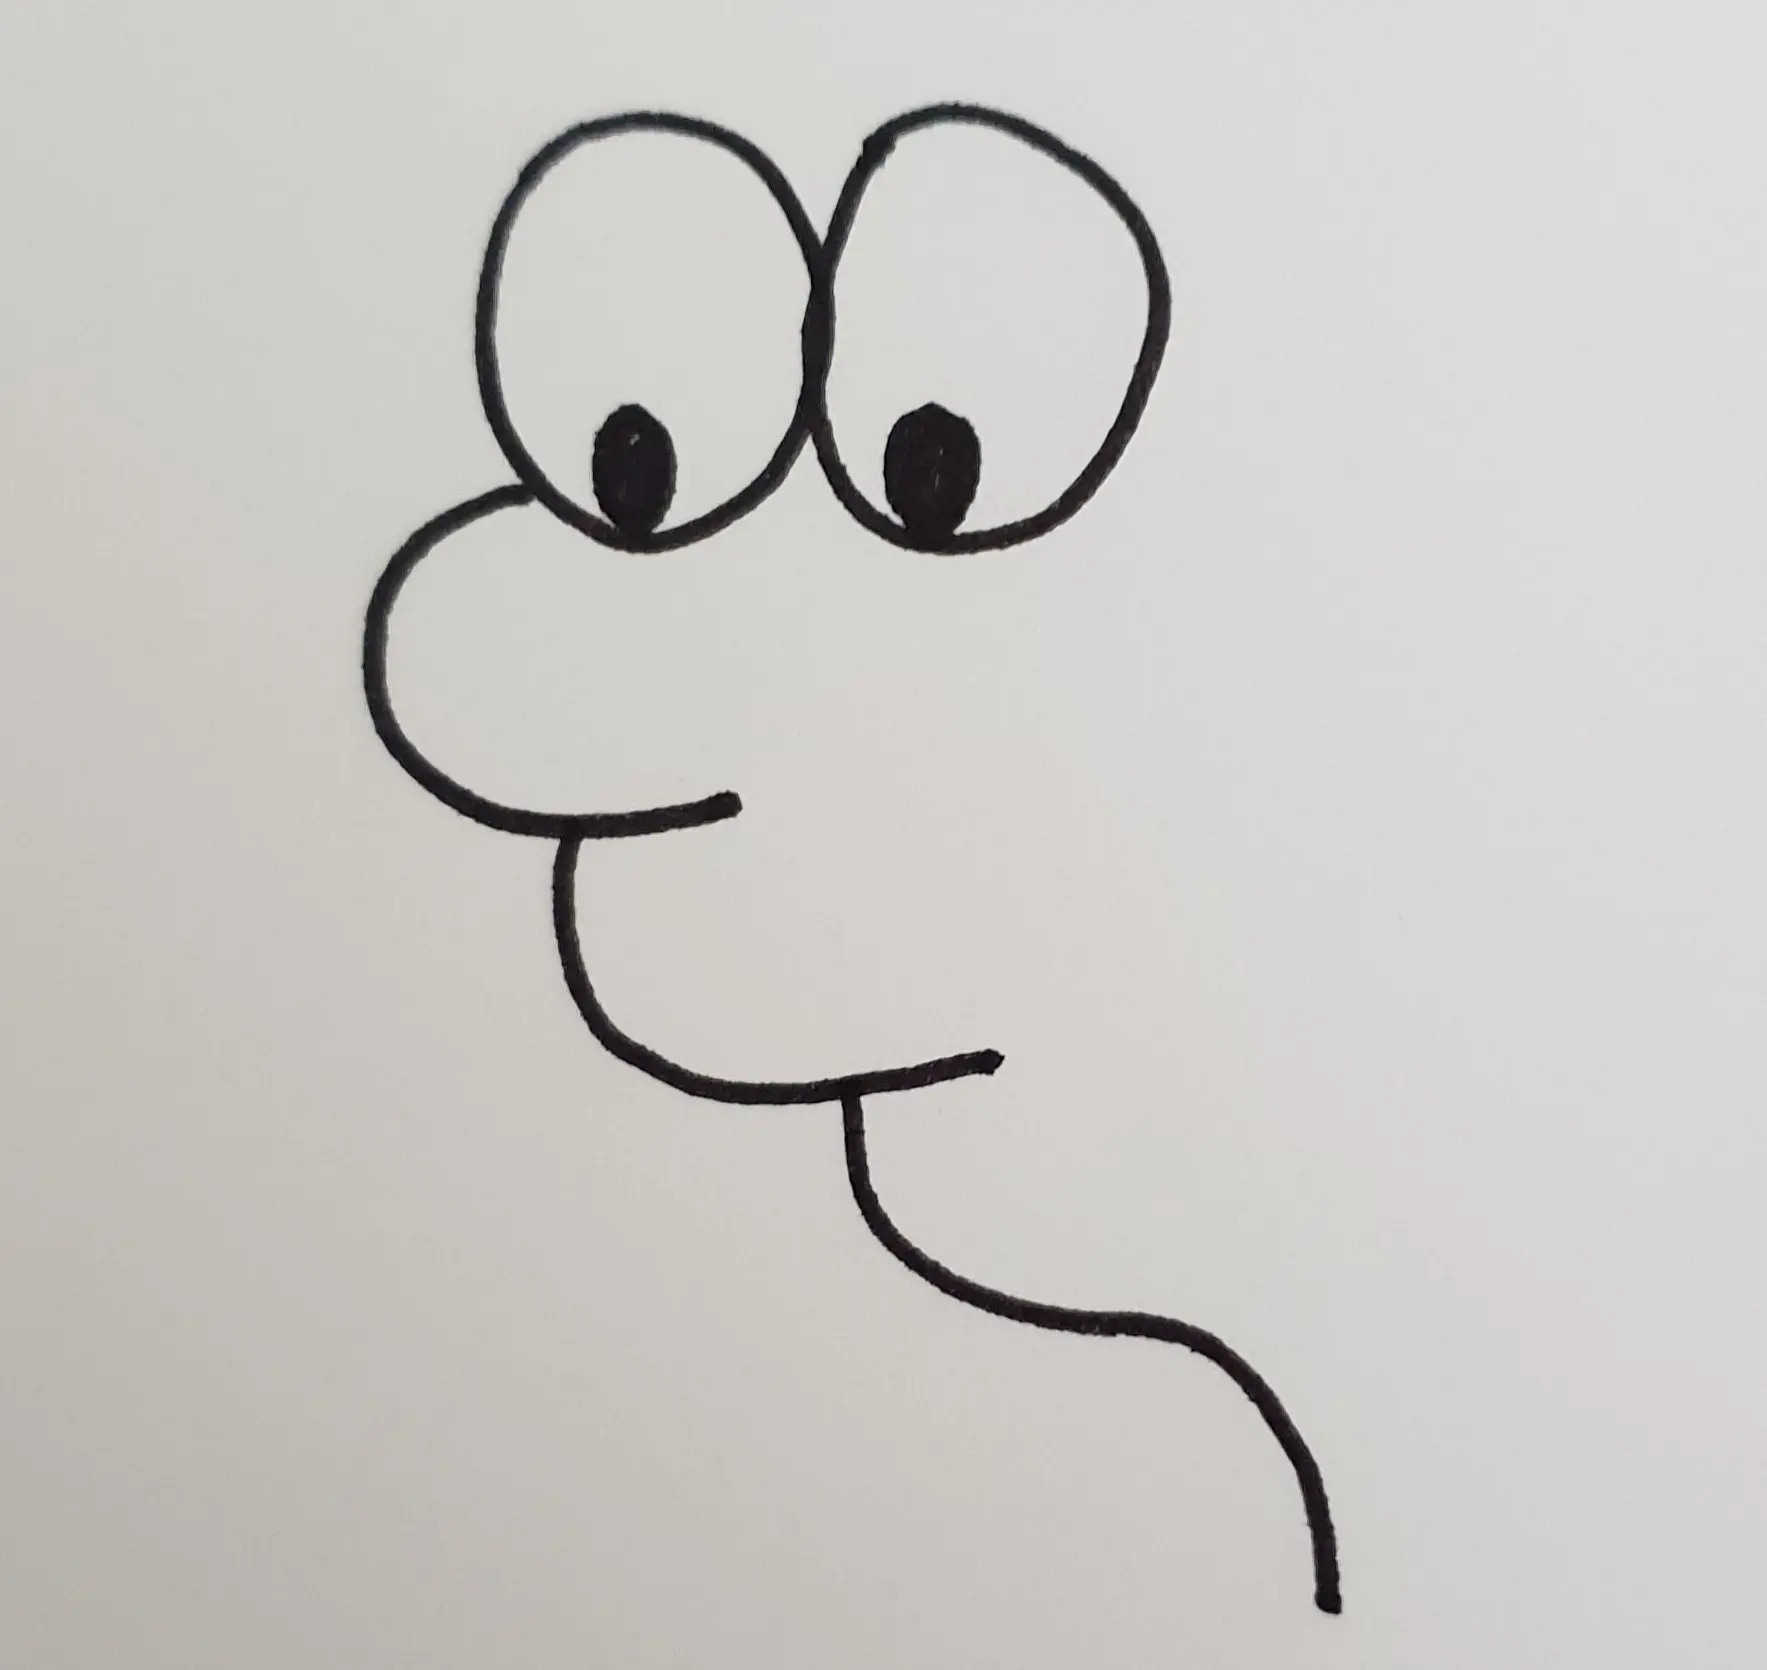
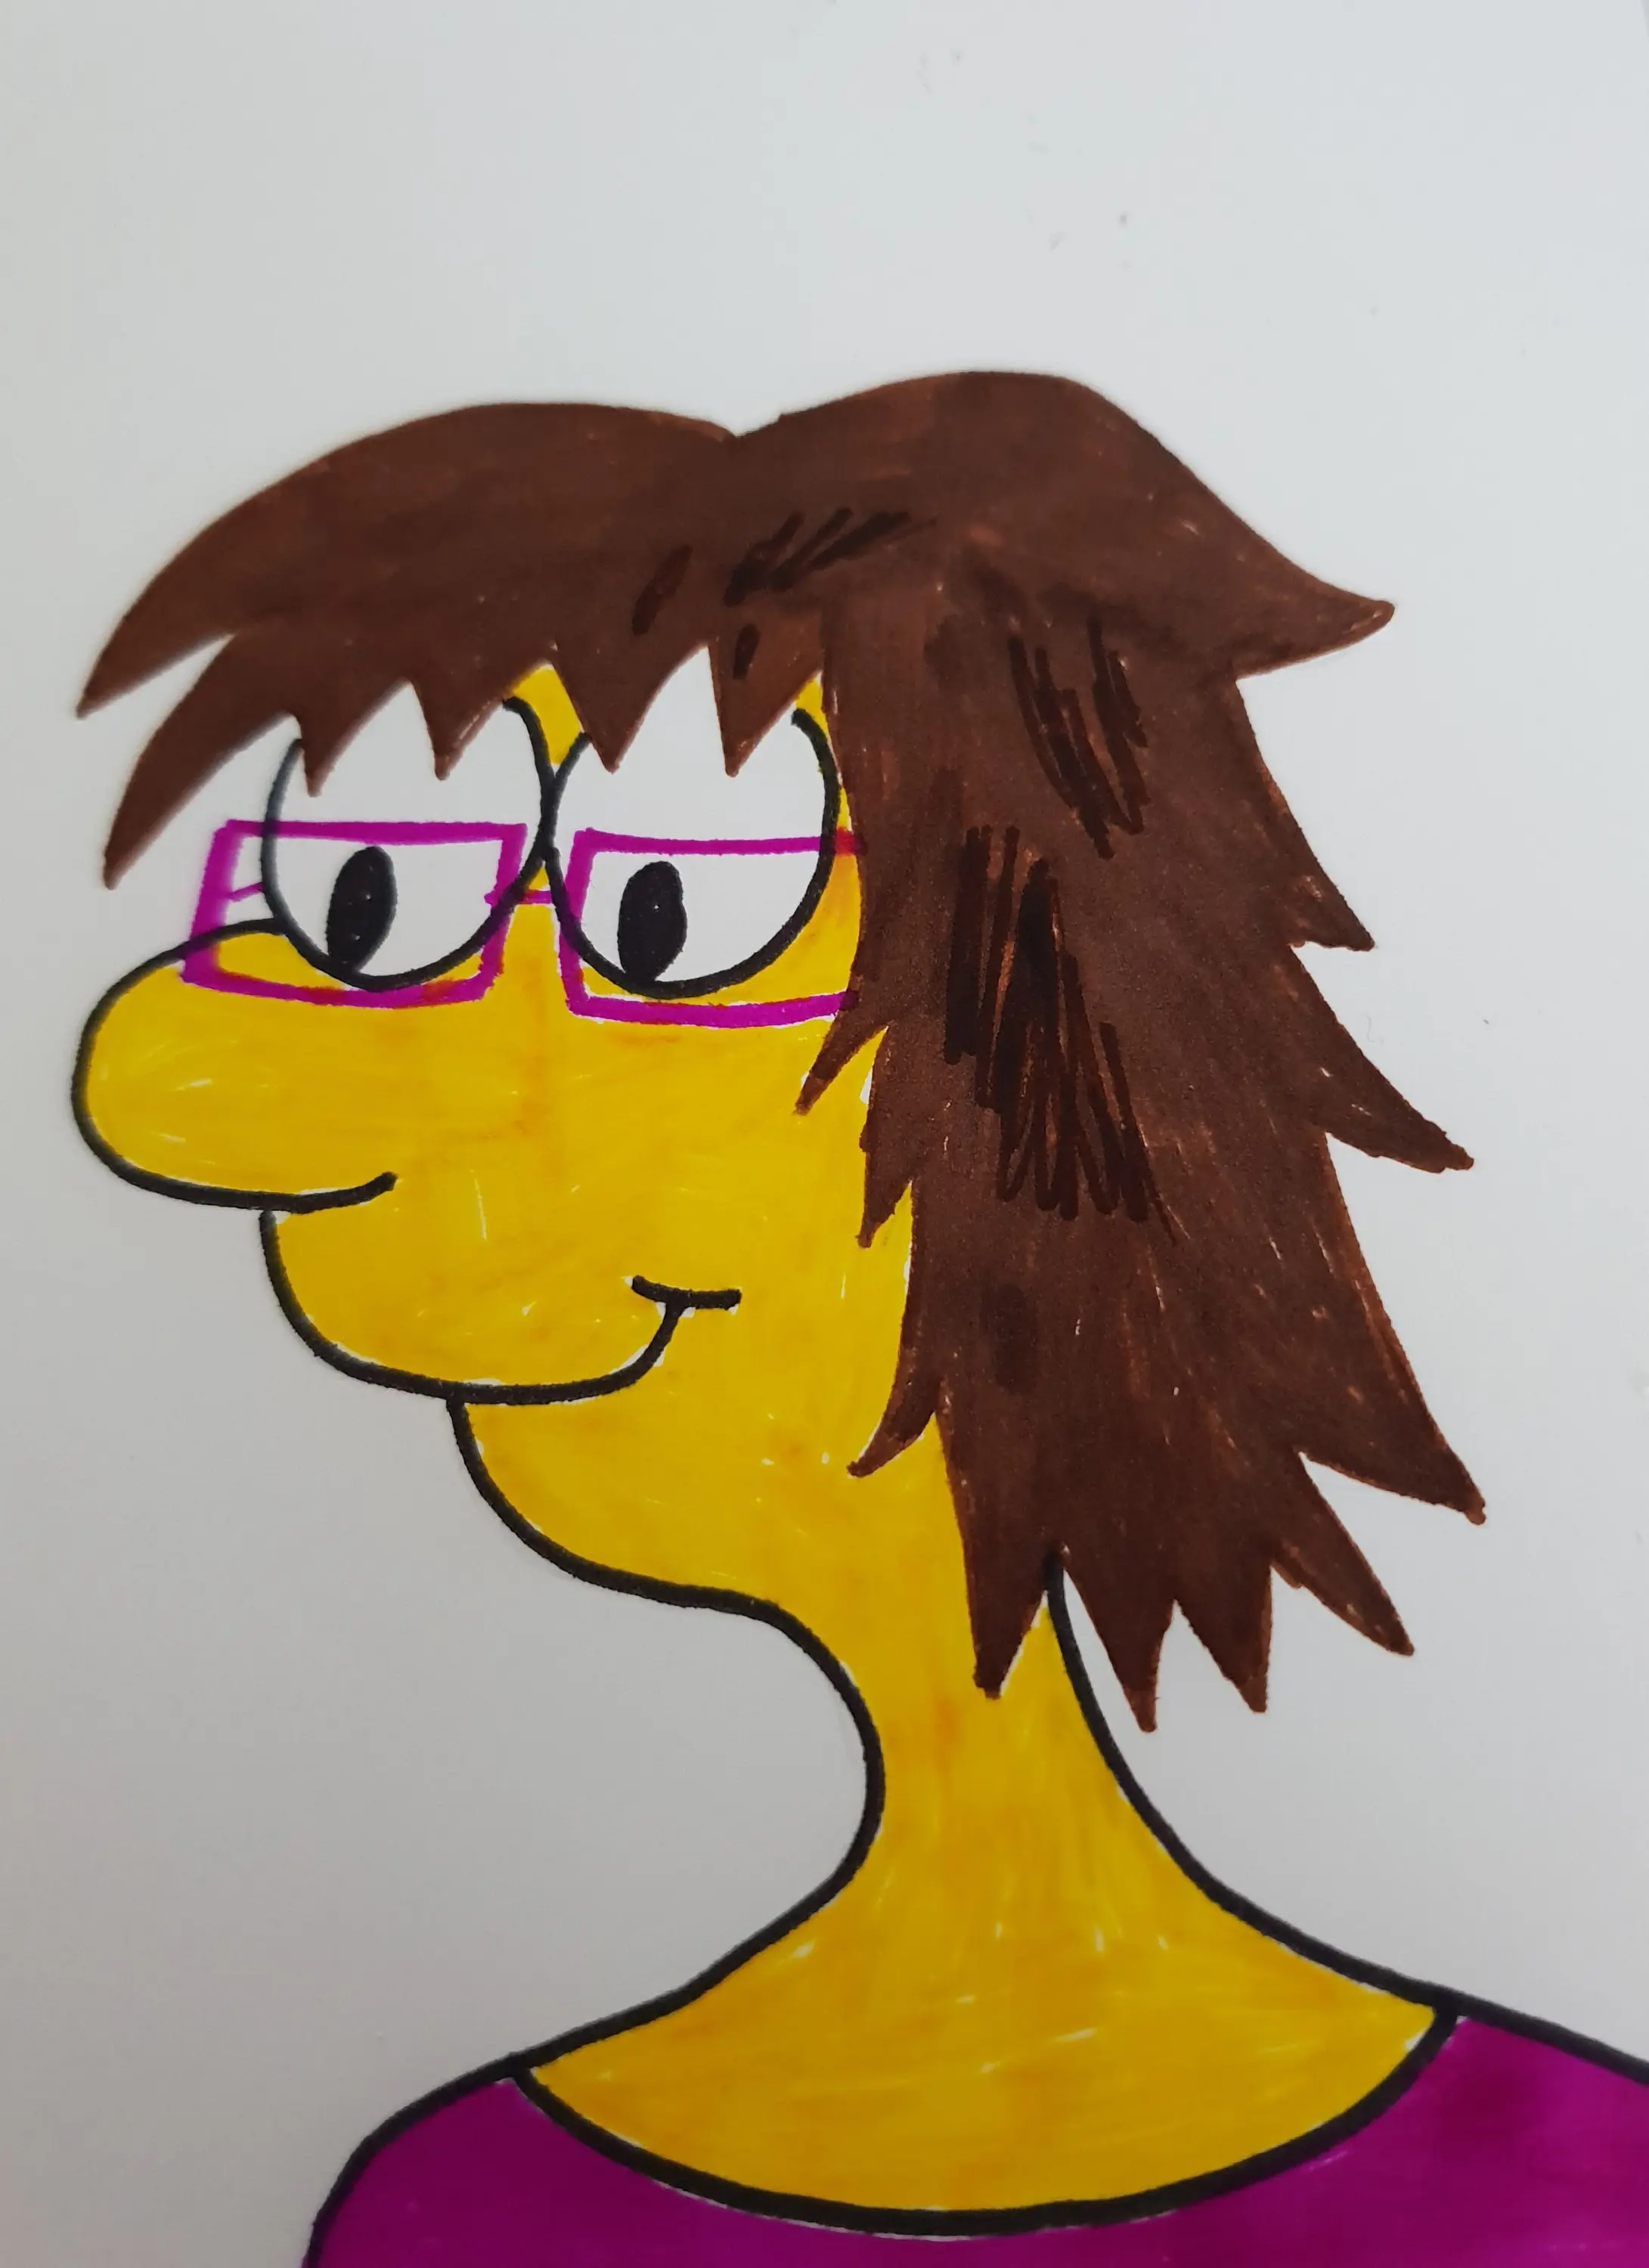
3) Draw the upper lip against the nose. 4) Draw the lower lip against the upper lig, but start more inwards. 5) Draw your hair Simpson Style. (Try to make it just like your own hair!
12 3 4
Tips:
Hair is drawn cartoon style. So don’t let them draw each hair, but shapes.
Details make the drawing a self-portrait. Accessories, favorite necklace or earrings, clothes,… The drawings can be colored in colored pencil or markers.
Sketching is always a good idea. I let them use the window to trace their sketches!
Hair is drawn in cartoon style. So not every hair is drawn seperately. The shape is much more important here!
Pin Simpsons Self-portrait for later?
Good luck! Let me know if it worked! On social media you can use #kreanitried, so I can come and check it out!
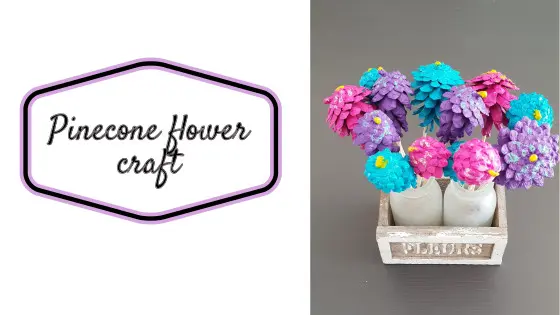
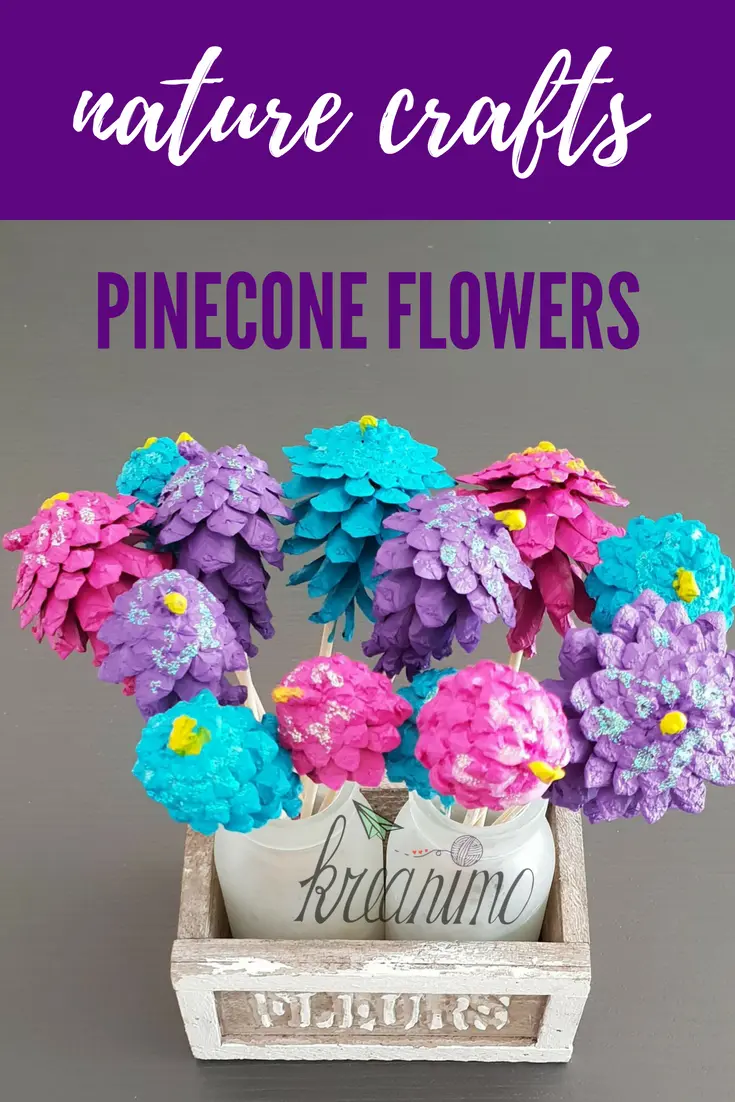
A few years ago my sons was crazy about a little book called ‘Musti and the Treehouse’. Here in Belgium Musti is a TV character of a cat for small kids. Daddy had a treehouse too when he was a kid, so mini-daddy wanted a treehouse too. The new planted trees in our garden were nog treehouse material though… our niece bumped into a wooden playhouse on a second hand facebookgroup. We went and bought that wooden house and it got called the treehouse as soon as it was built up again. Today I’ll show you how we made pinecone flowers to decorate the table of the treehouse.
The treehouse
As I already said, the treehouse isn’t really a treehouse. It’s nog around or in a tree, but we call it treehouse anyhow. Inside there’s a big chalkboard and under the house we have built the sandbox. That way, when it’s raining the kids can still play in it. There are beautiful sun-powerd lamps and they even have their own mailbox now. (We bought a new one and gave the old one to the kids for their wooden house.) From the attic the got a little vase to put flowers in, but real flowers tend to be forgotten. So pince cone flowers could do the trick there!
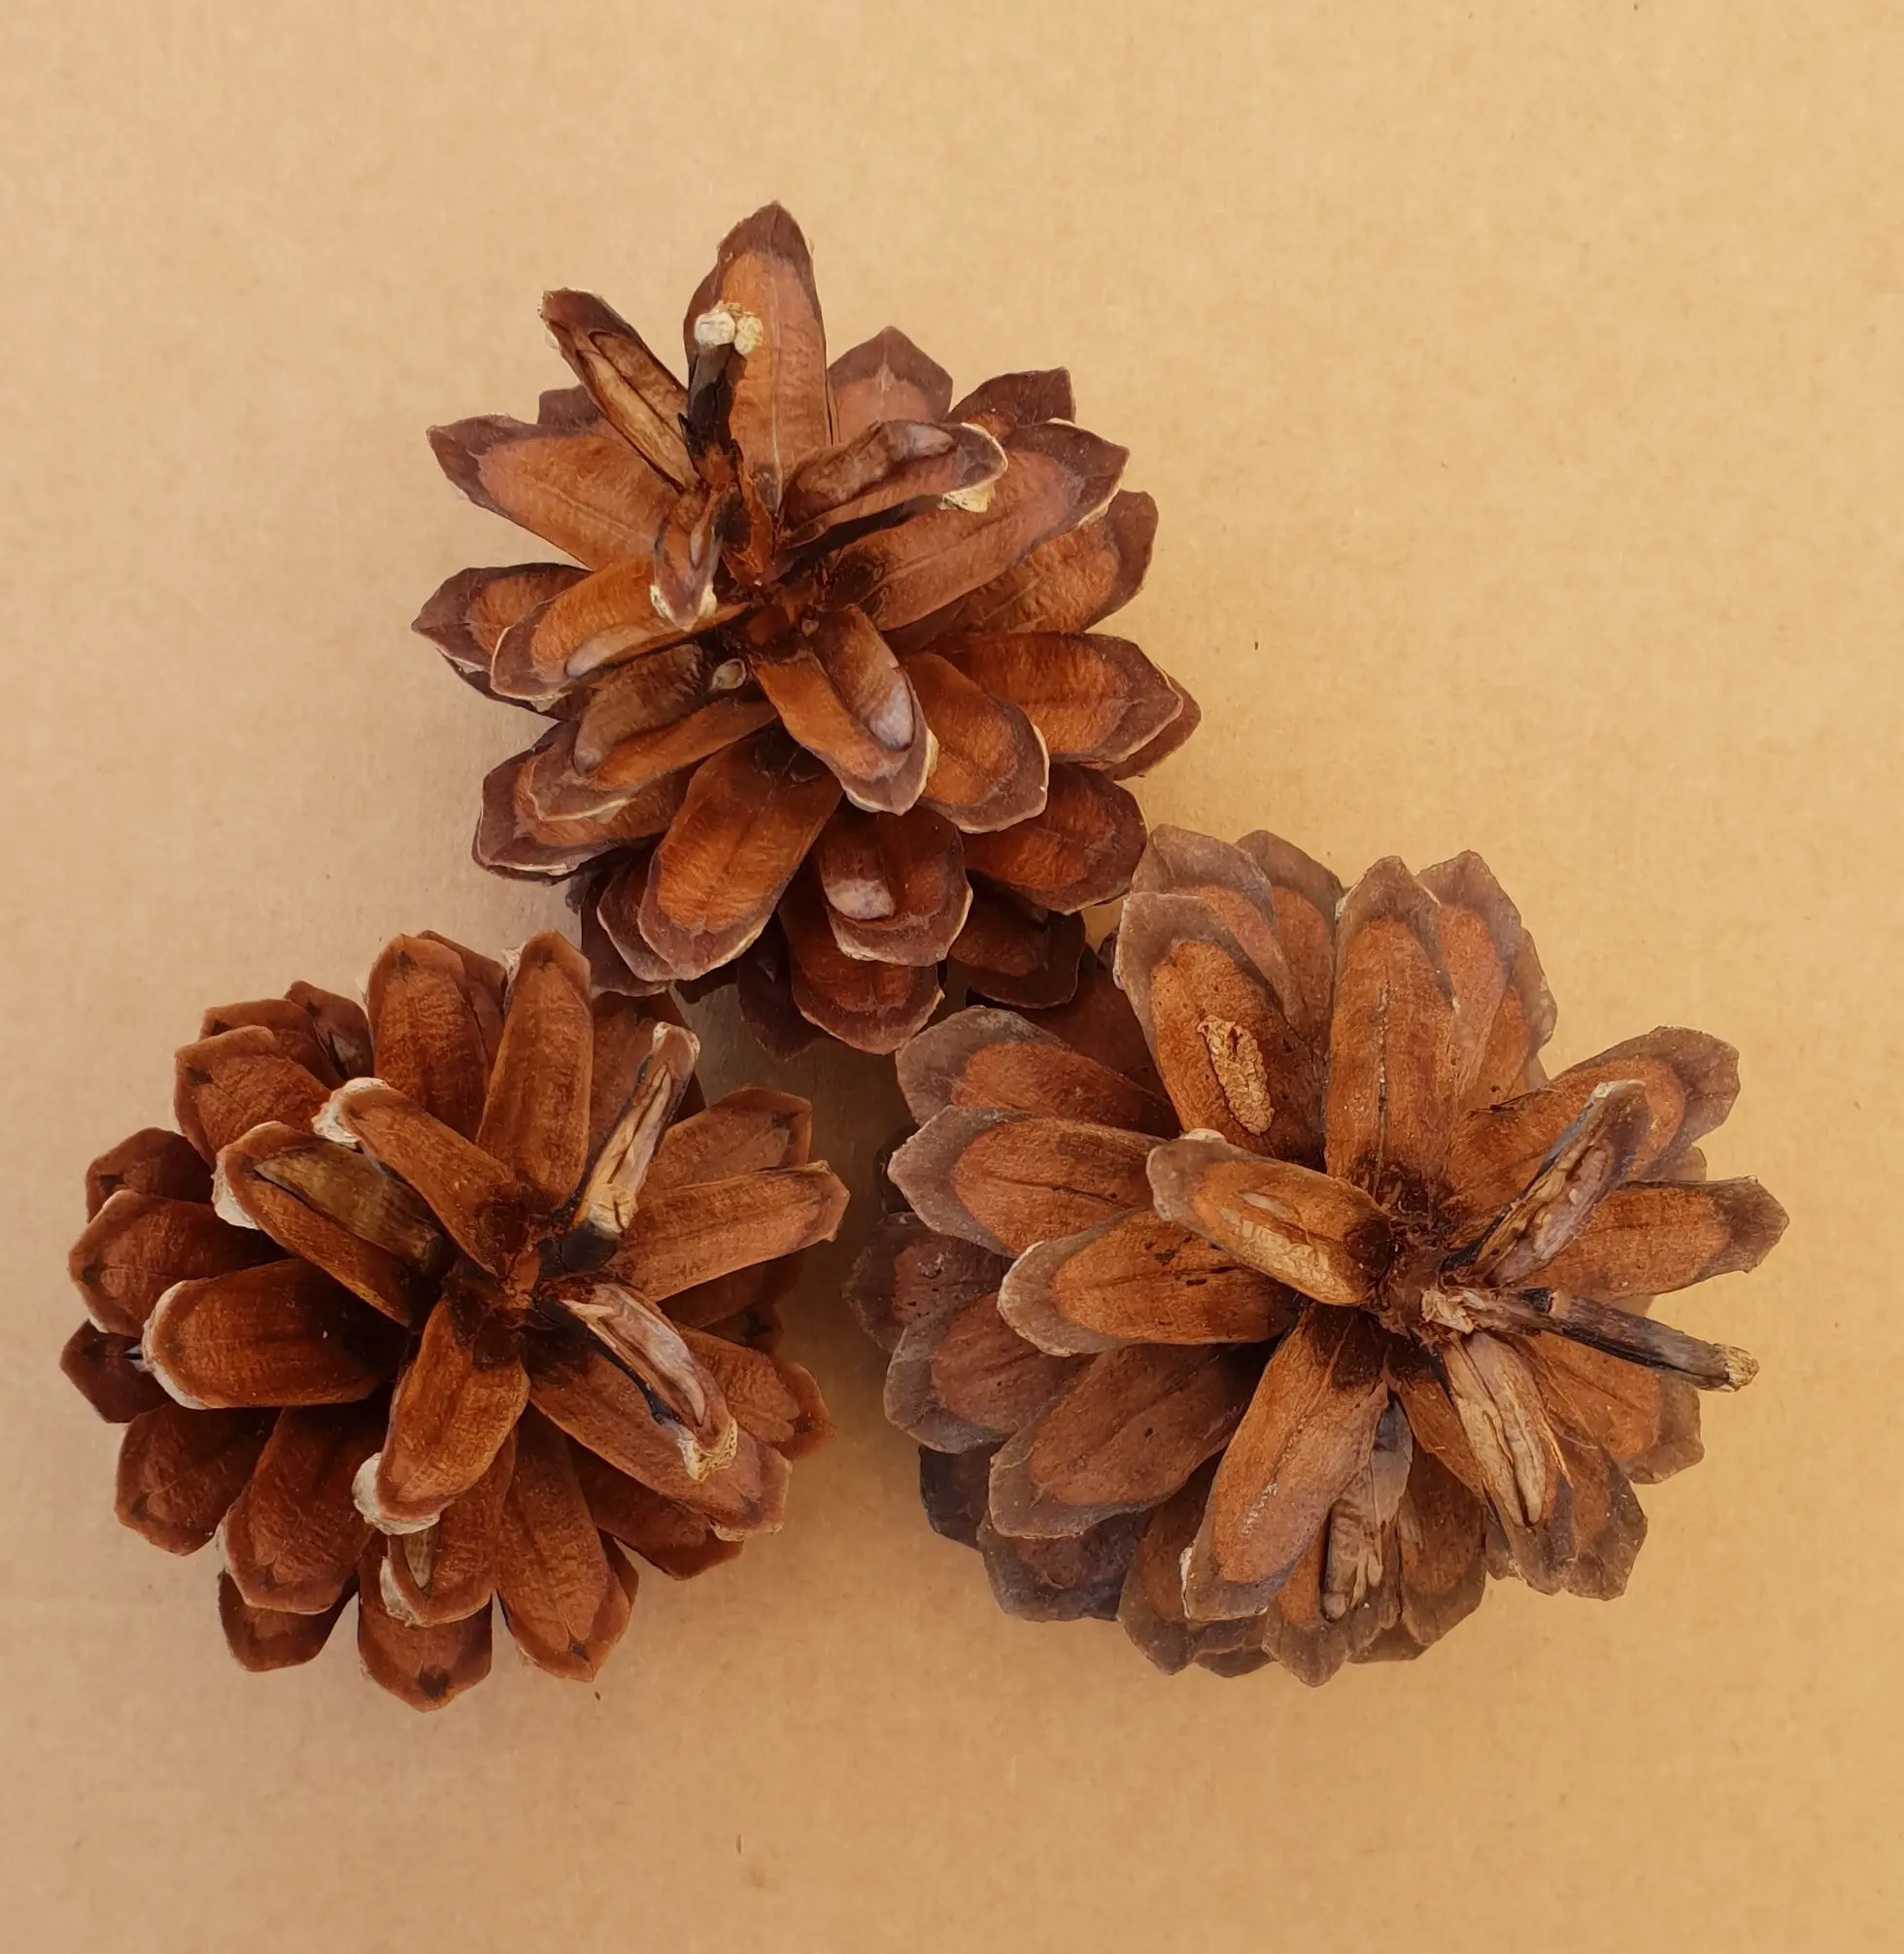
Searching for pine cones
The ladies and I went searching for pinecones. We live in a town where trees and forrest are very common, so we didn’t have to walk fare. Pine cones are there all the year round! Some people tend to think that pinecones are autumn and winter craft supplies! When I was a kid, my dad used them to light up the BBQ.
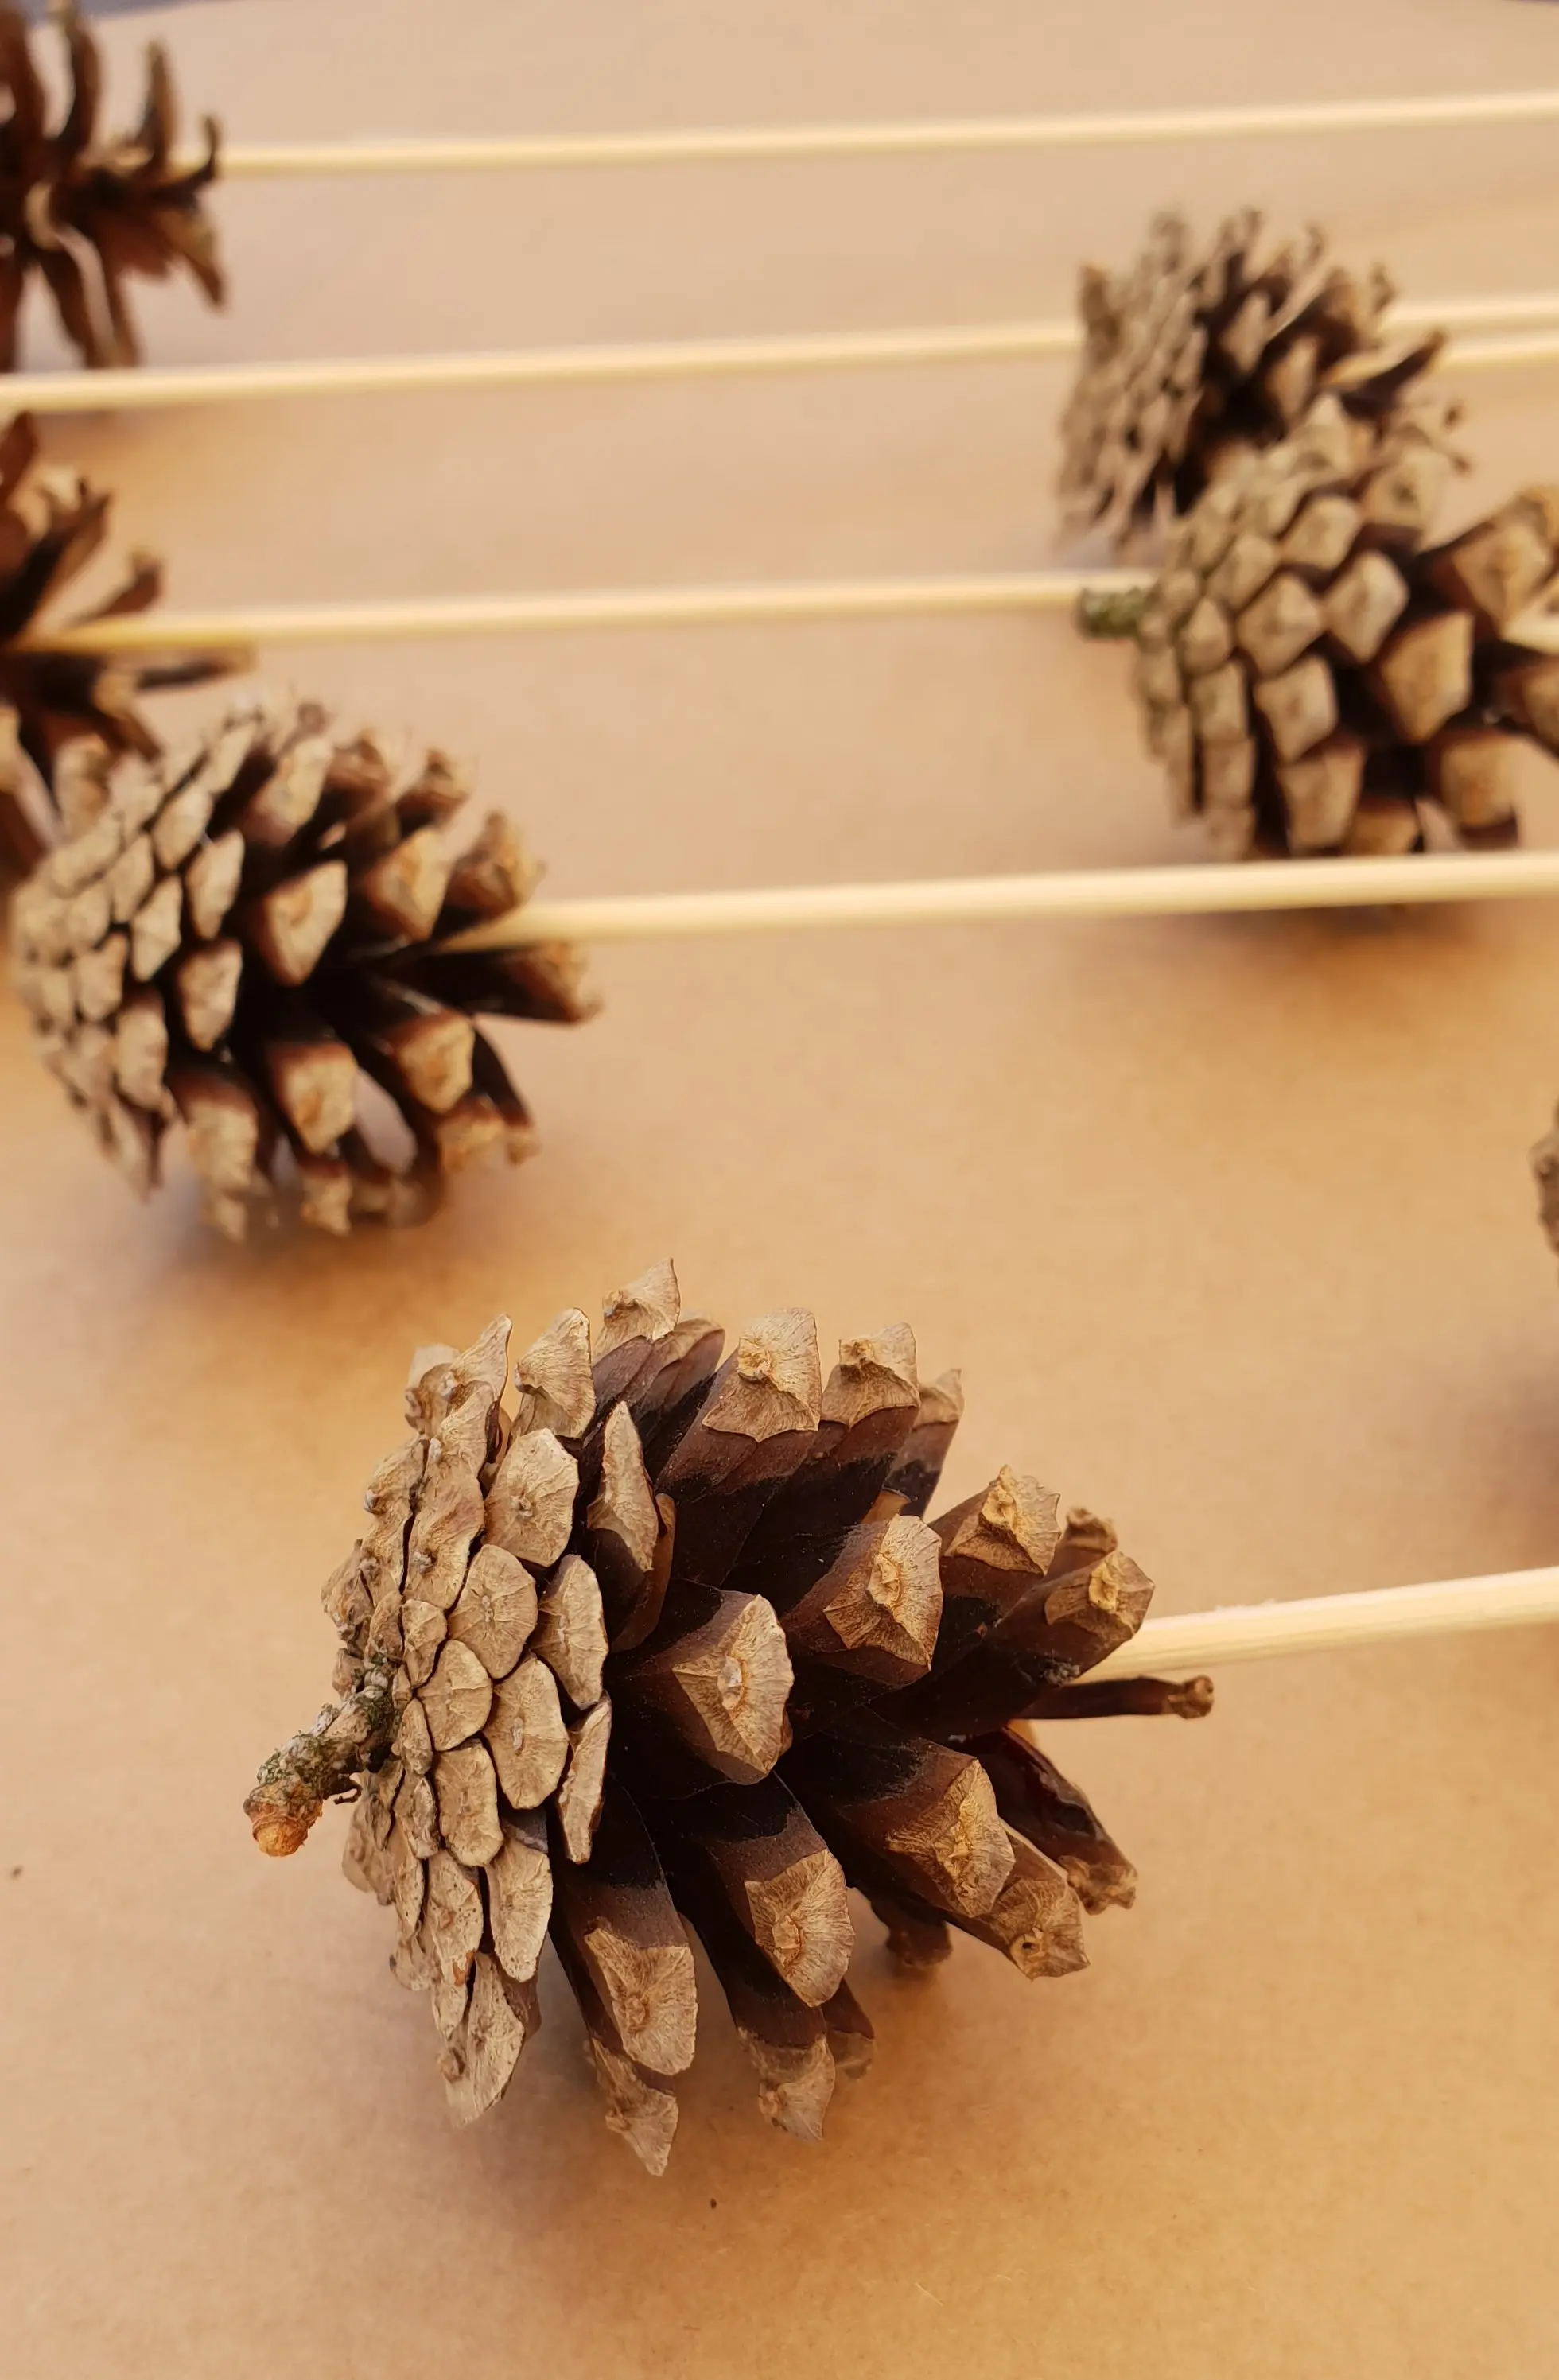
At home we cleaned the pincones and glued wooden sticks to them.
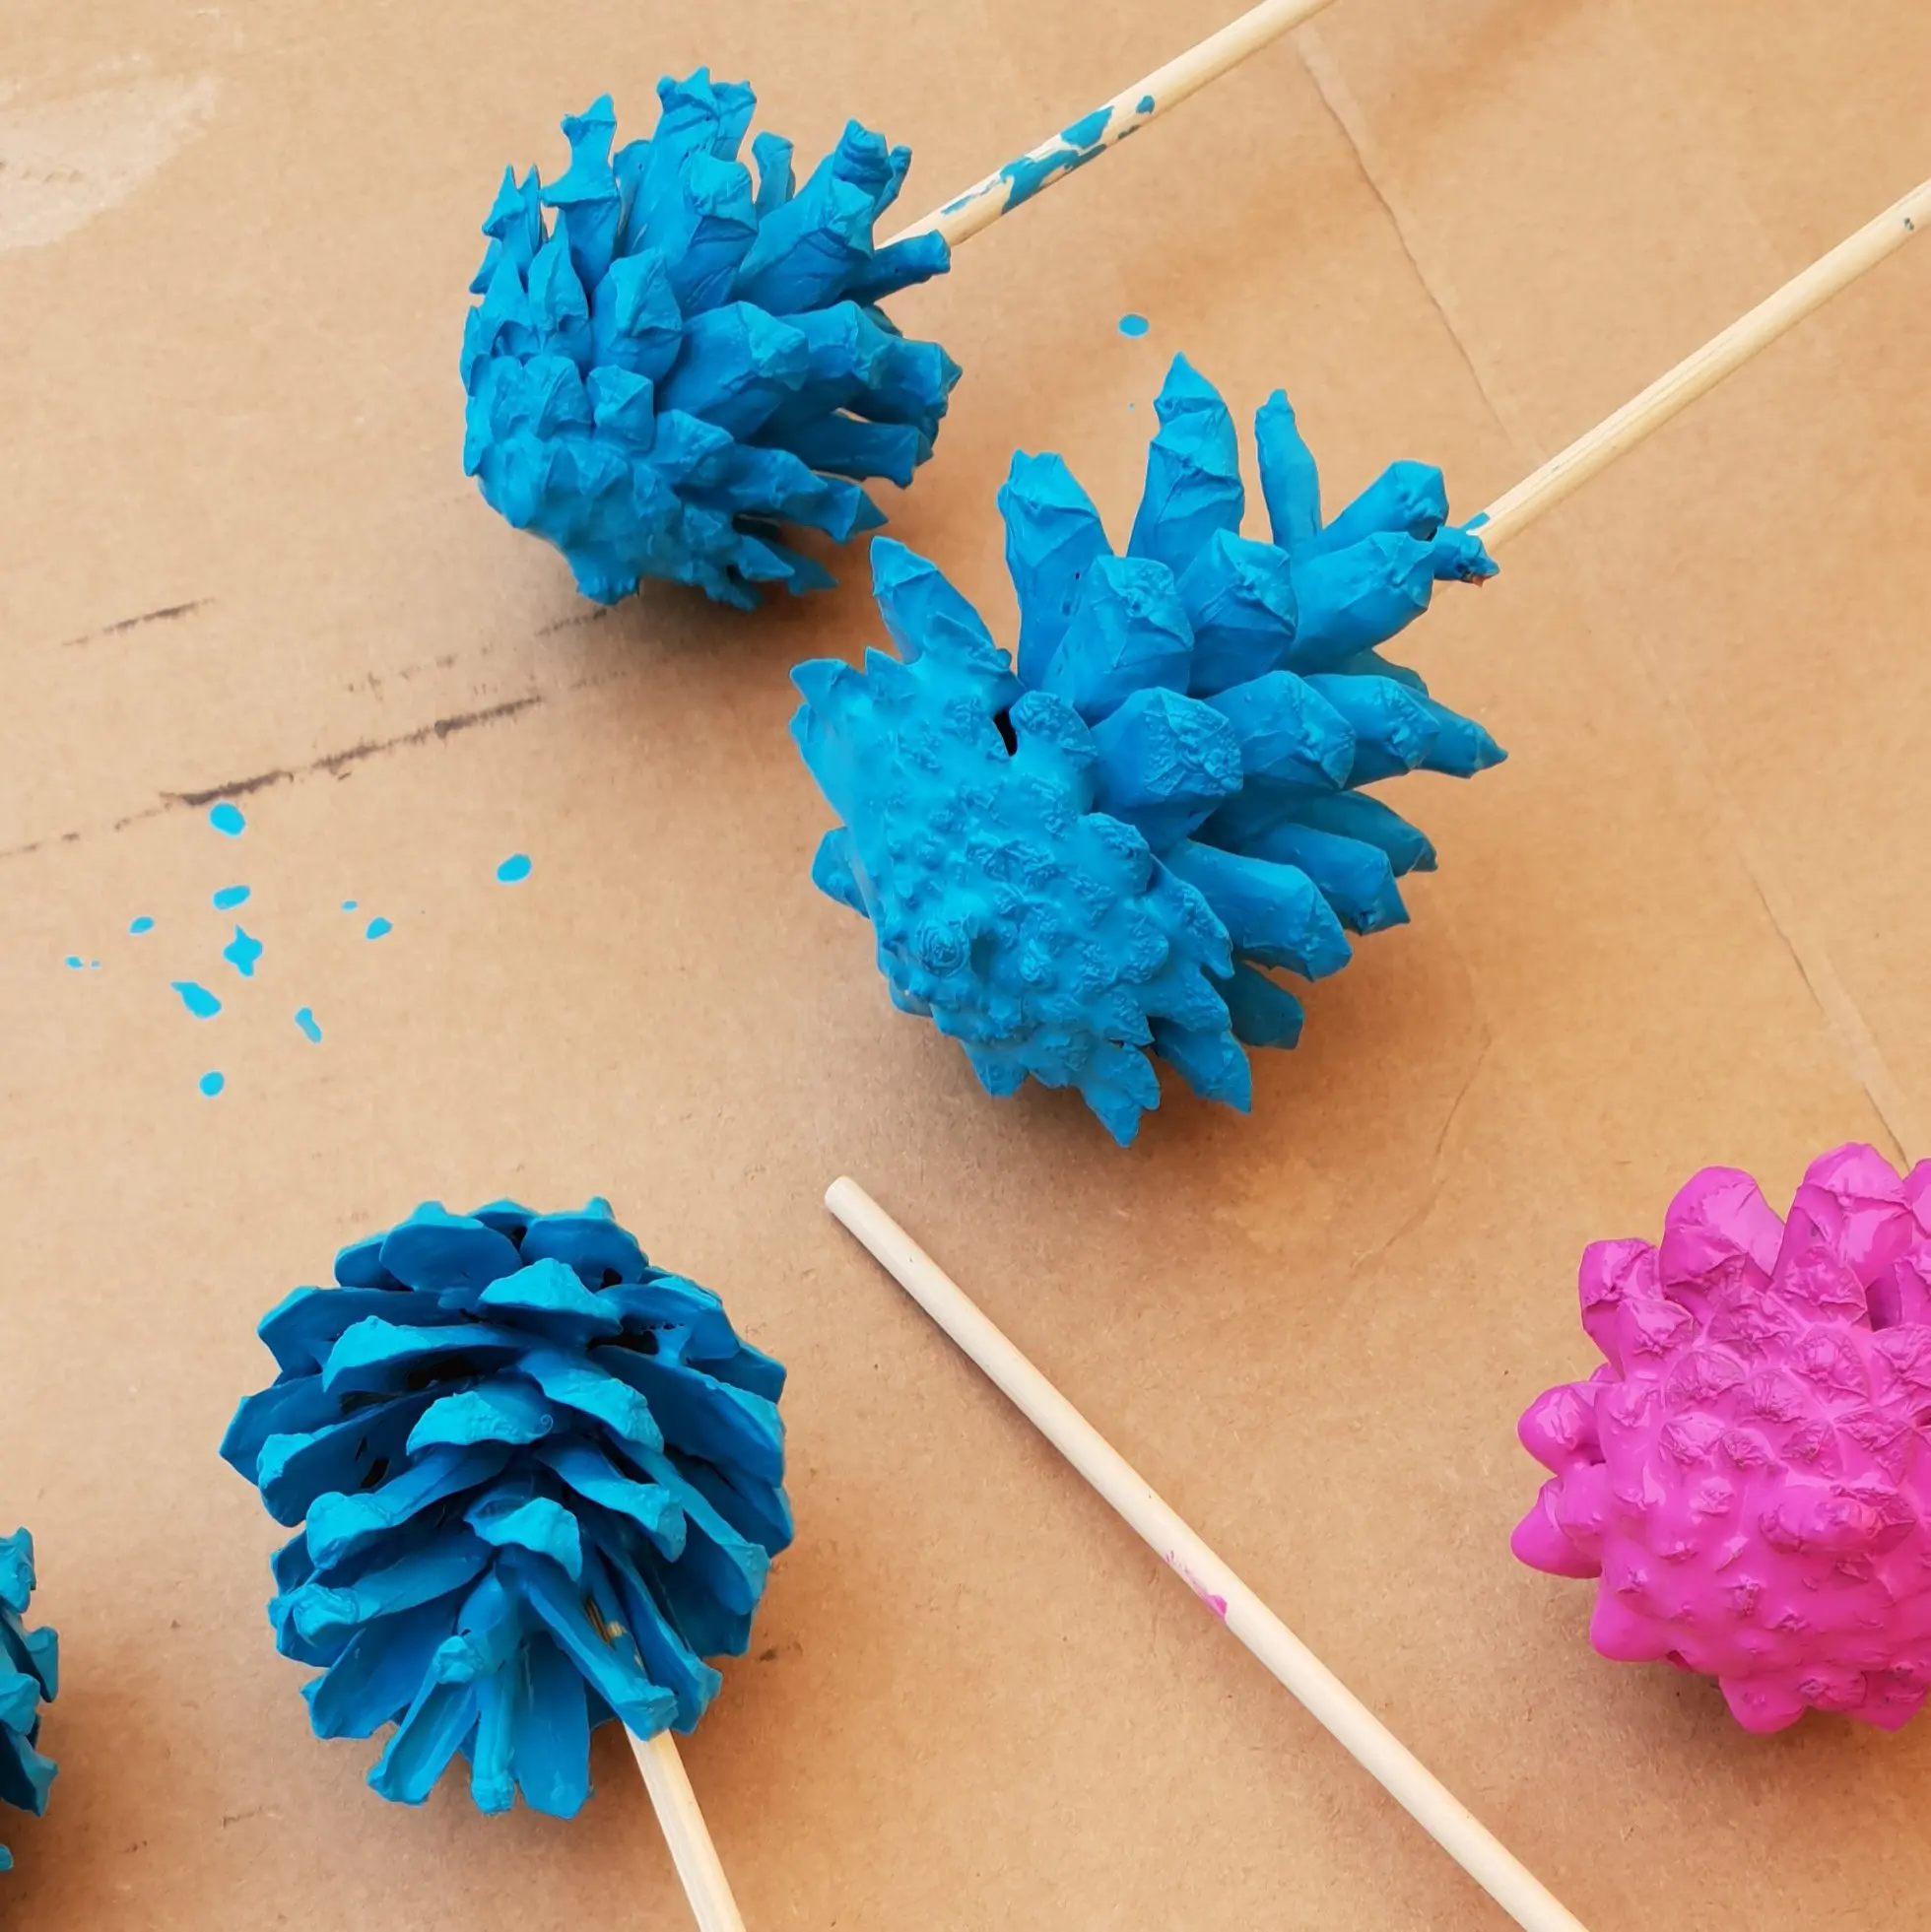
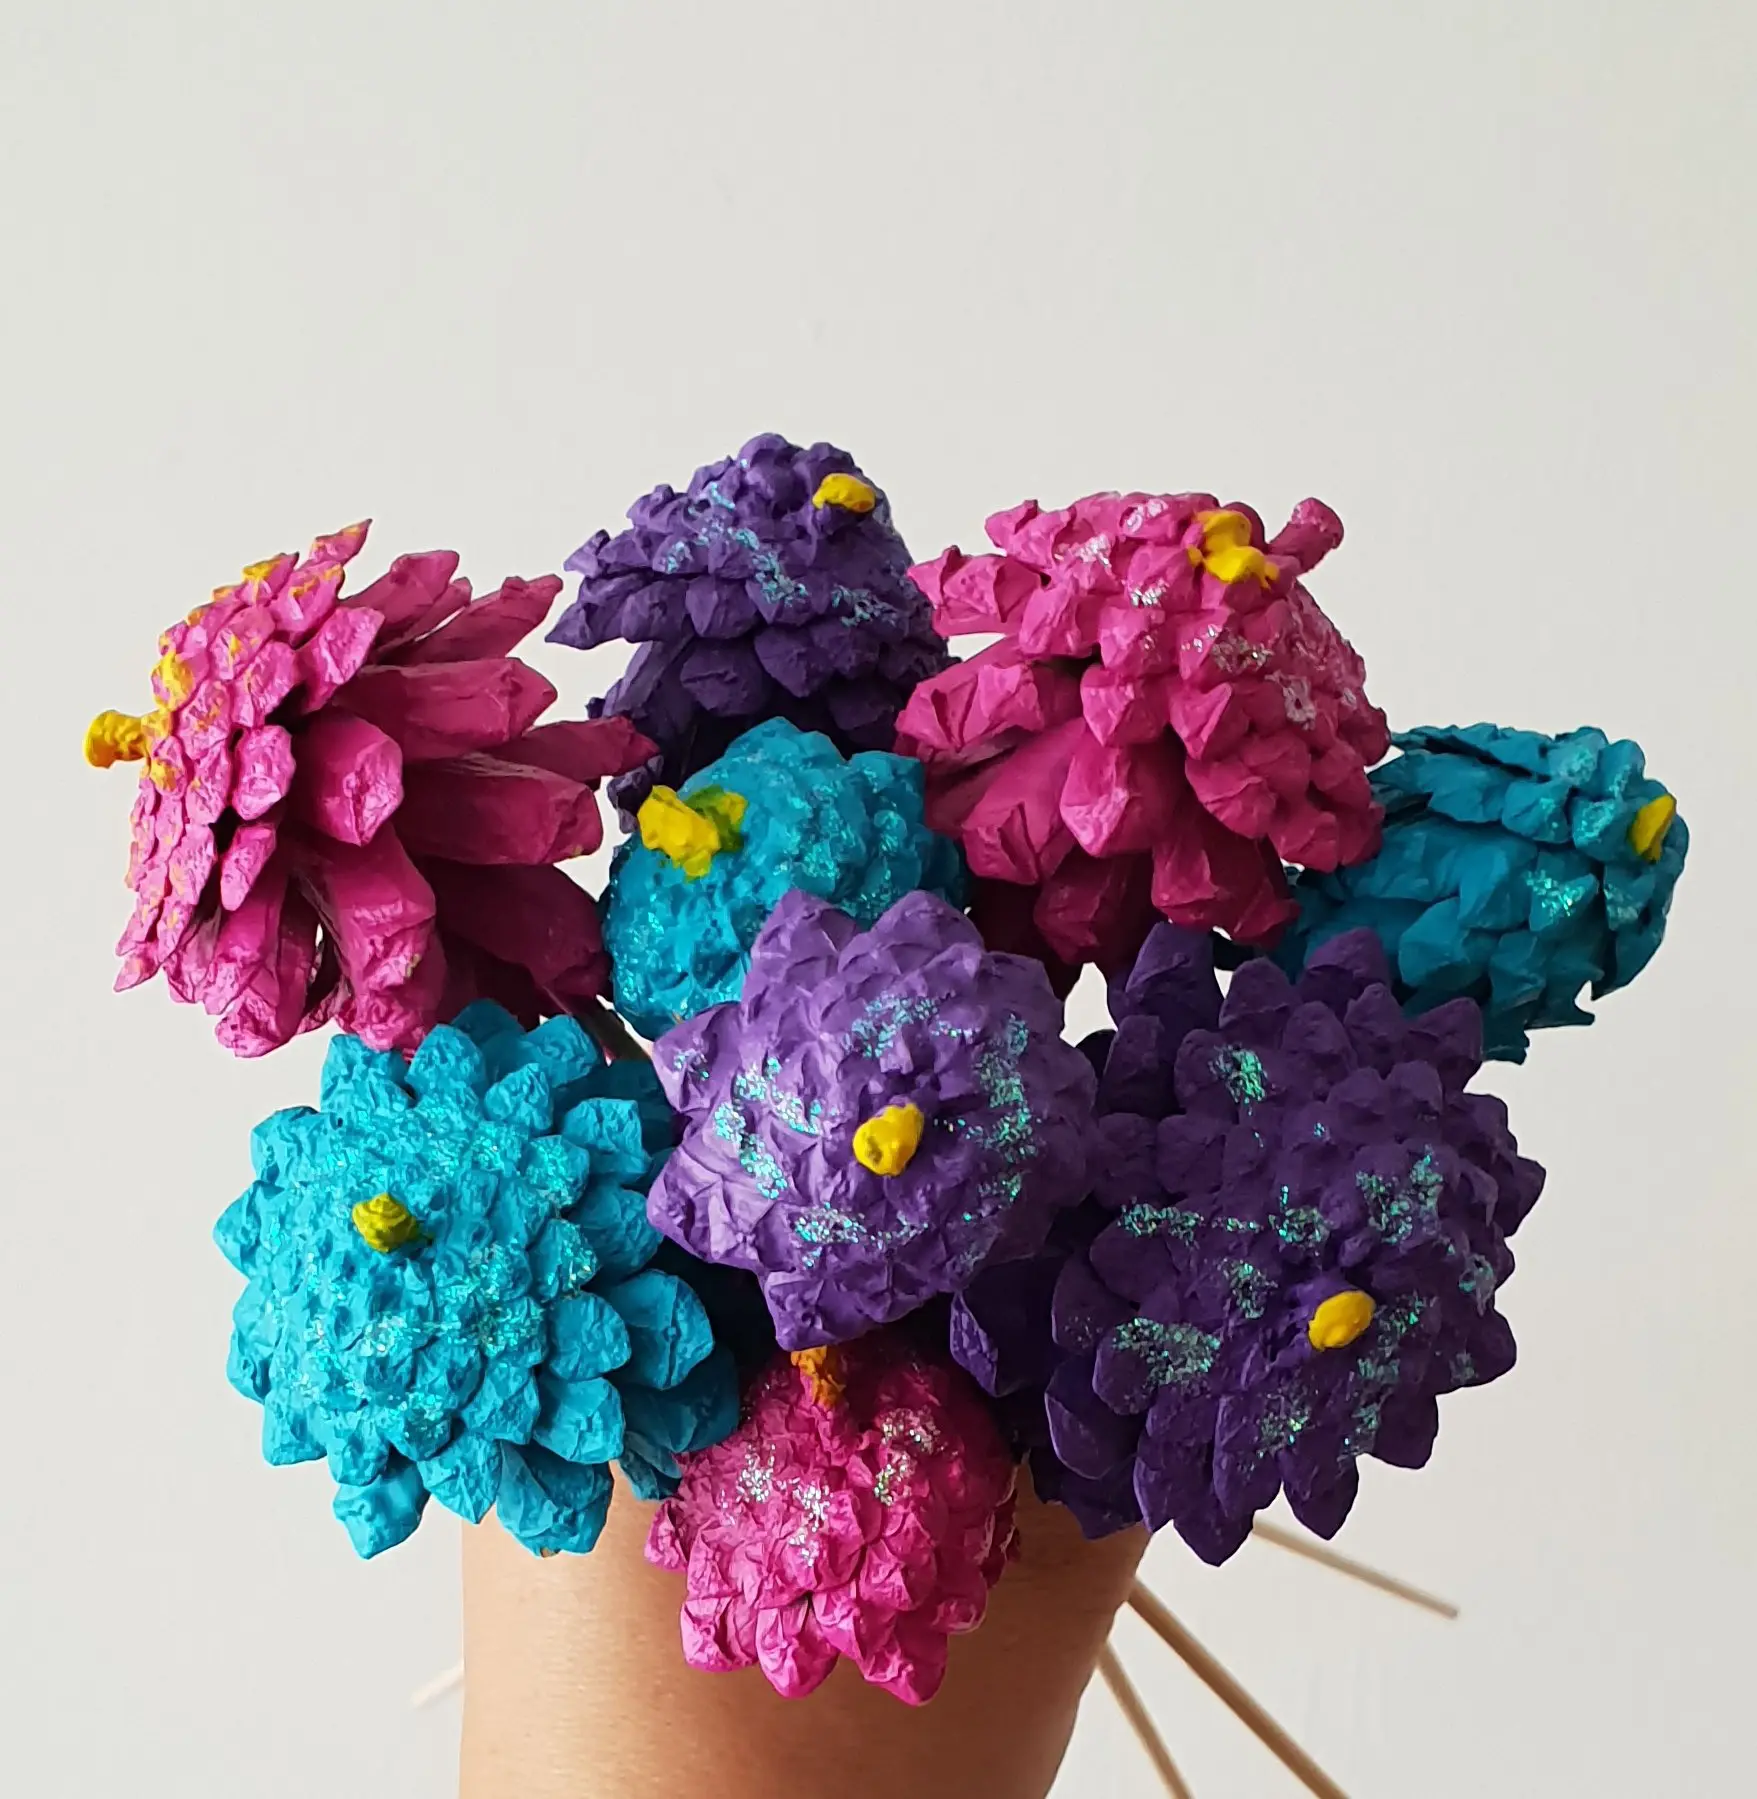
Pinecone flowers painting
The day after we glued the pinecones we could paint them. I used acrylic paint with water in a glass bowl. That works very well to paint faster. With a small brush I painted the upper parts, which hadn’t touched the paint in the glass jar.
When the paint was dry we added some glitter – off course!
Now the kis have beautiful pinecone flowers in their treehouse!
Tips for crafting with pinecones
go searching when it has been dry weather for a few weeks.
or dry the cones in the oven to bake out the insects. The oven should be on 160-180 C and you should bake them half an hour. Keep an ey on the oven though!
Use transparant glue – it looks better!
You can use differen sizes and shapes of pinecones.
Make sure the glue has dryed perfectly before you start painting.
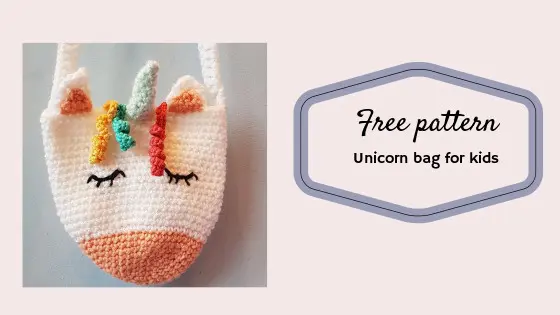
I saw a beautiful unicorn bag for kids on my Pinterst feed. The link brought me to to this etsy store where I could buy it for 20 dollars. Now if there’s anyone who appreciates handmade stuff, it’s me, but this looked so easy I wanted to try and make one, just by looking at it.
Used crochet stitches for unicorn bag
magic loop, chain, single crochet, double crochet, single crochet in back loop, single crochet in front loop, fasten off.
This bag is a short project and perfect for beginning crocheters.
Unicorn bag pattern
Pattern Unicorn bag for kids:
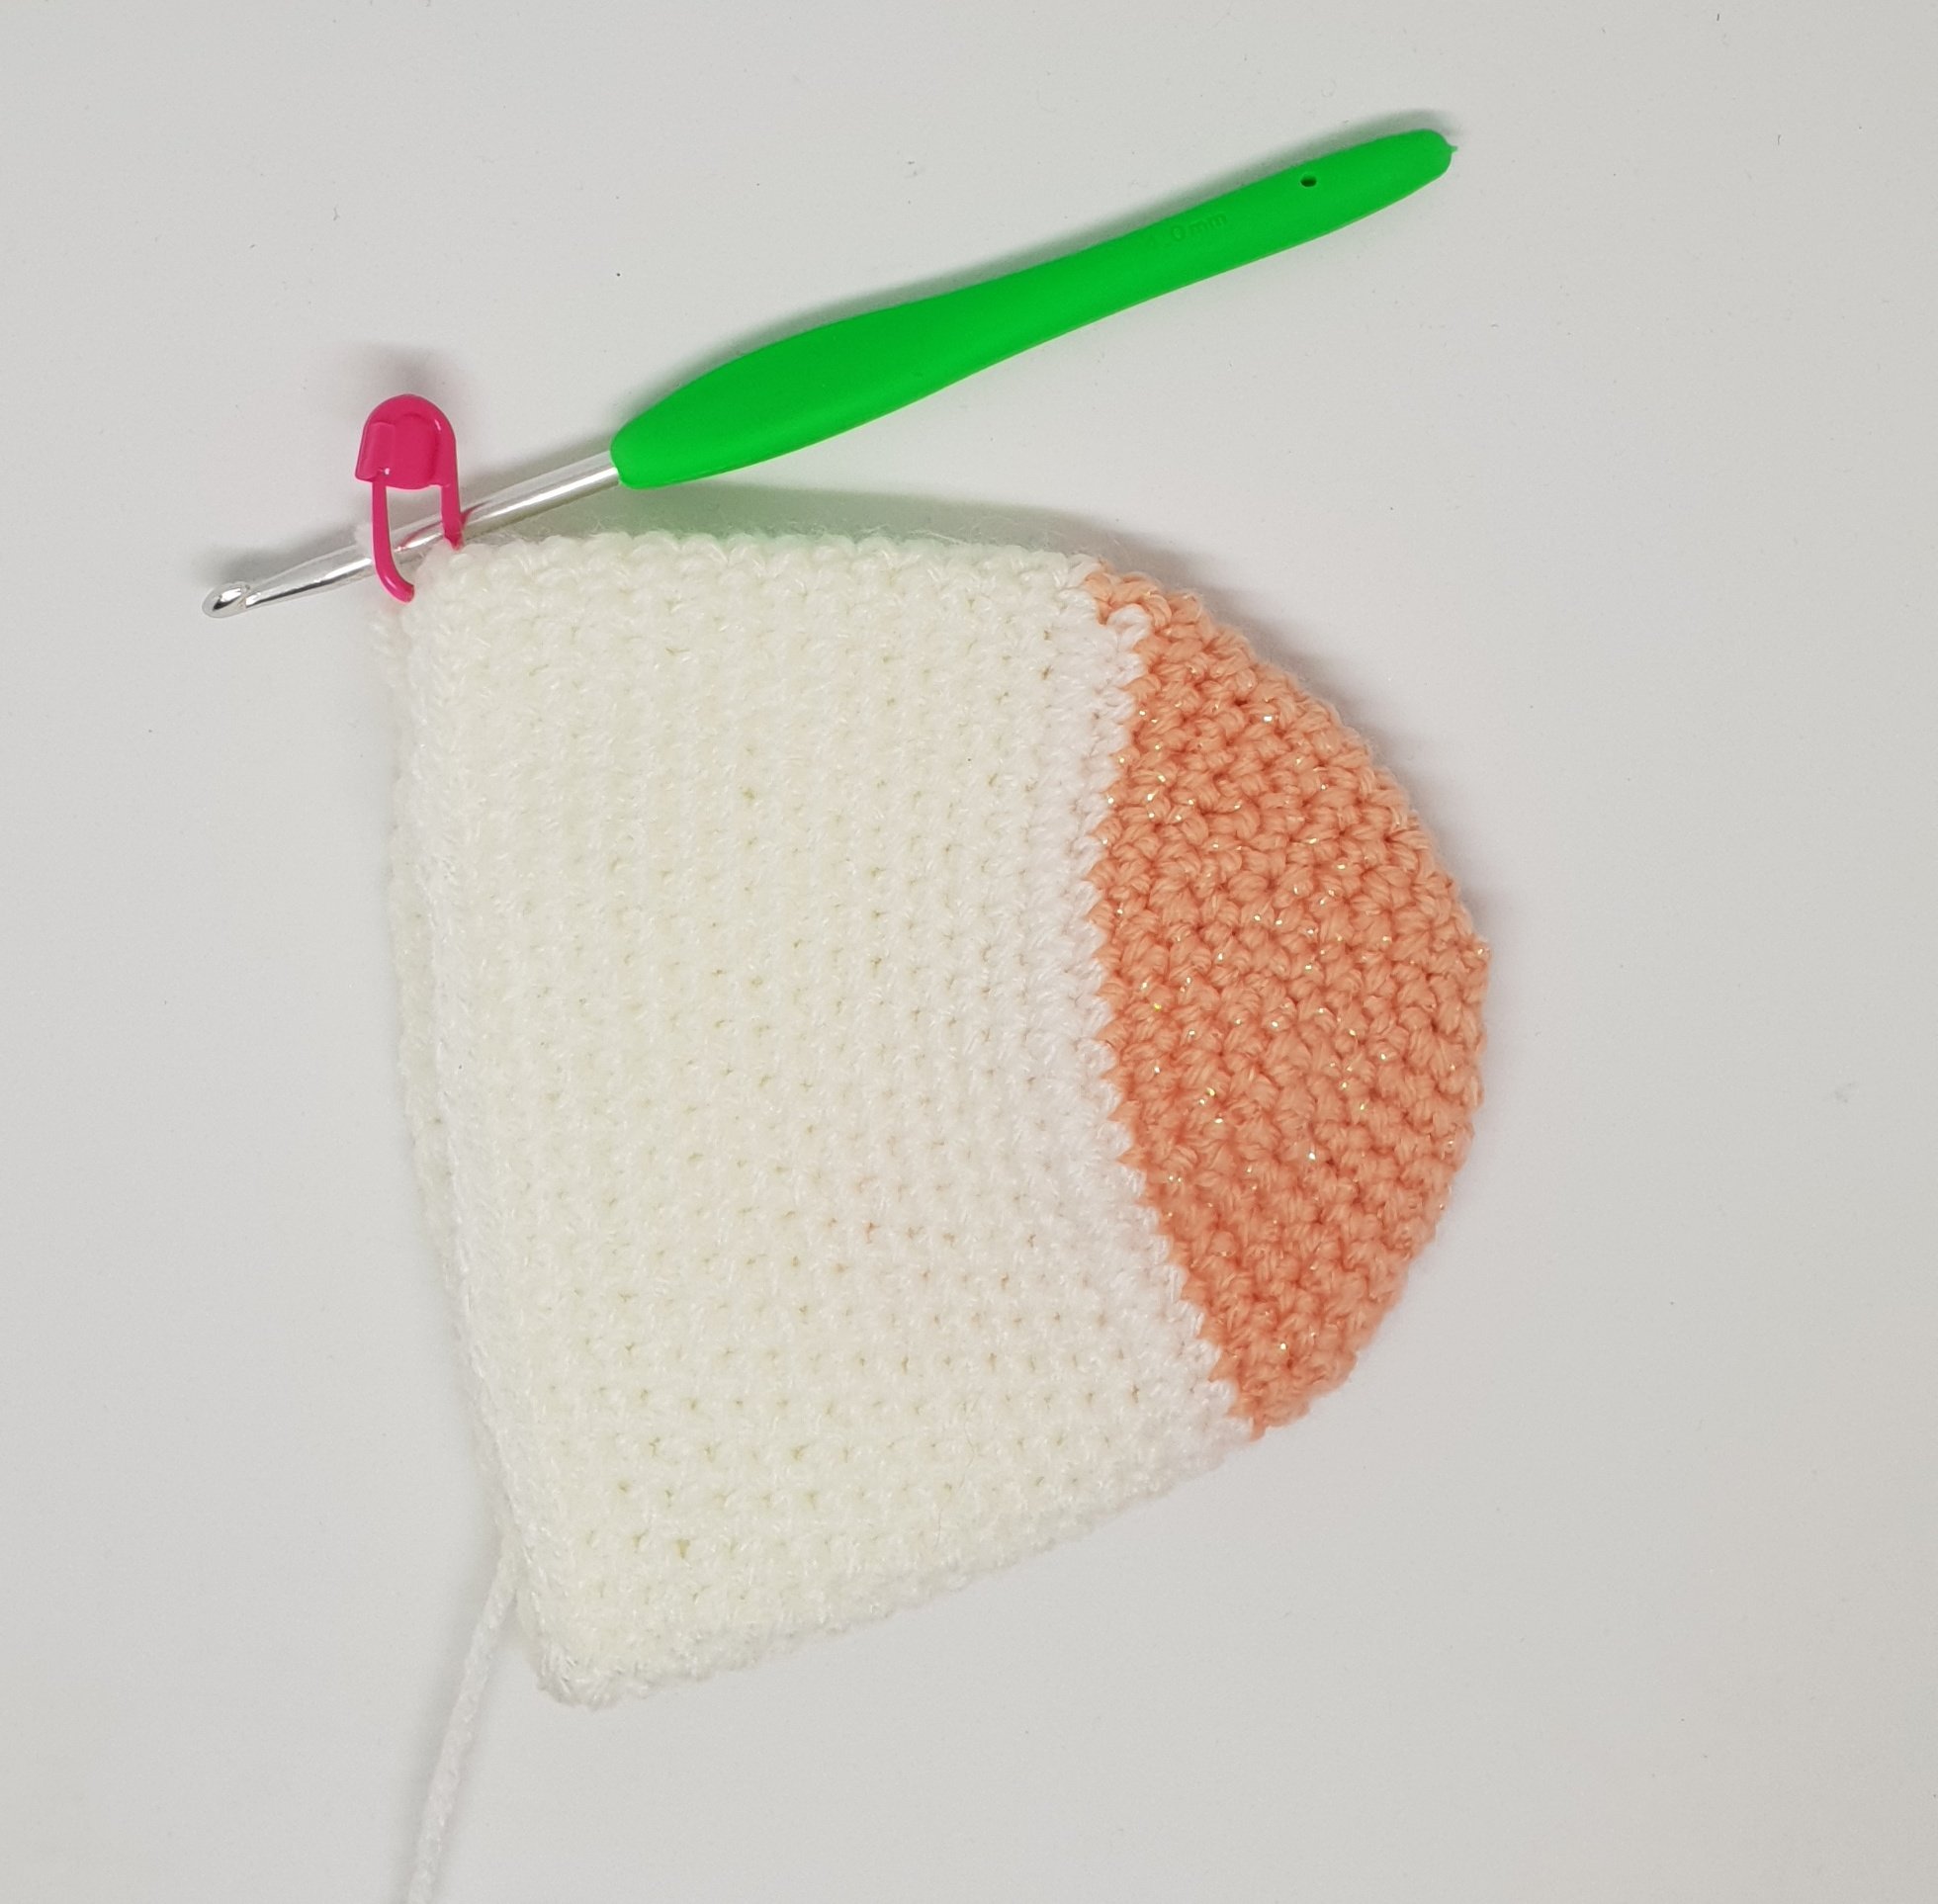
Start with magic loop in the color of the nose.
R1 – 6 sc in ml
R2 – 2 sc in every sc (12)
R3- (1sc, 2sc in nest st) repeat until the end of the row (18)
R4 – ( 1sc, 1sc, 2 sc in next st) repeat until the end of the row (24)
R5 – (1sc, 1sc, 1sc, 2 sc in next st) repeat until the end of de row (30)
R6 – 30 sc (30)
R7 – (4 sc, 2sc in nest st) repeat until the end of de row (36)
R8 – (5sc, 2sc in next st) repeat until the end of de row (42)
R9 – 42 sc (42)
R10 – (6sc, 2 sc in next st) repeat until the end of de row (48)
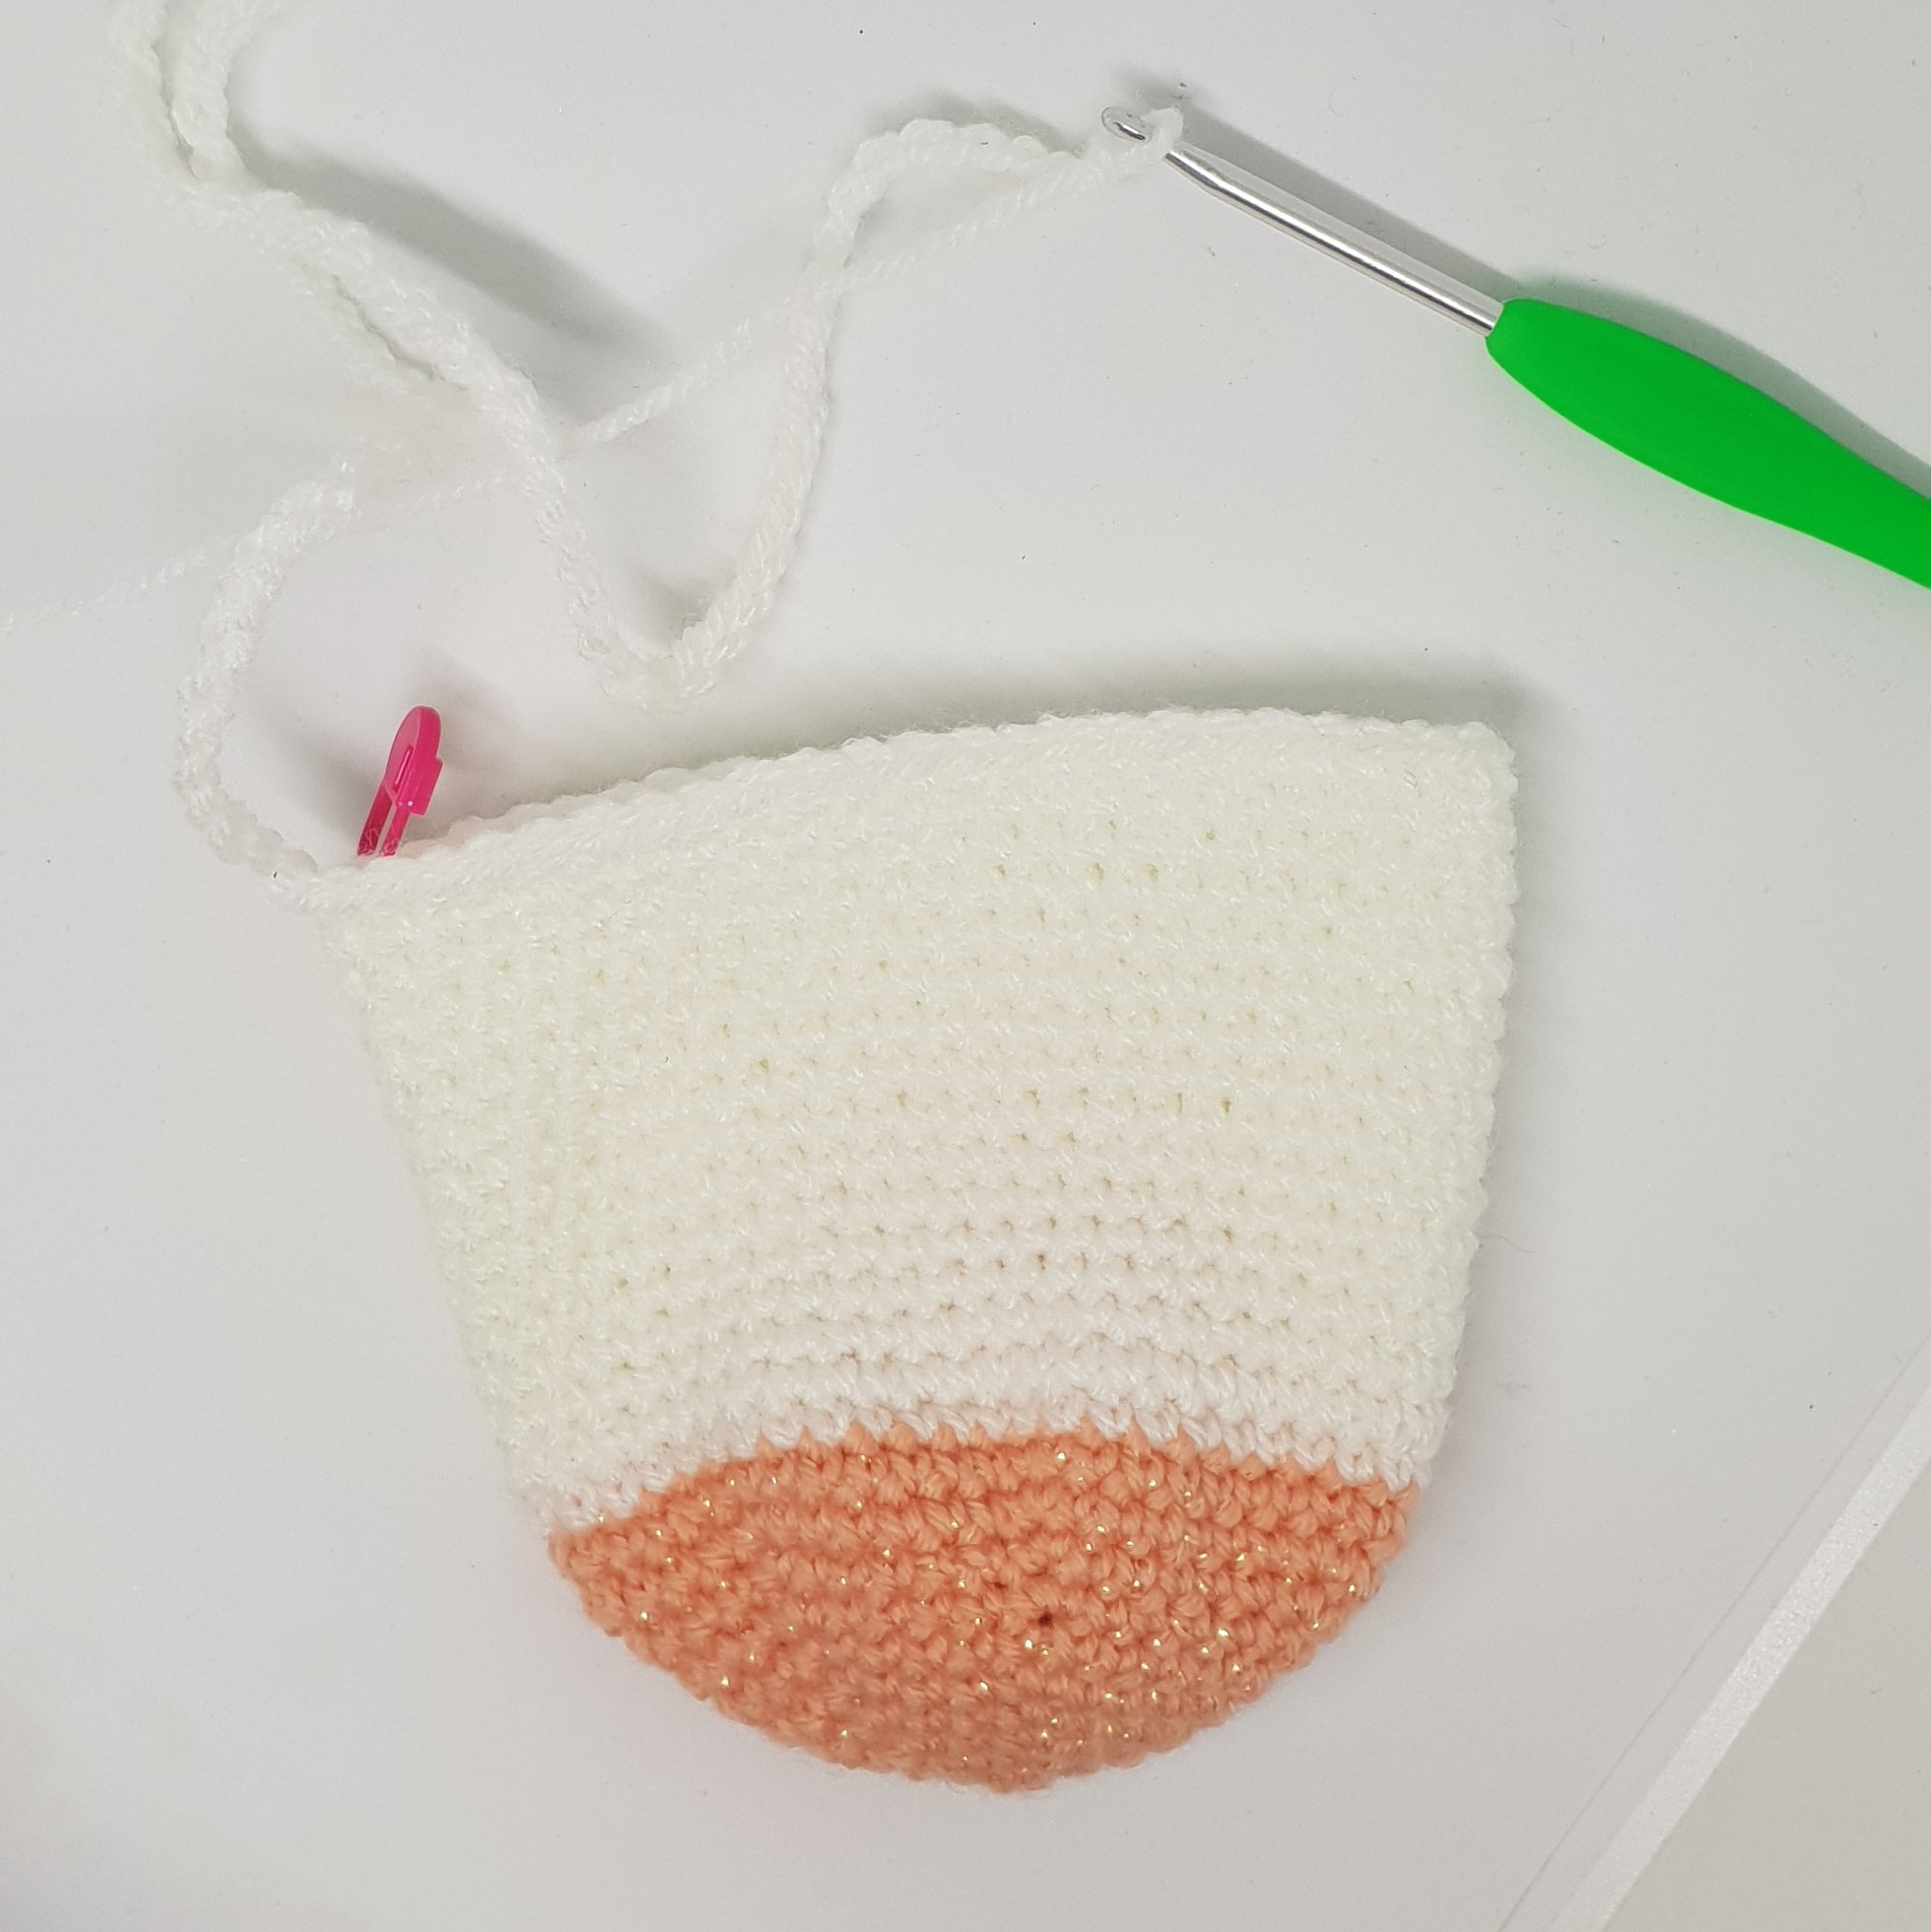
color change to white
R11 to 25 – 48 sc (48) – Do NOT fasten off!
ch 120
1 dc in 2nd chain from the hook
118 dc
sc in sc where the chain started – fasten off.
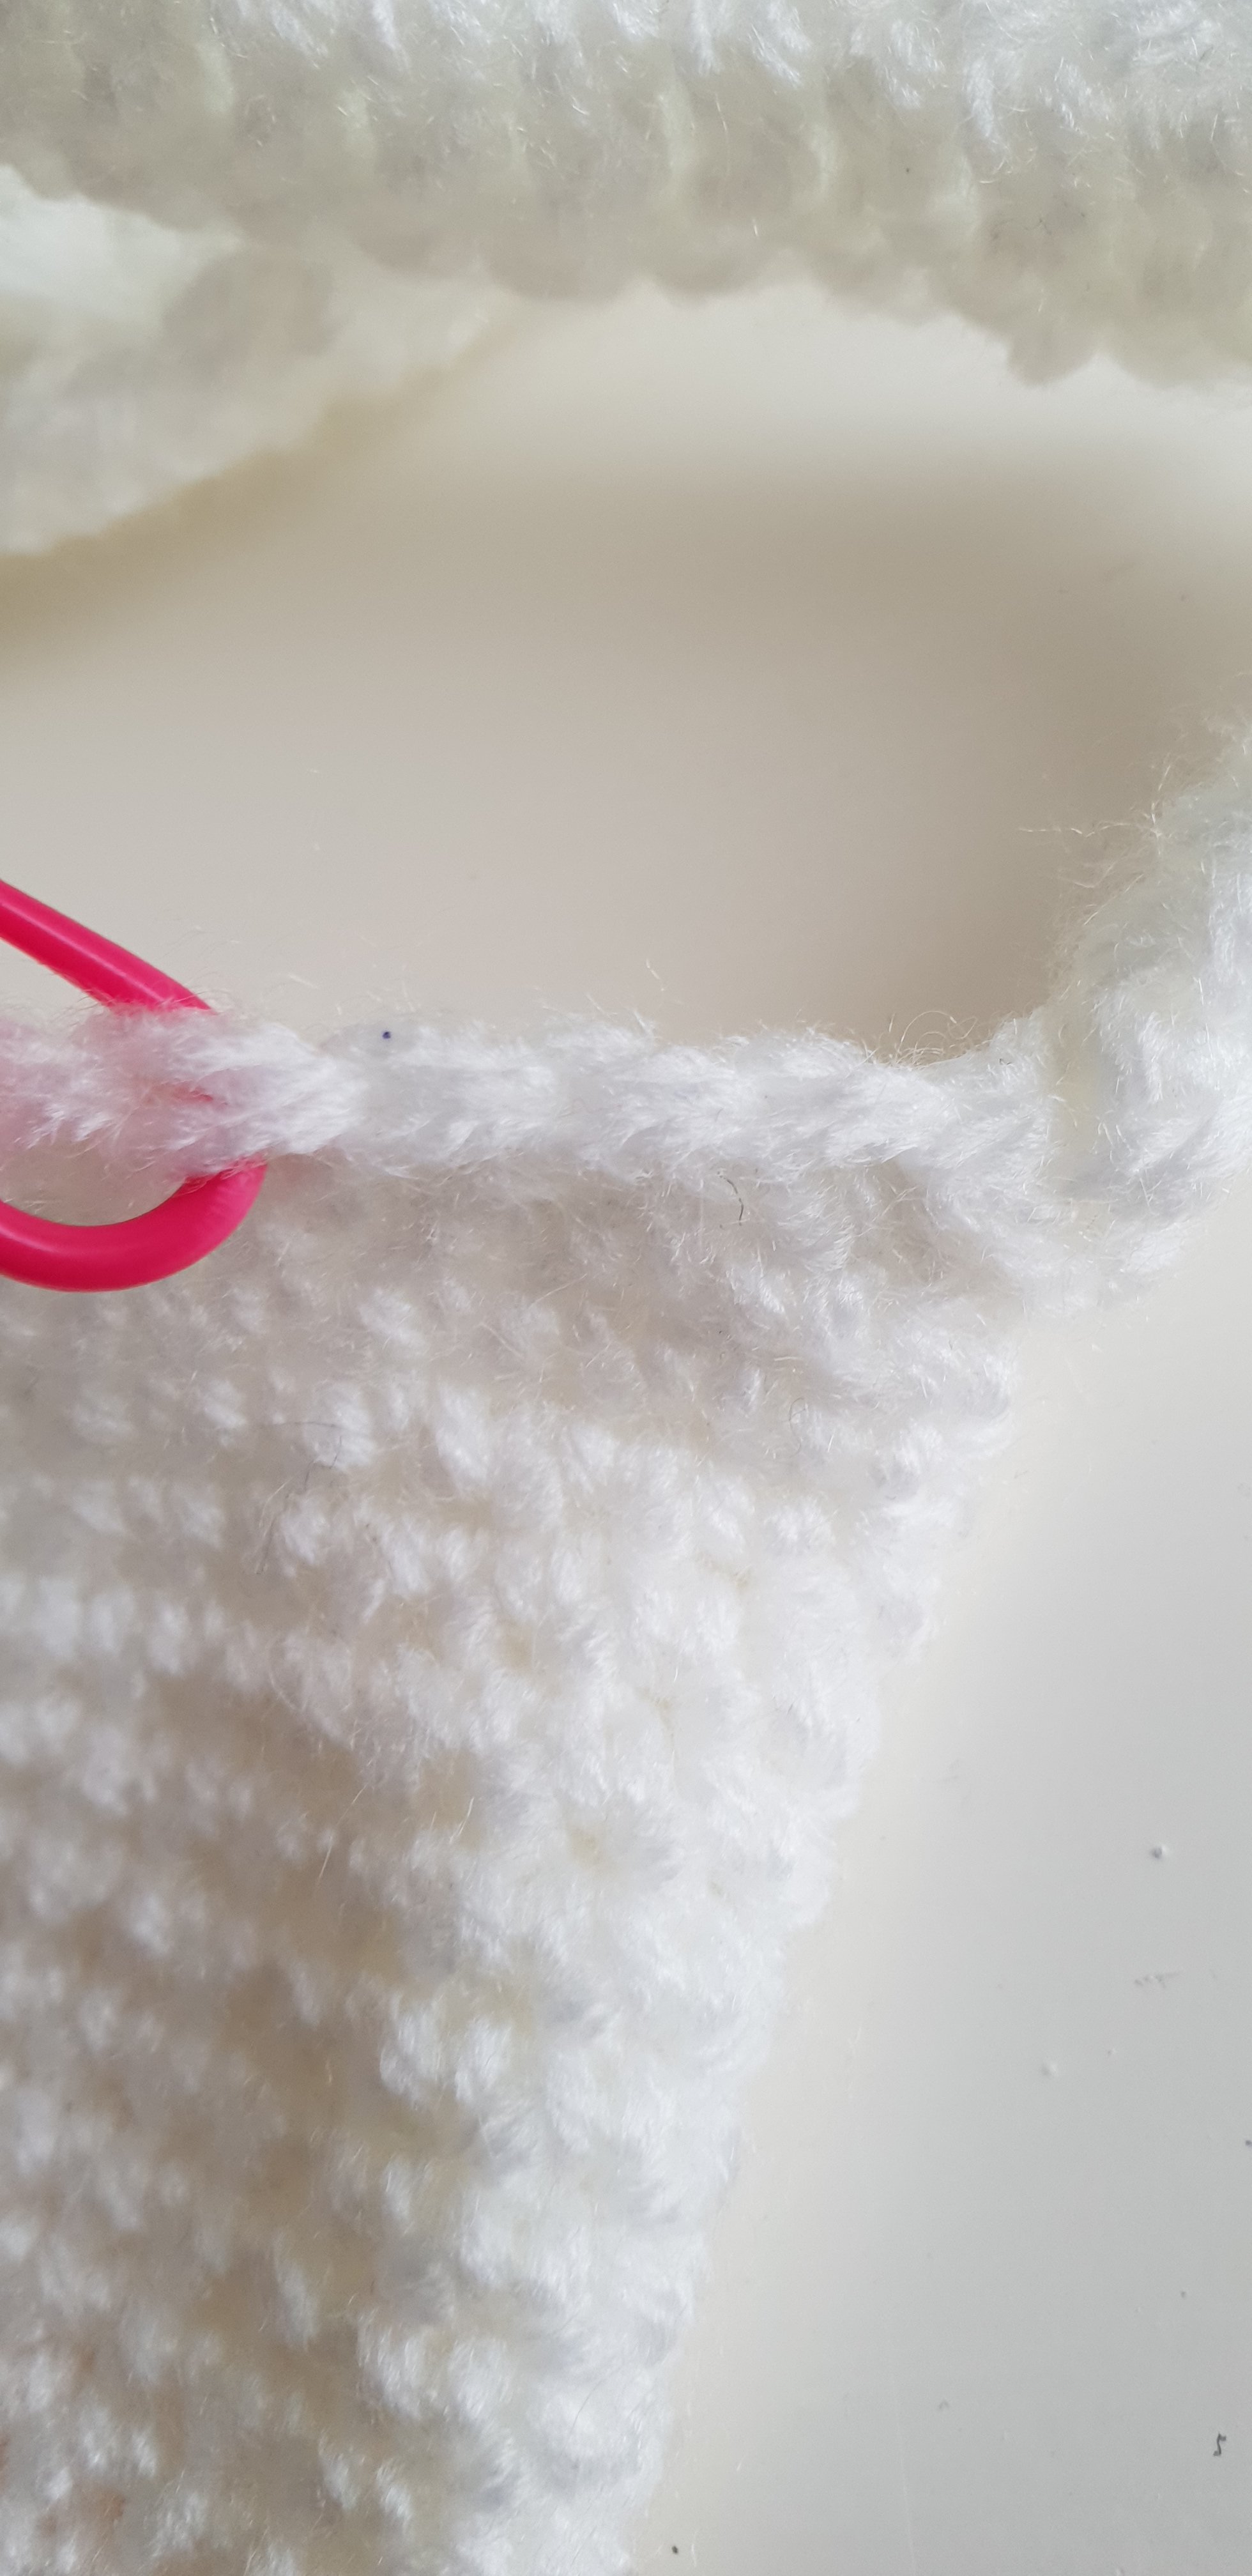
Count 24 stitches to the right and put a stitch marker in that one.
Sew the shouder belt to the other side. Make sure it’s straight.
Unicorn bag ears
Put the bag flat on the tabel and count three stitches to the the left of the shoulder belt and put a stitch marker in those stiches.
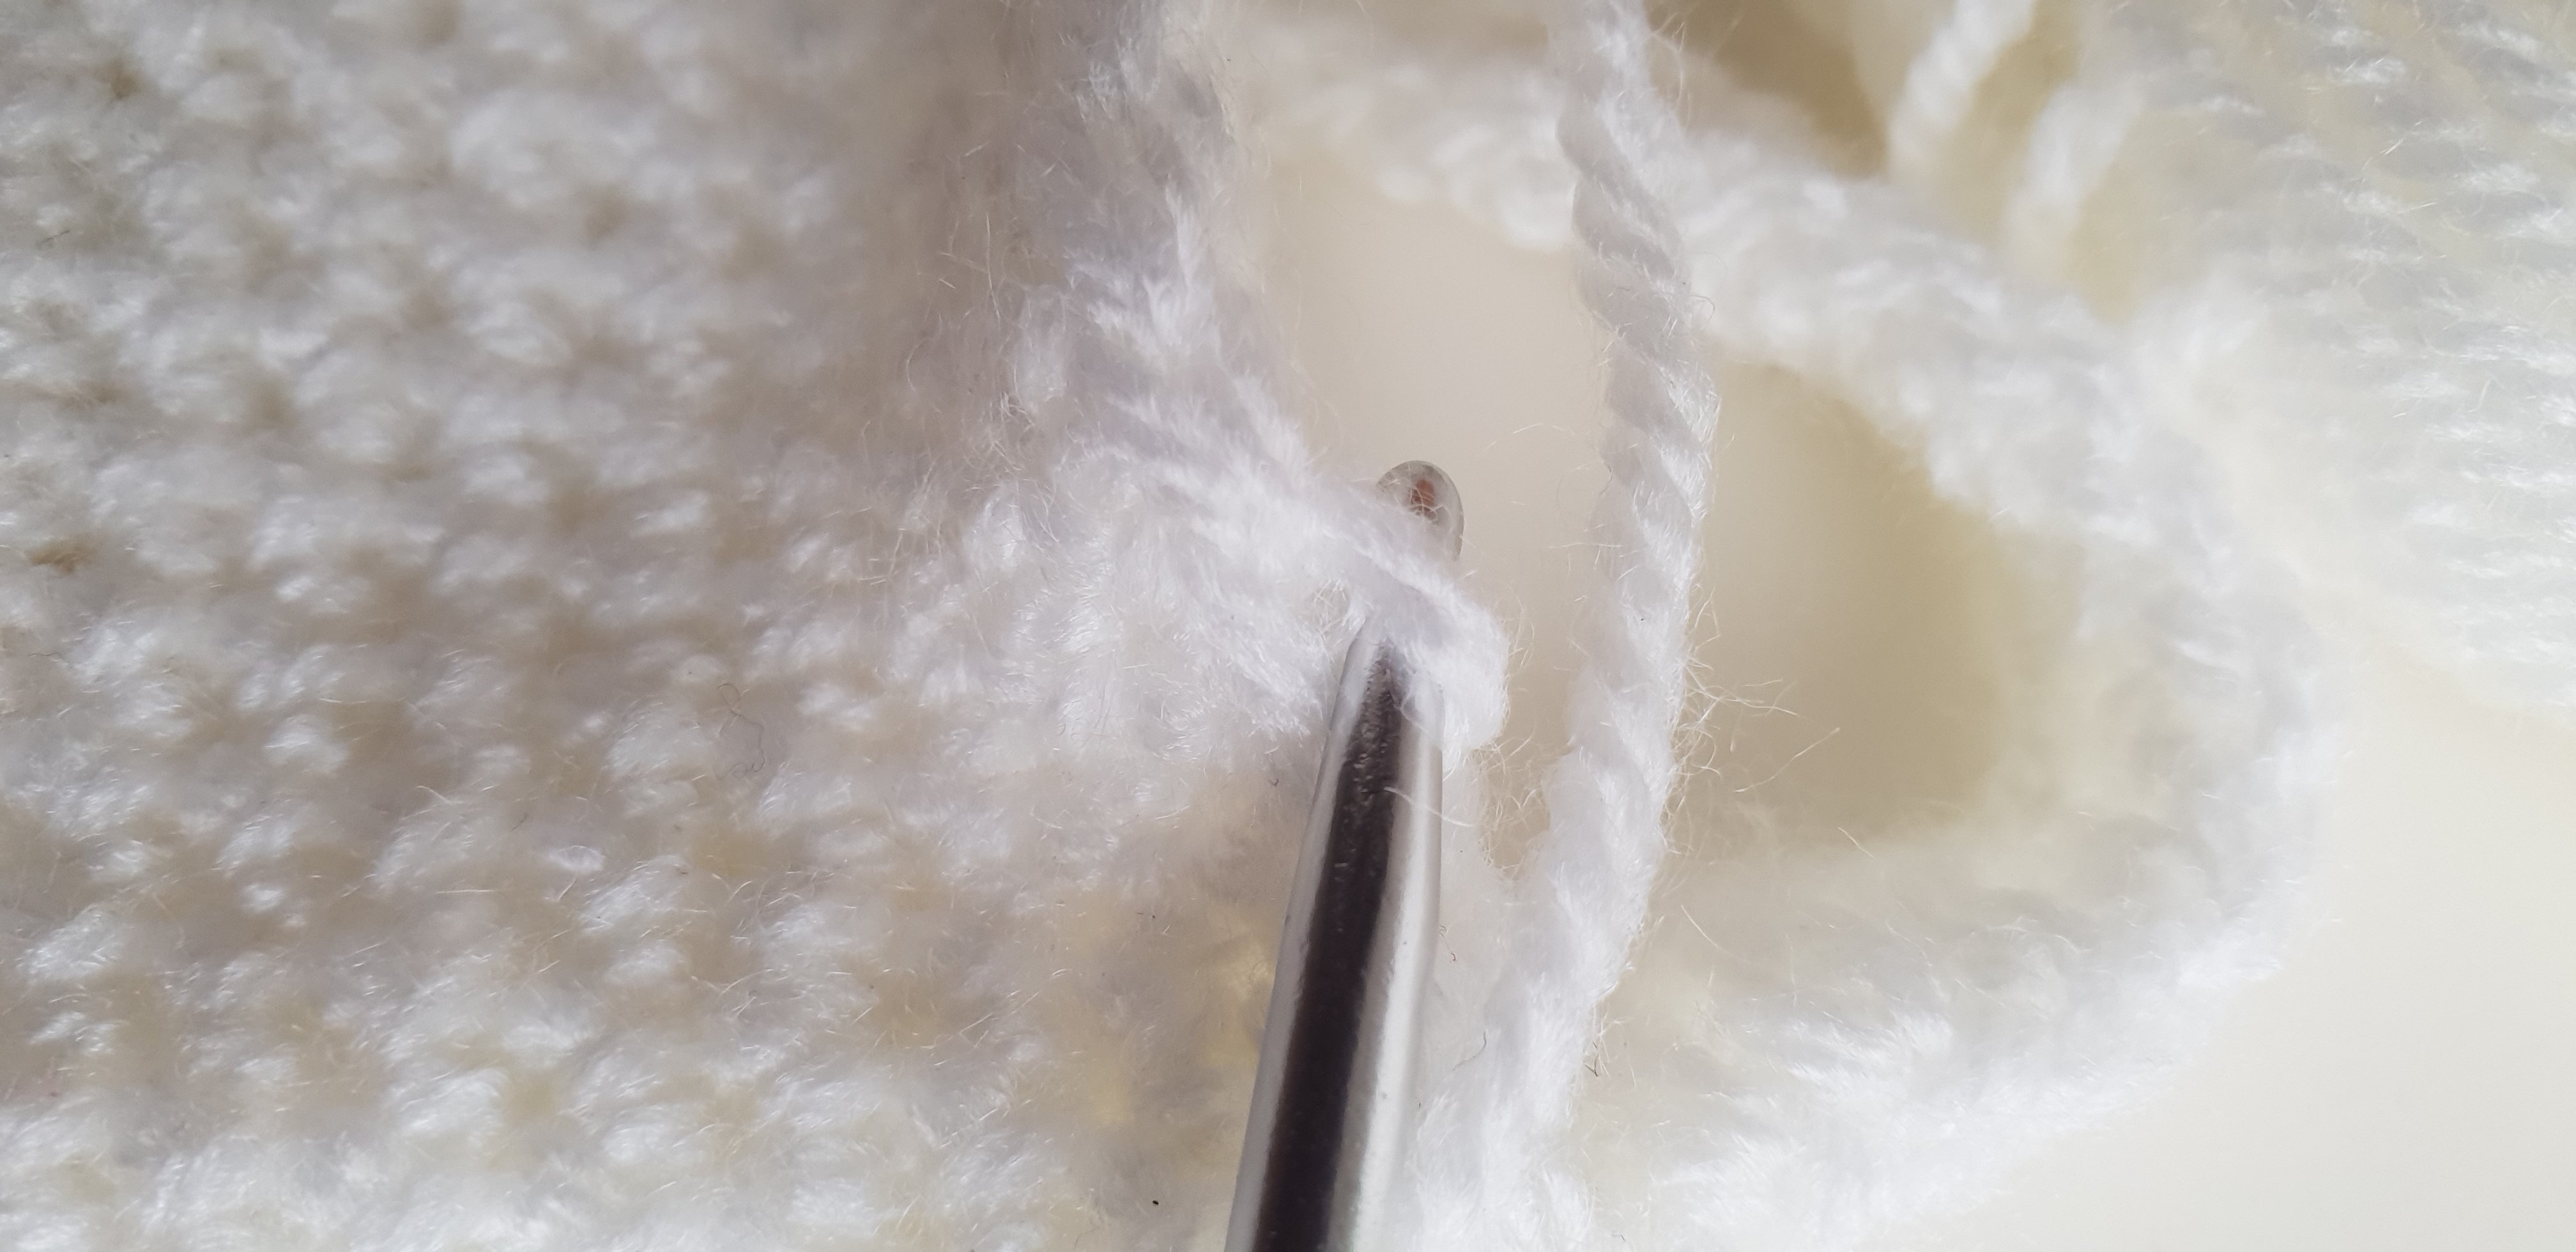
Attach white yarn in the marked stitch and crochet 5 sc in the back loops.
Crochet 1 chain and turn
Crochet 5 sc (in both loops from now on) – 1 ch and turn
Crochet 2 sctog, 1 sc, 2sc tog – 1 ch and turn
Crochet 3 sc. – 1 ch and turn
Crochet 3sctog – fasten off
Put the back flat on the table again. Count 8 stitches from the shoulder belt to the right.
Attach white yarn and crochet 5 sc in the backloops.
Crochet 1 chain and turn
Crochet 5 sc (in both loops from now on) – 1 ch and turn
Crochet 2 sctog, 1 sc, 2sc tog – 1 ch and turn
Crochet 3 sc. – 1 ch and turn
Crochet 3sctog – fasten off
Attach the pink yarn in the front loop (in front of the white ear you just made). Make sure you start one stitch further than where the white triangle started.
Crochet 3 sc in the front loops.
crochet 1 ch and turn
crochet 3 sc – 1 ch and turn
Crochet 3sctog and fasten off
Repeat from “Attach the pink yarn in the front loop) on the other side.
Sew the pink part onto the white part of the ear. Make sure you don’t see this at the back of your white ear.
Weave in all ends.
Unicorn bag – ears
Crochet 3 sc in ml
Crochet a sc in every sc (3)
Crochet 2 v in sc, crochet 2 sc (4)
Crochet 2 v in sc, crochet 3 sc (5)
Crochet 5 sc (5)
Crochet 2 sc in sc, crochet 4 sc (6)
Crochet 2 sc in sc, crochet 5 sc (7)
Crochet 7 sc
fasten off
Sew the horn onto the front, in the middle of the two ears.
Unicorn bag – hair:
Attach yarn in a color you want and ch 20.
Crochet 2 sc in every ch. The curls come on their own that way.
Crochet a slip stitch in the sc your starte and fasten off.
Repeat as many times as you want. I chose to attach 3 colors.
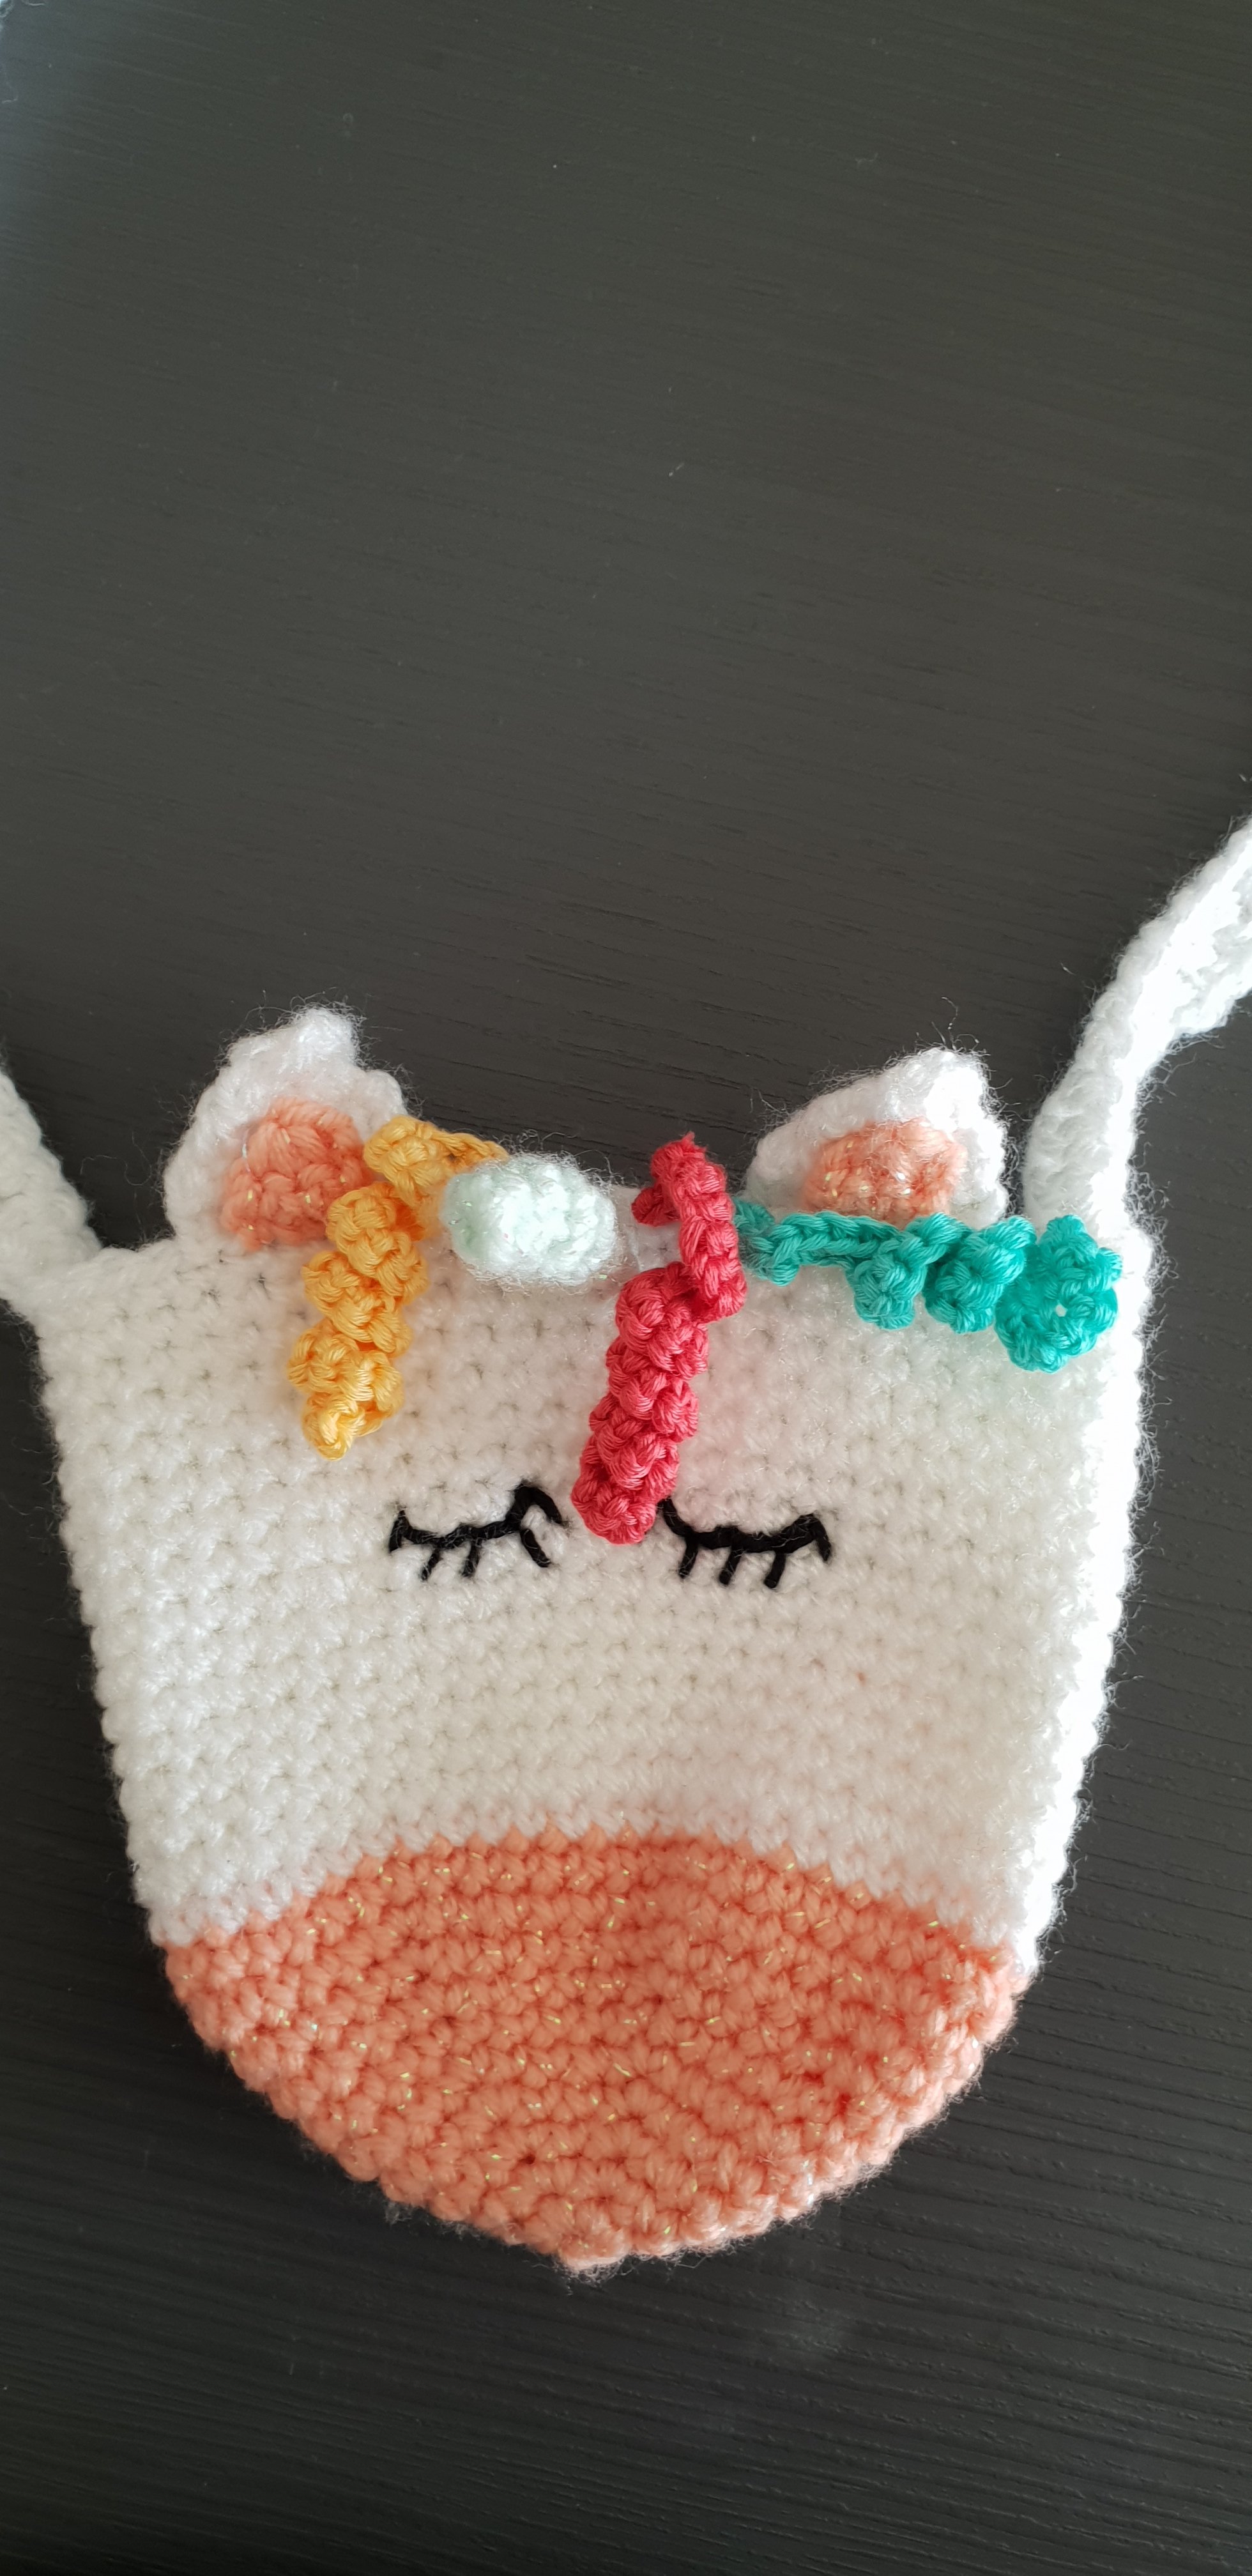
Unicorn bag the eyes
Sew the eyes with black yarn. Make sure to put your bag flat on the table so you put the eyes on the same hight! Eyelashes complete the look! 😉
The bag is ready to magically put some smiles on some kids faces!
The pattern can be used, but please link back to this post and give credit.
Let me know if you finished it, I’m so curious!
A while ago a crocheted an Elsa hat, by now my daughters have grown out of that one. So the time had come to crochet another hat. This time I chose an Anna hat. I saw on someone’s instagram stories a hat like this and asked how it was made. (So sorry I forgot who it was, I follow a lot of crochet people, so if you see this and you think: hey, that was me, give me a yell and I’ll give you credit! ).
I didn’t get the pattern, there was none, but she did tell me how to start and what to do.
I still had the right color in Bravo yarn and I used a 4mm. hook. These are USA crochet terms!
Anna hat – part 1
I started with a 35 chain, but that way the hat turned into a giant Anna hat! So I frogged it all and started over.
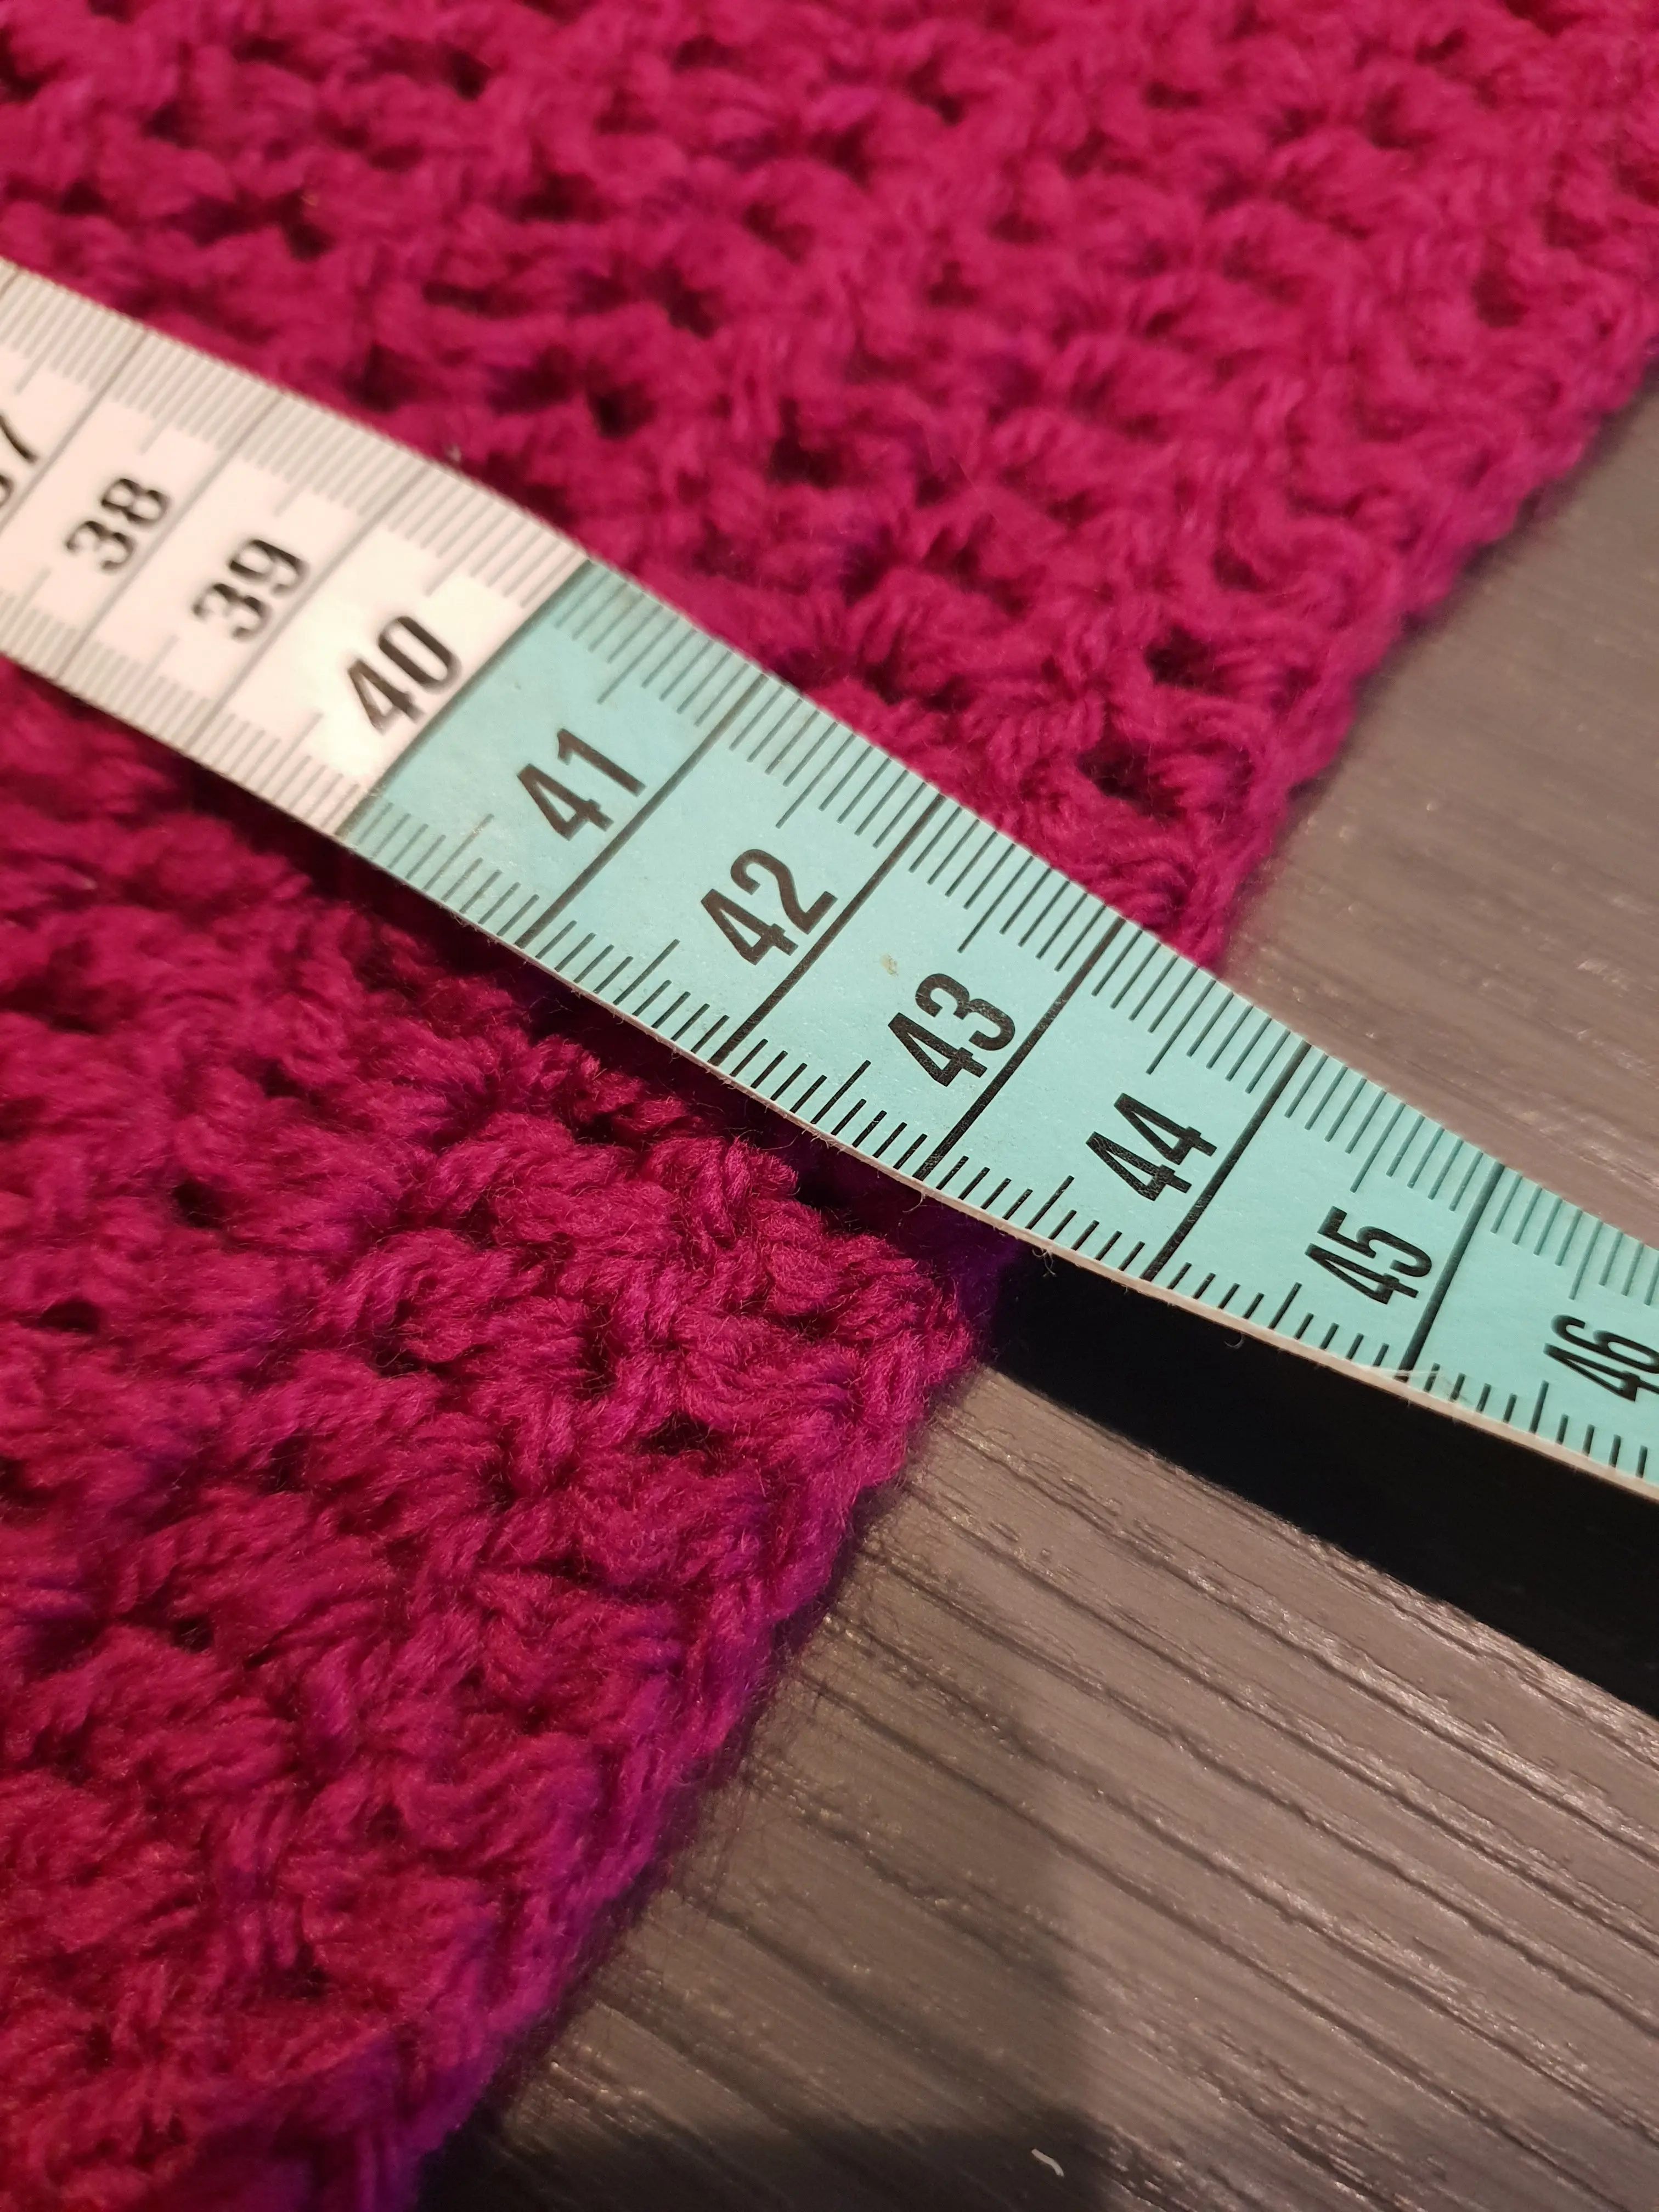
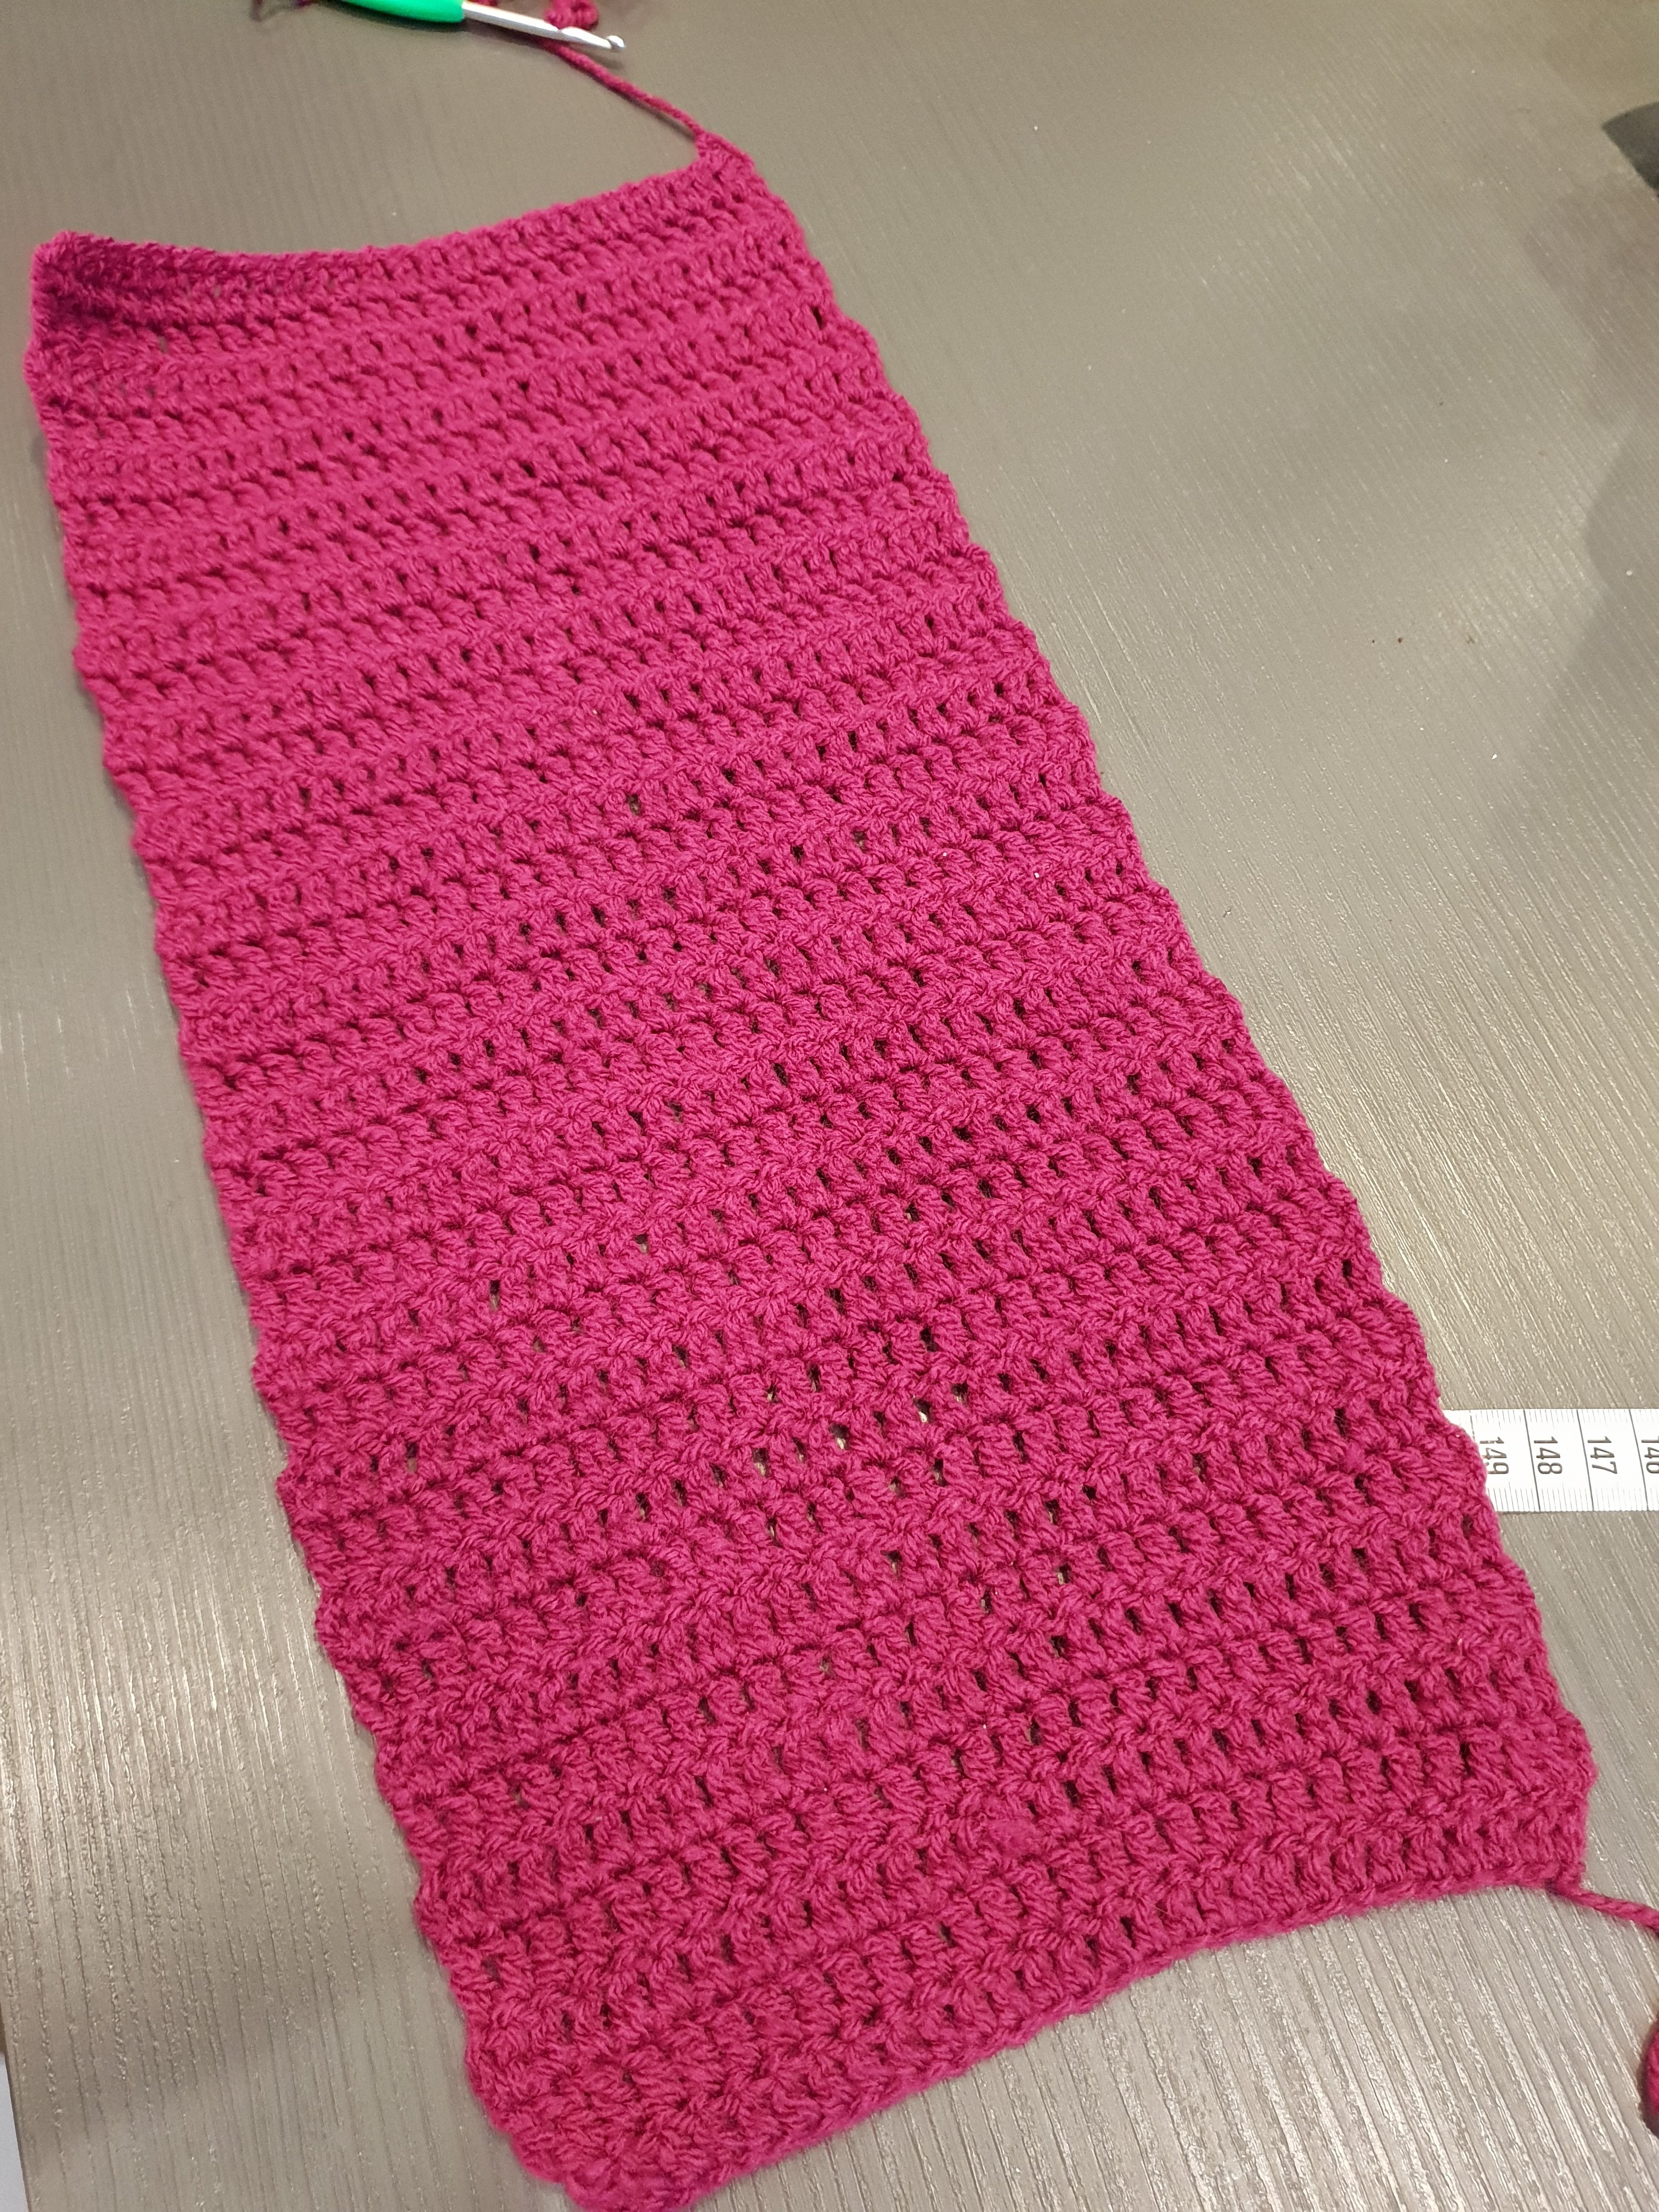
This time I chained 30 stitches and crocheted rows of double crochet up and down util the rectangle was 43 cm. long. I folded the patch in half and measured on a hat one of the girls that still fits very well. That way I had an indication it the hat was turning out ok.
You can make the hat smaller by starting with less chains and/or making the rectangle smaller. Use a hat that fits to make sure that is isn’t turning into a giant hat!
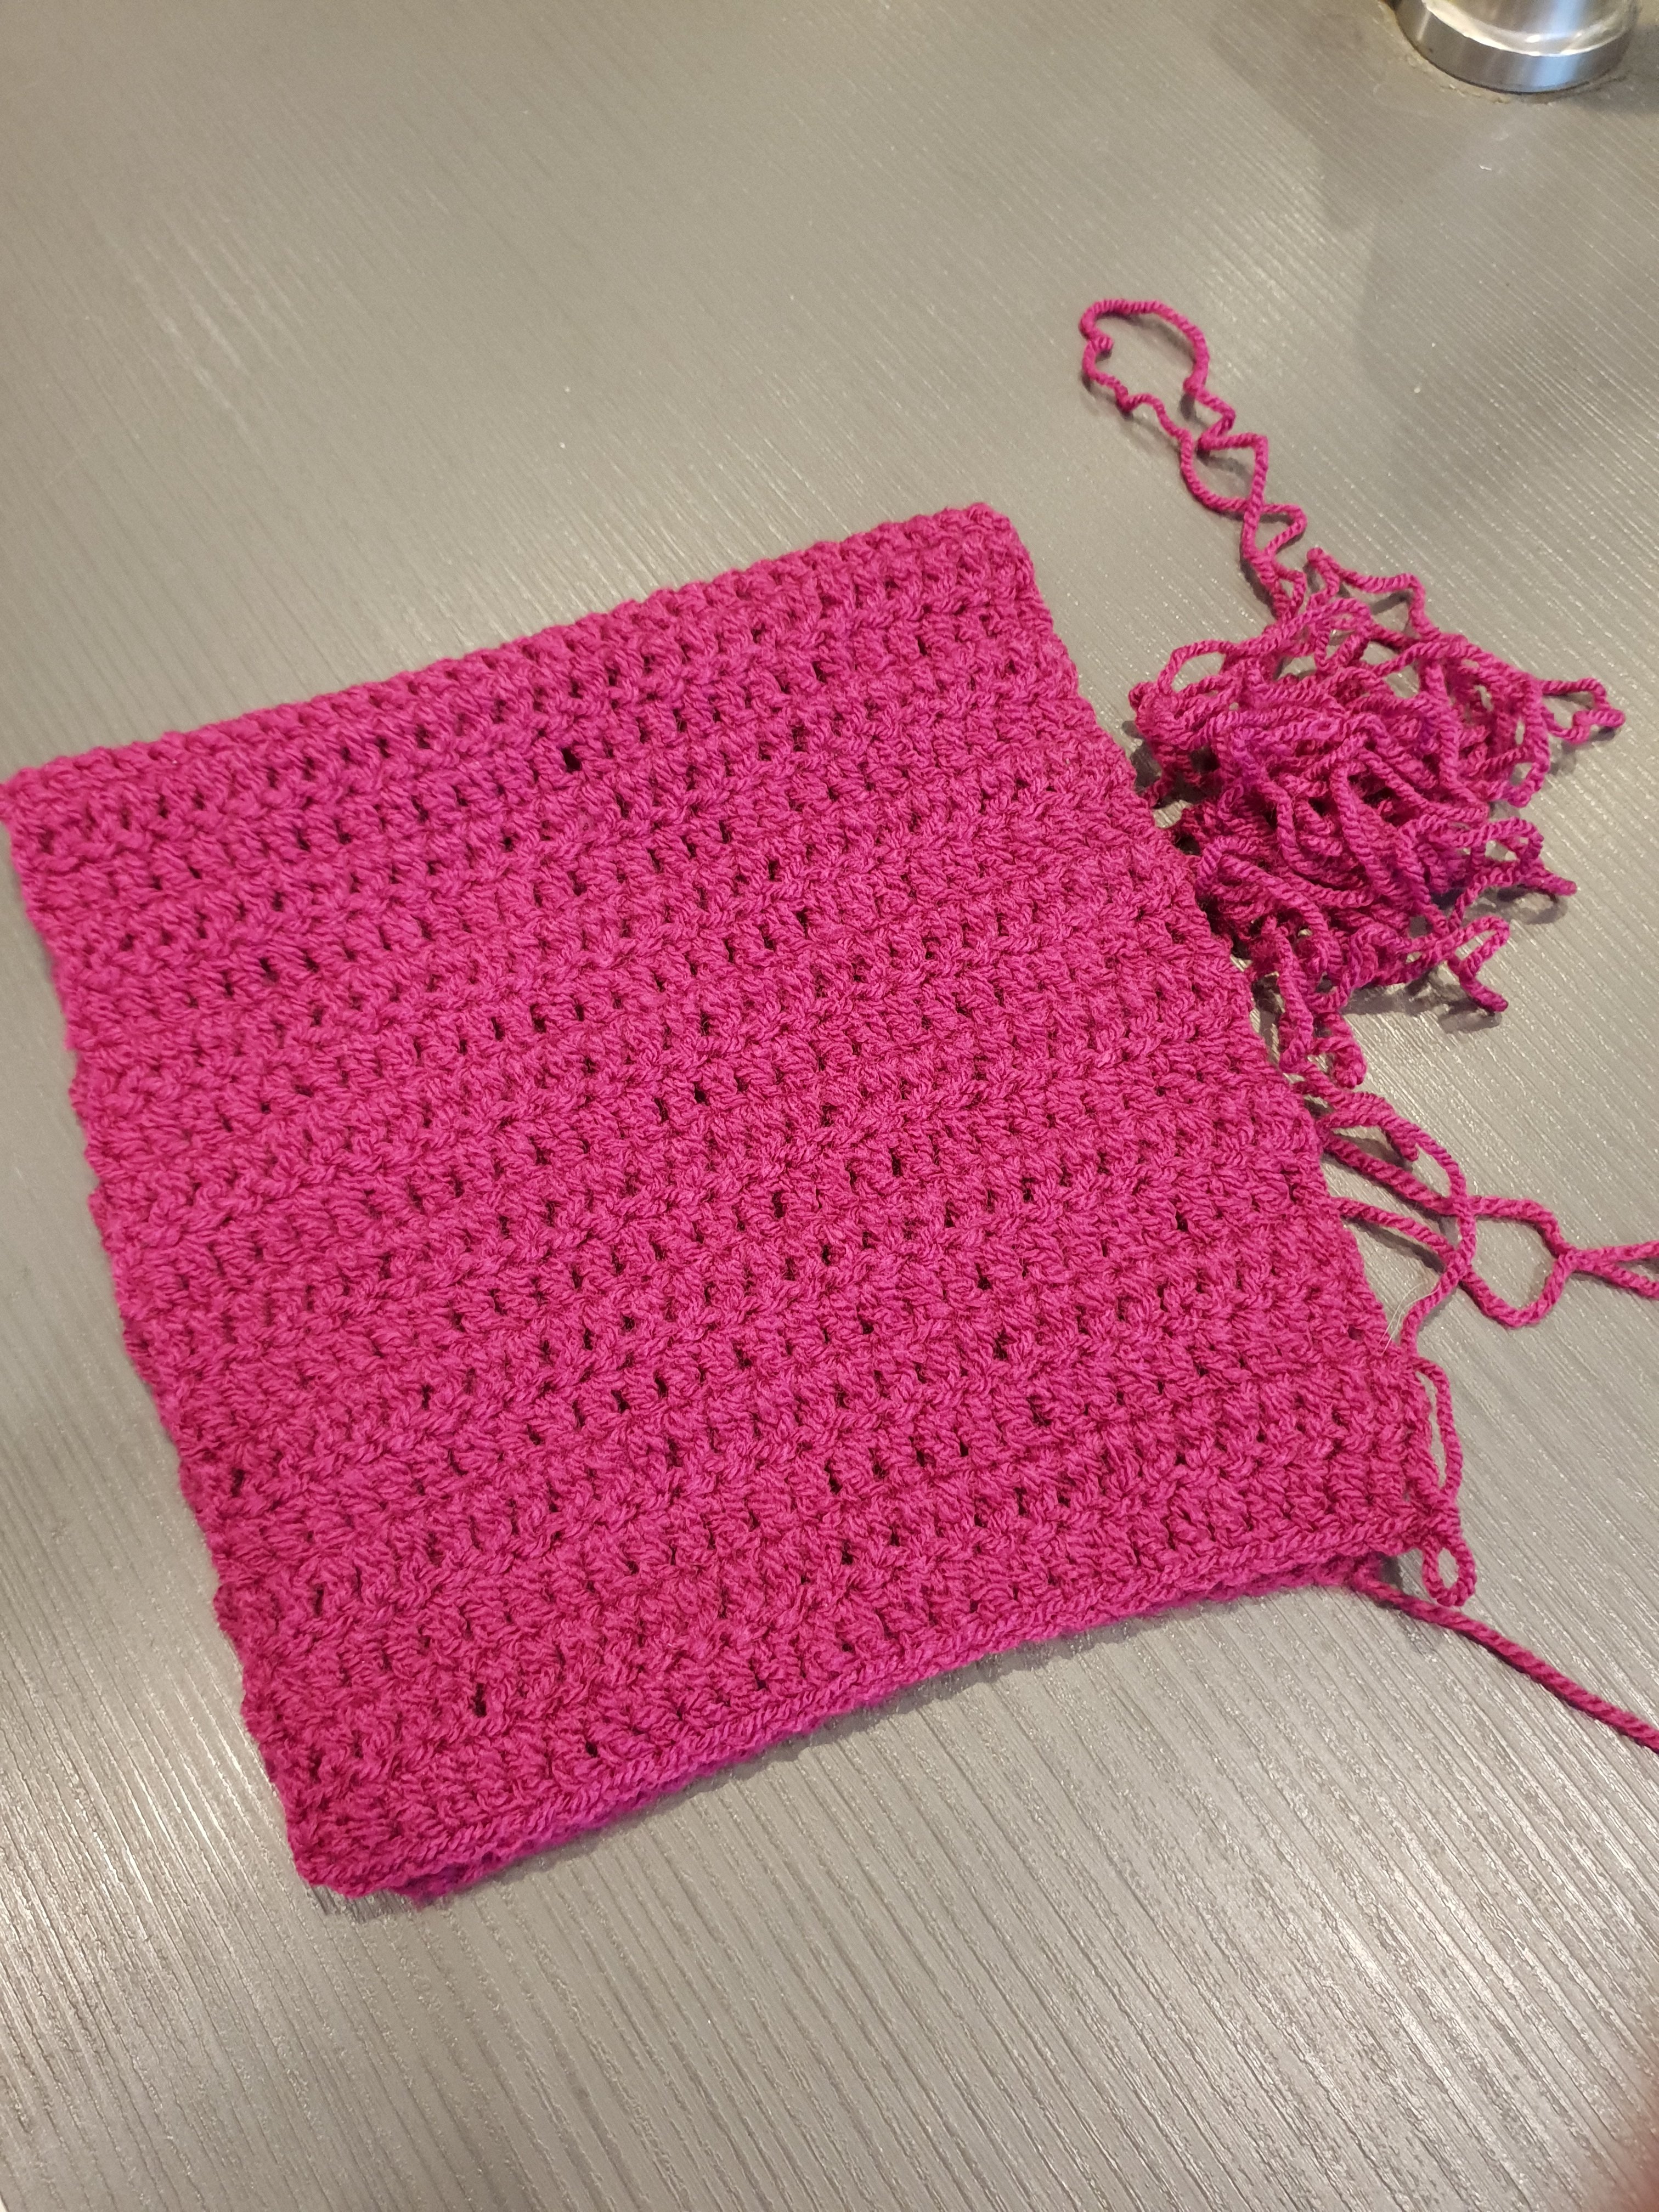
Anna hat step 2: fold in half
I folded the rectangle and closed one side using single crochet stiches.
I changed color to dark purple and crocheted aroud the border with single crochet stitches two times. You can finish off by now!
Anna hat part 3: the braids
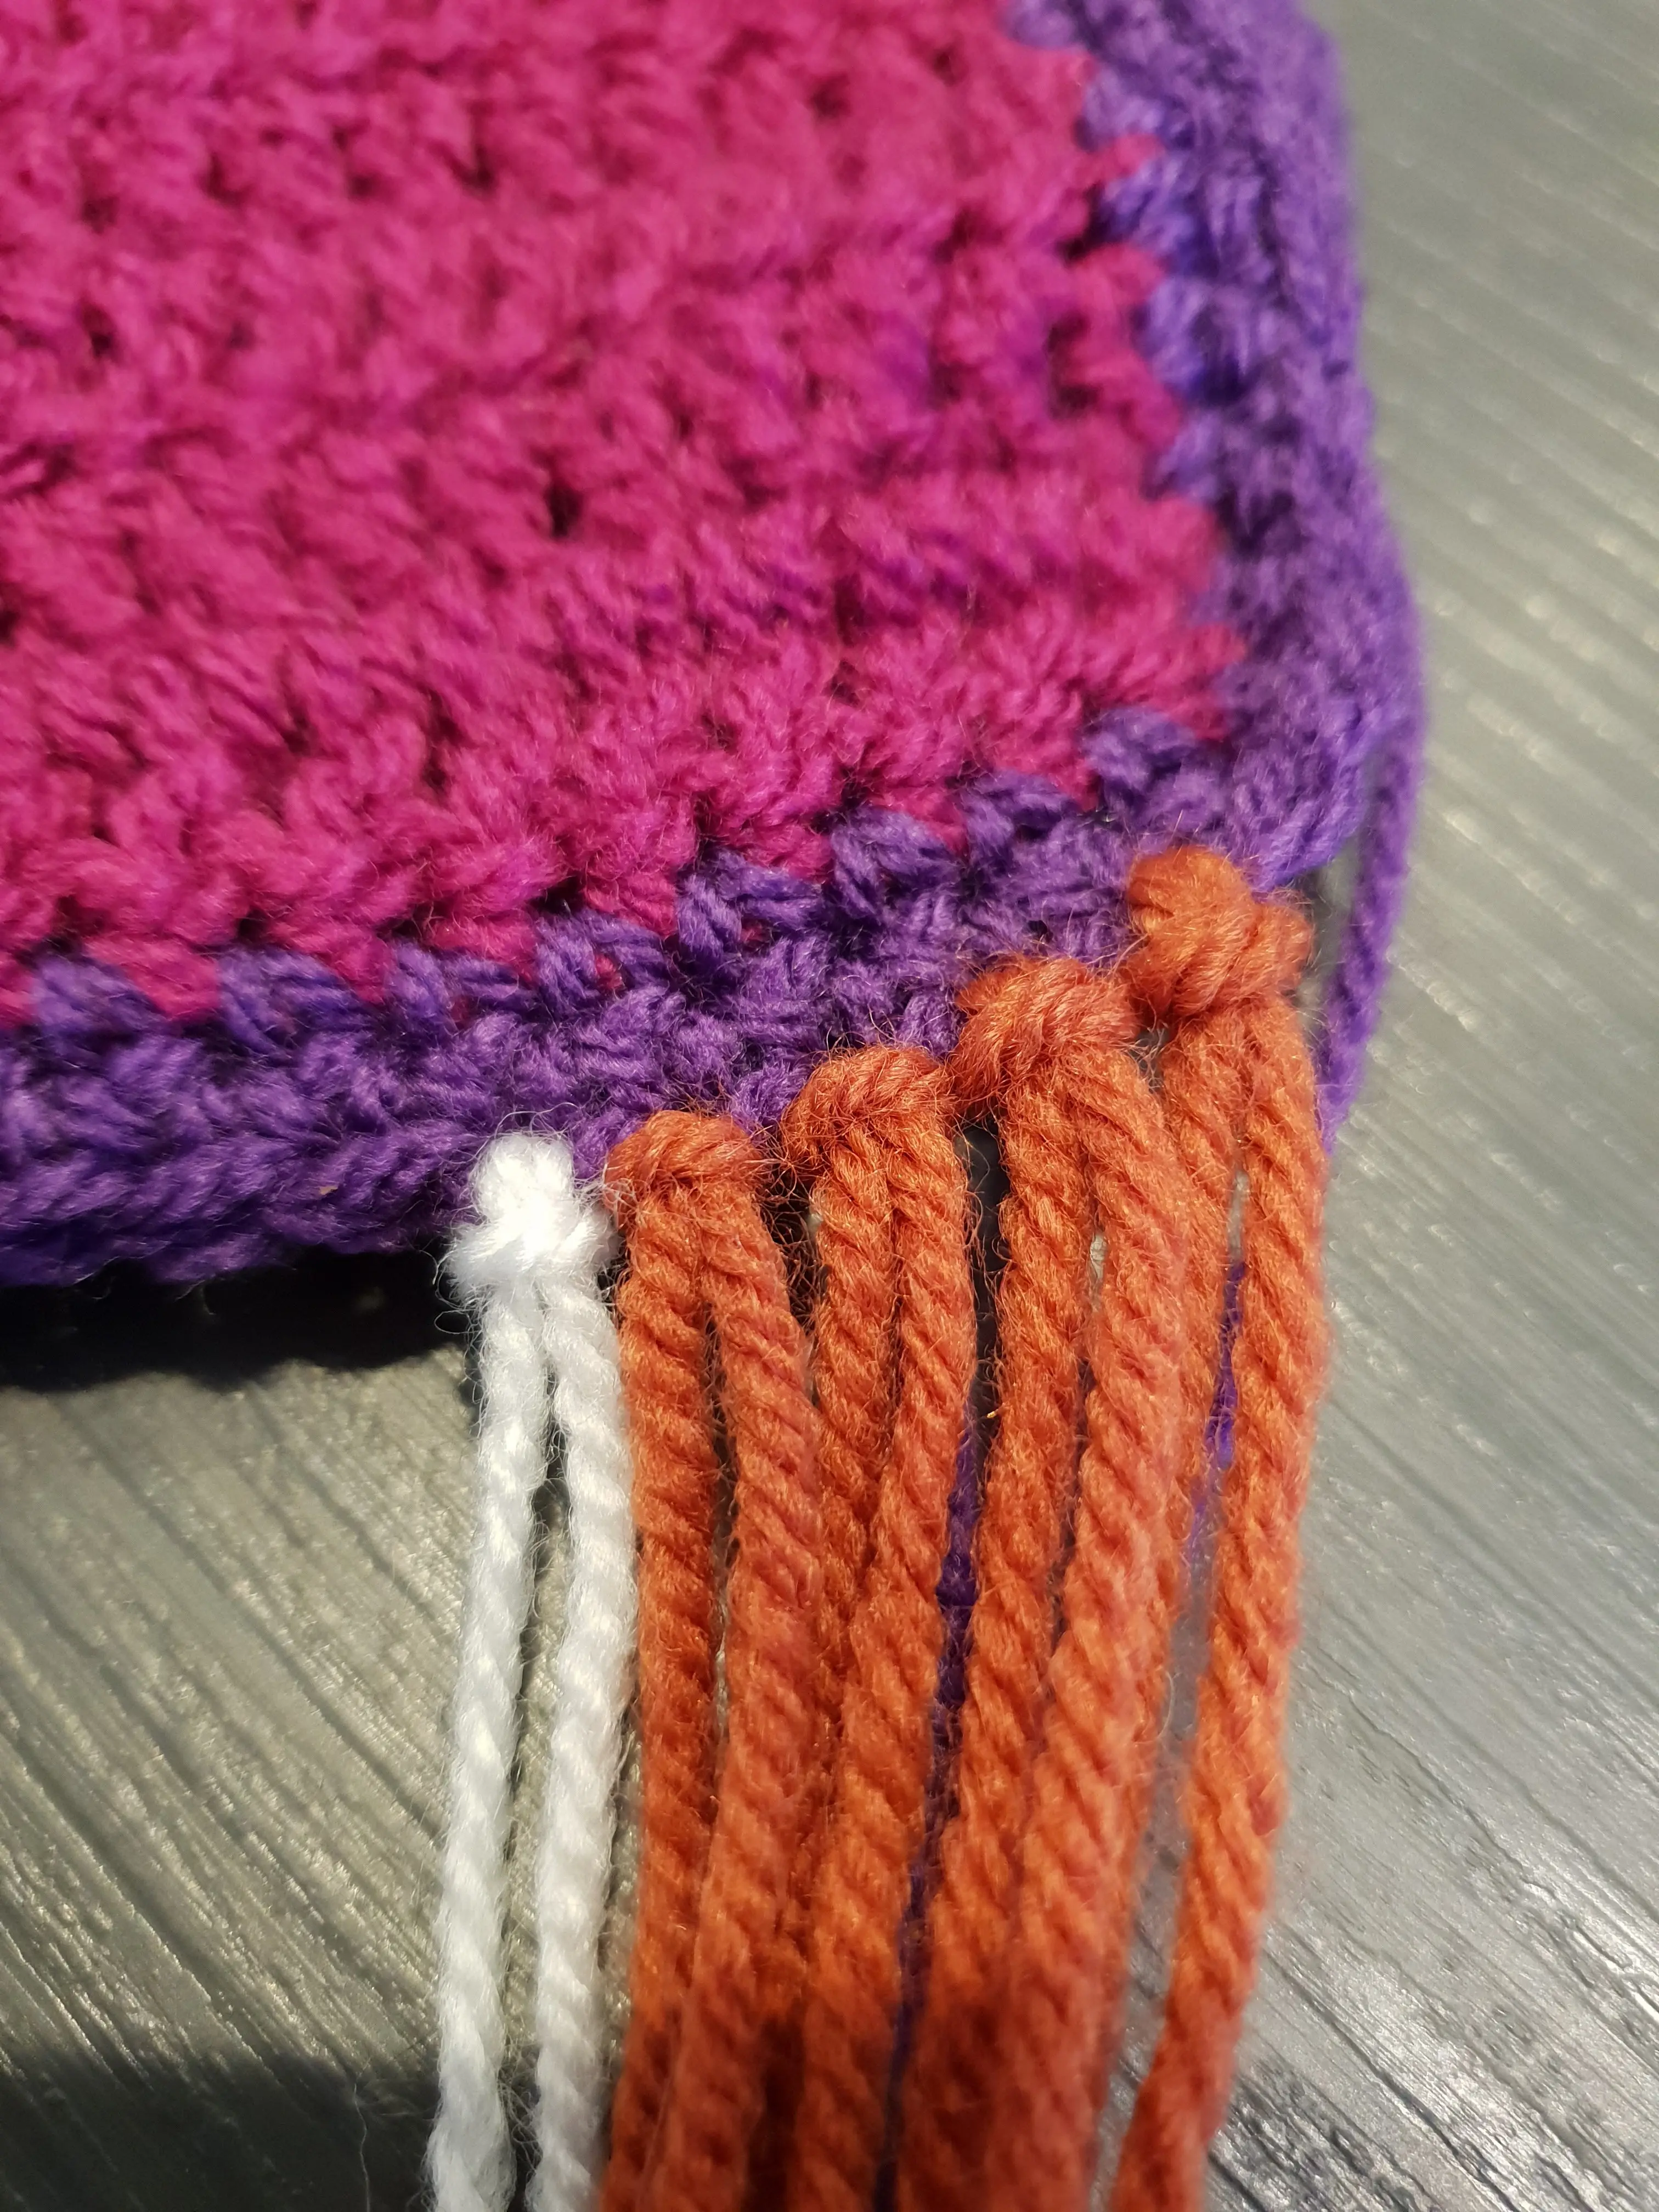
I used brown and white yarn to attach to the sides. These strings will be braided into the two braids Anna has! The white yarn is for the string of white hair Anna gets when Elsa touches her heart with her ice magic.
Make sure the strings of yarn are long enough. Mine were almost 1m. That was a bit too long though. But I’m always scared that the strings will be too short, so that’s on me! 😉
Each side got 15 strings.
Anna hat – braiding
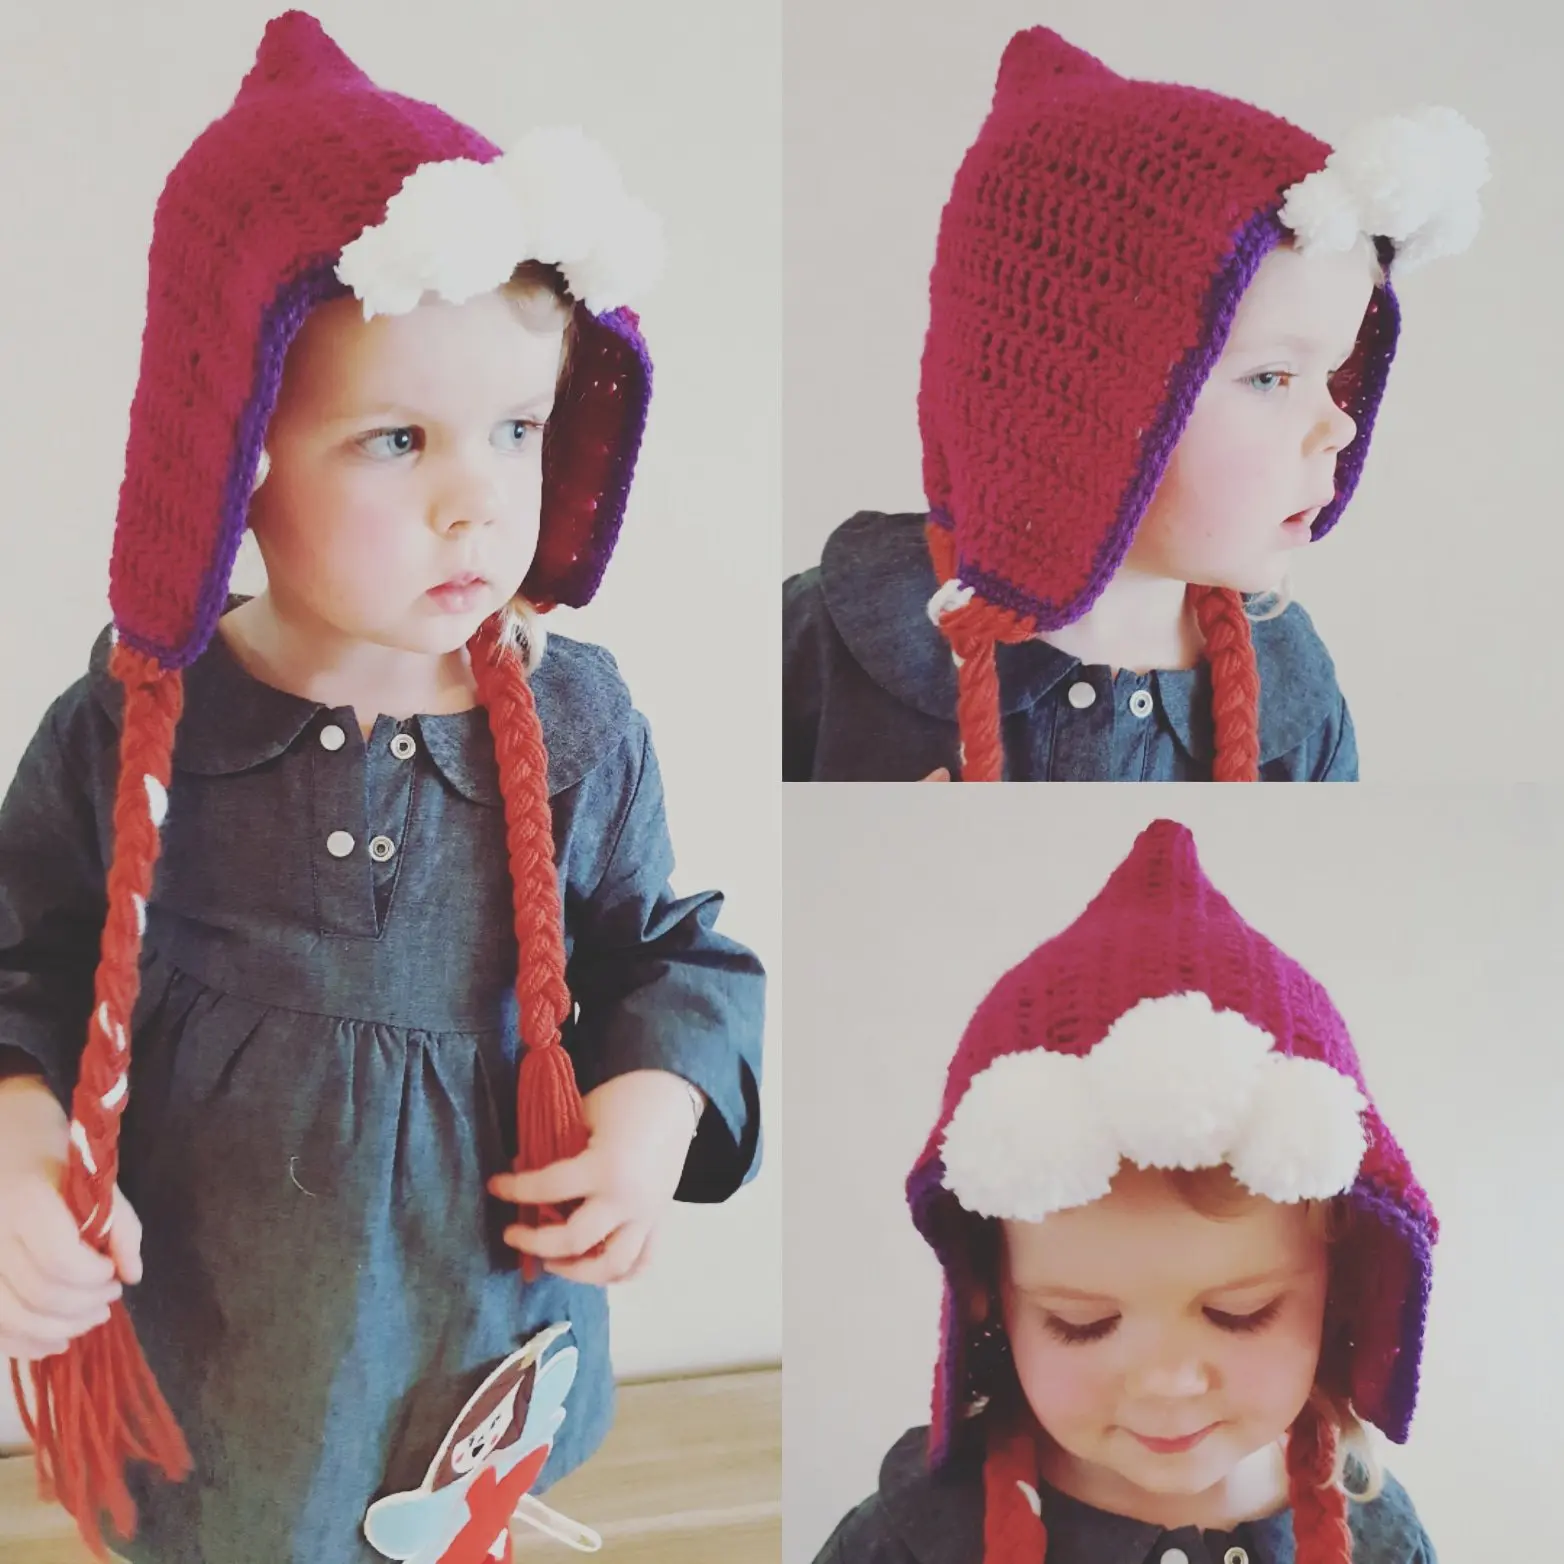
Make a braid on each side of the hat.
Anna hat – pompons
I made 5 pompons that had to look like ‘fur’. I made them a bit too large though. Make them a bit smaller! 😉
And now: anna in the house!
This Anna hat can be used for dressing up, but my daughter already took it too school!
If you make it in red yarn, it can be a red rindinghood too by the way!
I also have this pattern to add to your kids collection:
This website uses cookies to improve your experience while you navigate through the website. Out of these, the cookies that are categorized as necessary are stored on your browser as they are essential for the working of basic functionalities of the website. We also use third-party cookies that help us analyze and understand how you use this website. These cookies will be stored in your browser only with your consent. You also have the option to opt-out of these cookies. But opting out of some of these cookies may affect your browsing experience.
Necessary cookies are absolutely essential for the website to function properly. This category only includes cookies that ensures basic functionalities and security features of the website. These cookies do not store any personal information.
Any cookies that may not be particularly necessary for the website to function and is used specifically to collect user personal data via analytics, ads, other embedded contents are termed as non-necessary cookies. It is mandatory to procure user consent prior to running these cookies on your website.