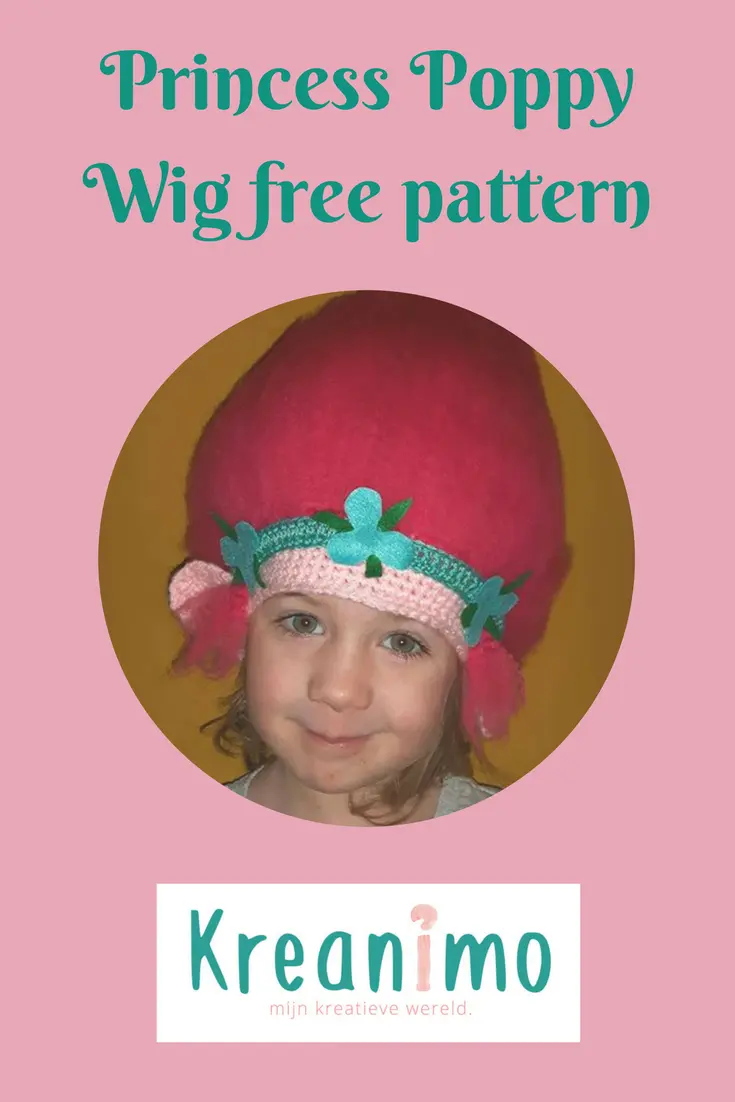
Princess Poppy hat – free chrochet pattern crea-cross
Dress-up like Poppy
If you haven’t seen the movie yet: shame on you! 😉
Such a lovely movie! And even boys can enjoy Glitter with is glitter farts! 😉
Since we’ve seen the movie my oldest daughter is really into Trolls.
I found some patterns online how to crochet a Poppy hat already, but when you put eyes on the hat, the kids who puts in on his head seems to have four eyes from where I was standing.
So I started to crochet my own Poppy hat … today I’m going to share the pattern with you all:
Princess Poppy hat dress-up:
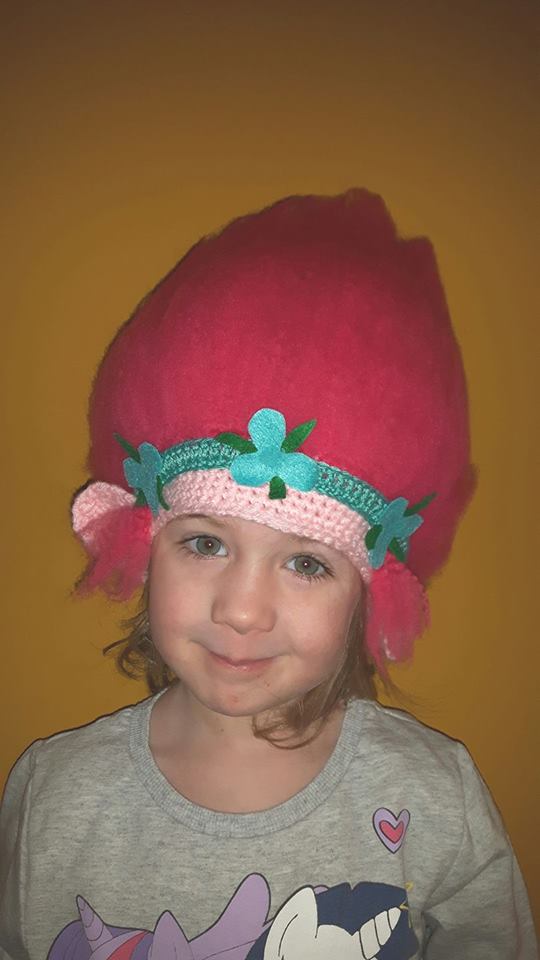
I crocheted two hats for my girls ( 2,5 years and 4,5 years old!)
I used a 4,5 mm. crochet hook. (G-size)
Princess Poppy hat – 3 to 6 years old
R1: 8 sc in magic loop (8)
R2: 2 sc in every st (16)
R3: [1 sc, 2 sc in next st.] 8 times (24)
R4: 1 sc in every st (24)
R5: [sc in next sc, 2 sc in next sc] 12 times (36)
R6: sc in every sc (36)
R7: [sc in next two sc, 2 sc in next sc] 12 times ( 48)
R8: sc in every sc (48)
R9: [sc in next 2 sc, 2 sc in next sc] 12 times(60)
R10: sc in every st (60)
R11: [sc in next 4 st, 2 sc in next st] 12 keer (72)
R12-28: sc in next 72 st
Ears of the Princess Poppy hat
The first ear starts where you stop with row 28 of the hat.
The ears are crocheted in row.
R 1:1 ch,14 sc in next st. (15)
T2-6: 1 turning chain and 1 sc in al 15 st. (15)
T7: 1 turning chain, 2sctog, 11 sc, 2sctog
T8: 1 turning chain, 2sctog, 9 sc, 2sctog
T9: 1 turning chain, 2sctog, 7 sc, 2sctog
T10: 1 turning chain, 2sctog, 5 sc, 2sctog
T11: 1 turning chain, 2sctog, 3 sc, 2sctog
T12: 1 tuning chain, 2sctog, 1 sc, 2sctog (3)
finish off
Skip 25 on the left of the first ear and reattach – repeat the part of the ears a second time.
Fold the ears upwards and the to the front. The edge of the backside of the ears is on the edge of the hat that way (see the pictures)
Crochet the 2 folded parts of the ear to the edge of the hat with 4 secure stitches.

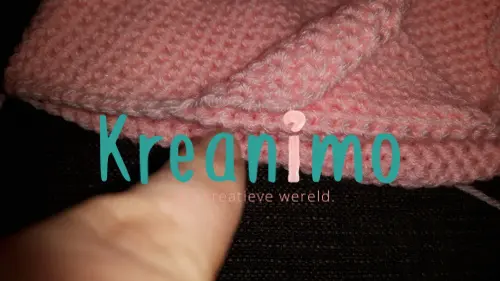
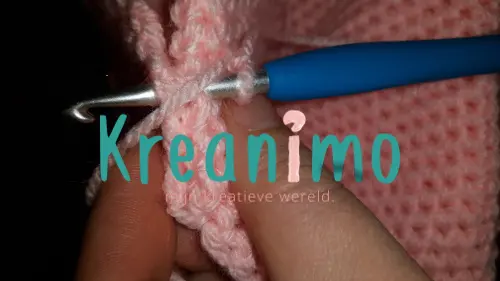
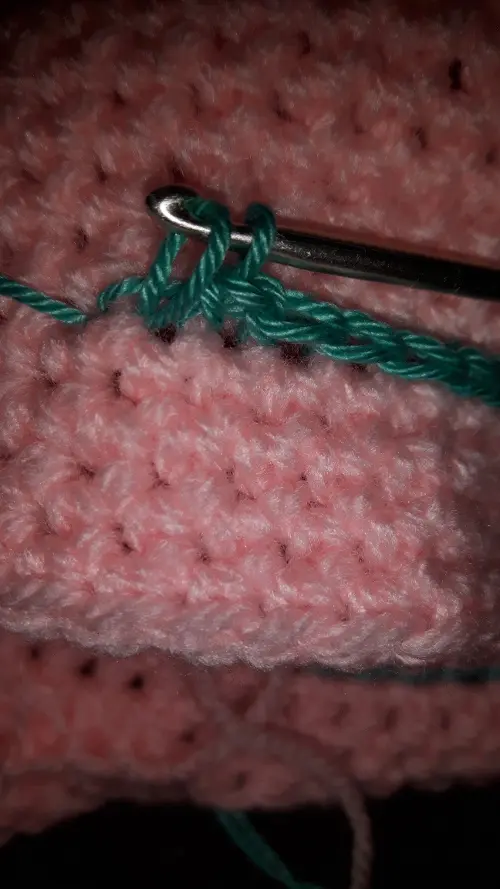
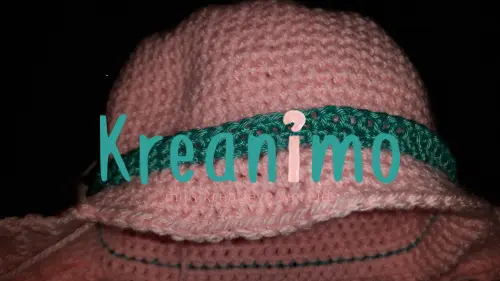
Hairband
Count 5 rows from the edge of the hat and attach the color of the headband.
Crochet through the stitches of the 5th row a chain around the hat.
The second row of the hairband you crochet one secure in every stitch.
You finish the hairband with one double crochet in every secure stitch.
Hair


Cut pink yarn in pieces of 20-25 cm en put them into the stitches of the hat.
The first that I made, I made way too many strings. It works with less too!
If you have enough of them, you have to unroll the yarn in the seperate threads of the yarn.
When every string of yarn is unrolled into into seperate strings you can brush the troll hair with a dog comb. (works best!)
At the front you can attach a few pieces too, because Poppy has some strings of hair that fall next to her ears.
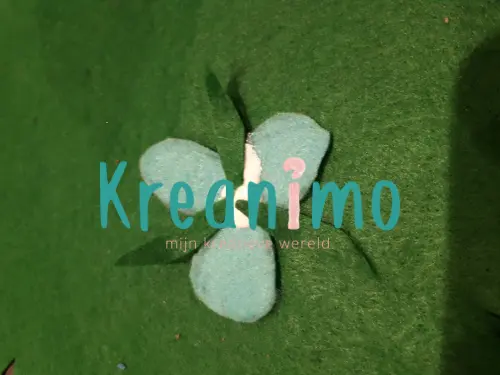
Details of the Princess Poppy hat with felt.
I cut some flower petals from colored felt and glued them onto the hairband with textile glue.
That way, the hat looks like a real Poppy hat!

Mommy I want a Princess Poppy hat too
And yes, when you finally finished the first hat. (Finally, ’cause the hair does take a while!), the youngest wanted a hat too…
Oh well, it looks so cute!
When they were both finished the girls were in their pyjama’s, just out of the bath tub… but they just had to do a fitting session! 😉

Next week’s prompt is ‘on the road’
As easy as this weeks challenge will be, as hard will be the next one! I’m really curious what you will all link this week and next week!
Enjoy!
Save for later? Pin this picture:
Maybe you would like the unicorn bag for kids too? You can find the pattern here.
22 Replies to “Princess Poppy hat – free chrochet pattern crea-cross”
Hi, just want to day I love this hat!I can’t wait to make it for my granddaughter. I do have one question though, I’ve looked again and again but can’t find anywhere that you state which yarn to use. You give a size for the crochet hook, but not the yarn, could you please clarify for me.
Thank-you.
Hey Wendy, nice that you are going to try this project. The yarn I used was light-medium worsted. (For a 4 mm. To 4,5 mm. Hook). Hope that helps. Greetings from Belgium.
Thank-you Ilsa, hopefully I can do your pattern justice. I’m looking forward to trying it soon. 🙂
Greetings to you from Adelaide, South Australia.
I’m making this for a cosplay. How would I increase it? my last cosplay was stan from south park crochet hat and ended up being 21 inches around.
That’s 54 cm more or less right? I’m going to take a look, Jennifer!
I would increase like this – I used this for another hat as a base – and this was the small adult size… :
Rnd 1: Begin with magic loop of 8 SC **8 sts
Rnd 2: [2 SC in next st] 8 times **16 sts
Rnd 3: [SC in next st, 2 SC in next st] 8 times **24 sts
Rnd 4: SC in next 24 sts **24 sts
Rnd 5: [SC in next st, 2 SC in next st] 12 times **36 sts
Rnd 6: SC in next 36 sts **36 sts
Rnd 7: [SC in next 2 sts, 2 SC in next st] 12 times **48 sts
Rnd 8: SC in next 48 sts **48 sts
Rnd 9: [SC in next 3 sts, 2 SC in next st] 12 times **60 sts
Rnd 10: SC in next 60 sts **60 sts
Rnd 11: [SC in next 4 sts, 2 SC in next st] 12 times **72 sts
Rnd 12: SC in next 72 sts **72 sts
Rnd 13: [SC in next 8, 2 SC in next st] 8 times **80 sts
Rnds 14-30: SC in next 80 sts **80 sts Sl st in next st and continue on to ears working in rows
Ears
Row 1: Ch 1, SC in 1st st and next 15 sts **16 sts
Rows 2-6: TCh 1, SC in 1st st and next 15 sts **16 sts
Row 7: TCh 1, SC Dec, SC in next 12 sts, SC Dec **14 sts
Row 8: TCh 1, SC Dec, SC in next 10 sts, SC Dec **12 sts
Row 9: TCh 1, SC Dec, SC in next 8 sts, SC Dec **10 sts
Row 10: TCh 1, SC Dec, SC in next 6 sts, SC Dec **8 sts
Row 11: TCh 1, SC Dec, SC in next 4 sts, SC Dec **6 sts
Row 12: TCh 1, SC Dec, SC in next 2 sts, SC Dec **4 sts
Row 13: TCh 1, SC Dec, SC Dec **2 sts Finish off.
love this, how and where do you start adding the hair?
I started right under the headband. Not sure what row right now and I can’t go and count, because I’m on holiday! Let me know if you can’t figure it out, I’ll go count at home in a few weeks! 😉
do you chain one and turn after each row or just keep going around? Thanks!
Just keep going… just like amigurumi ?
Let me know how it turns out. ?
Do you have a dj suki pattern as well? My daughters are being trolls for Halloween.
Never thought about it to make one… I guess you could use this pattern as a base and use other colors of yarn. But the rasta hair makes me wonder… I am on holiday right now. But I’ll look into it at home.
I am needing help please? i am not sure i understand your terminology in the pattern. I have made it to the Hairband. i I am not understanding a Secure stitch and How to do the chain to start it. Help!!!!!!!
Oh dear – the picture isn’t clear enough?
This wil probably help you: https://www.youtube.com/watch?v=YS5qnshNNAs
Let me know if it worked!
Hello, can you help me? I would like to make this for a 1 yr. old how do I adjust the pattern?
I will take look later. Not at home now.
How do you make the hair stand up?
When you brush it out, it stands up out of itself.
I love this! Thanks for sharing!! I am making this for my daughter for Halloween. I adjusted the increases so my husband and I can also wear one. I think you have a typo in R9. I couldn’t get the stitch count to work, but it works when there is a [SC in next 3 sc, and 2 sc in next sc] 12 times
Hey Clarissa, how nice of you to tell me! I’ll take a look and change it!
Hope you have a wonderfull happy Halloween!
Can you tell me how to adjust this to a 6-12 month hat!? I have a 6 month old grand daughter…
Thanks for the amazing blog.