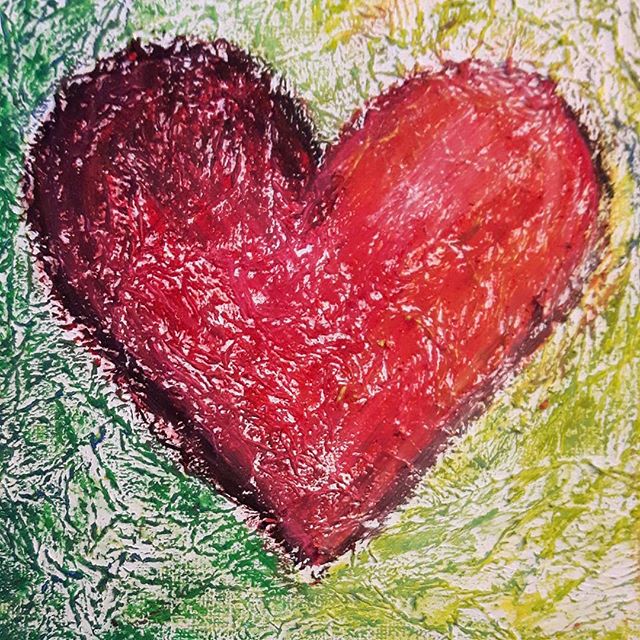
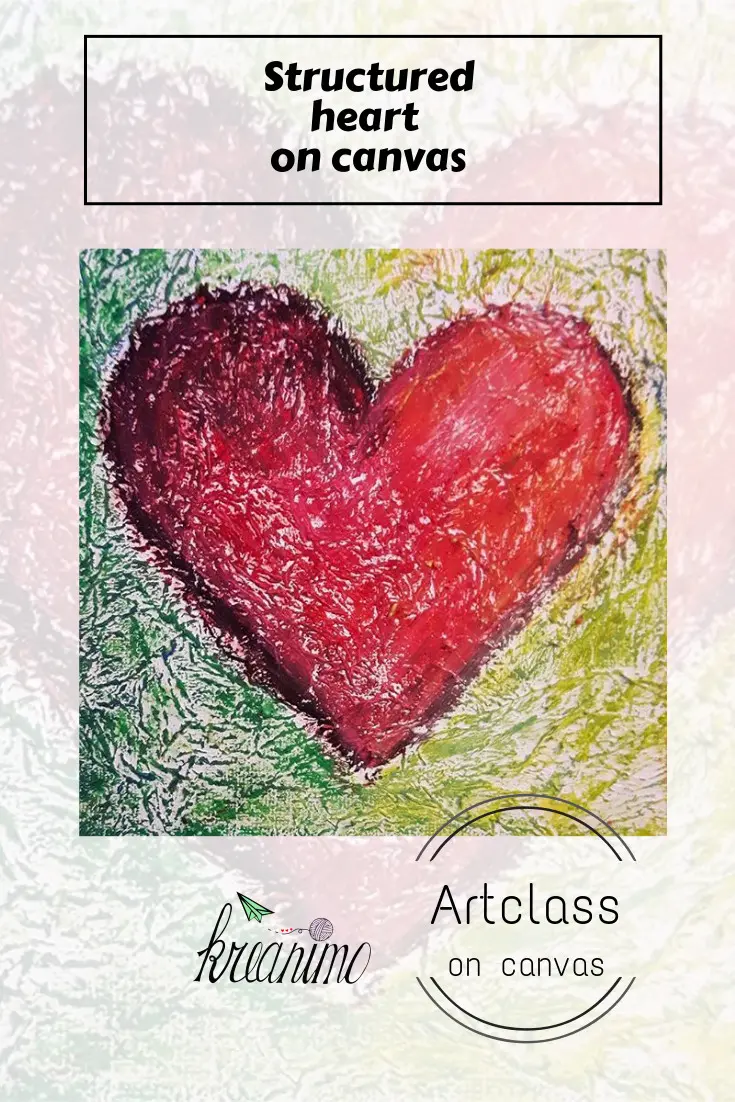
Structured heart on canvas – DIY
Hello everybody! Ready for yet again a super easy DIY project with great result? Here we go! Let’s make a structured heart on canvas!
Contrast on a canvas
The great thing about this DIY project is that it just can’t go wrong! It’s so easy and it looks so ‘artsy’! 😉
That’s why I love doing this project in artclass too, because it will certainly make the children proud! And that’s so important, don’t you agree,
You can do this project for Valentines day or just when you want to teach them about contrast. I used complimentary contrast in this project!
Structured heart on canvas:
supplies for your structured heart on canvas:
- (little) square canvas
- gesso
- box of tissues
- brush
- oil pastels
Step by step your structured heart on canvas:
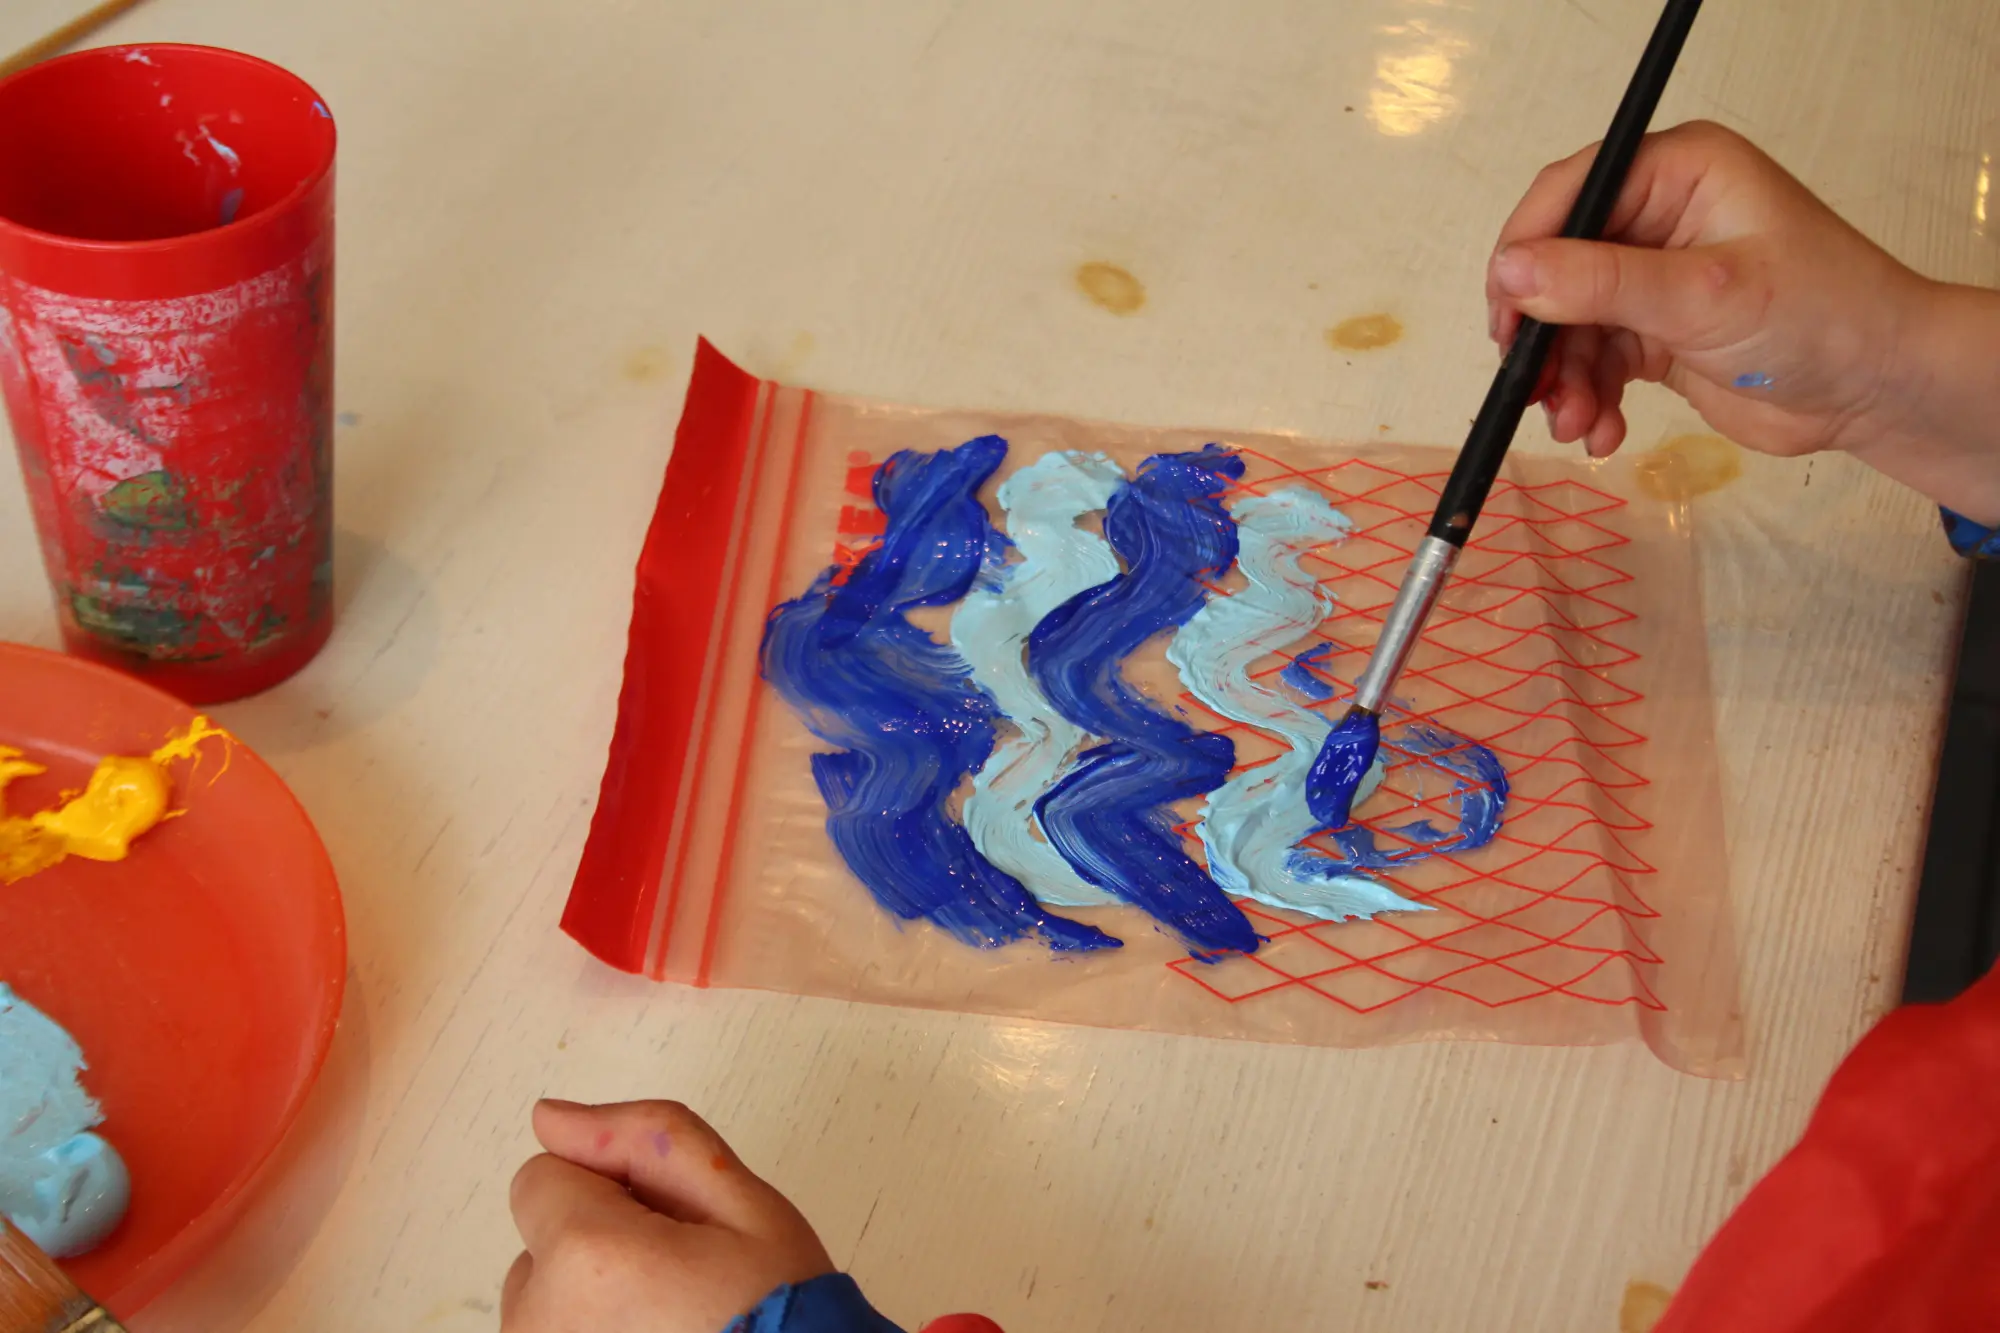
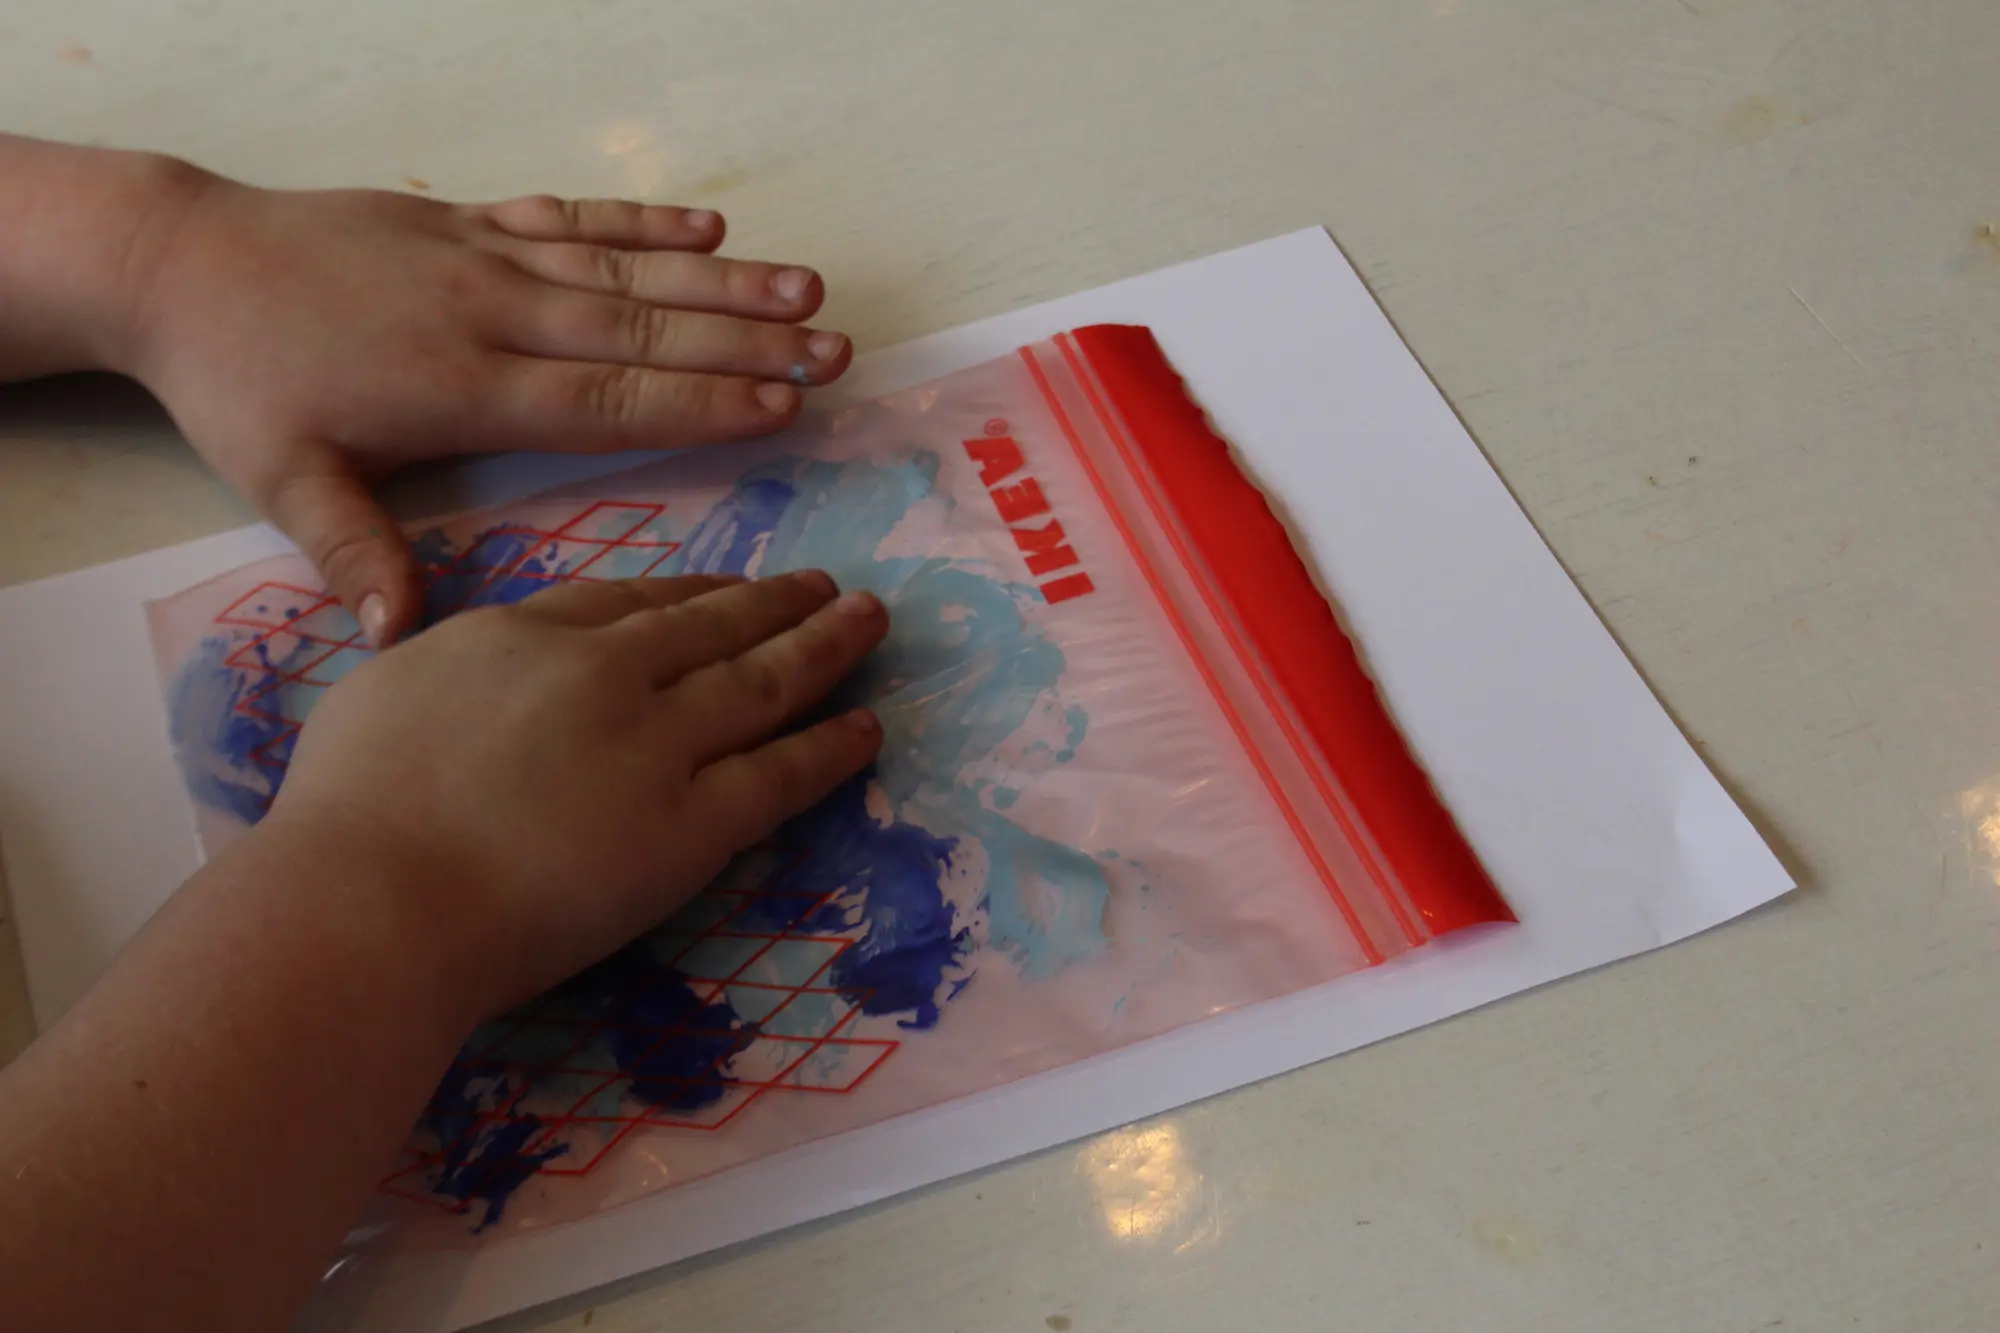
- put some gesso on your canvas.
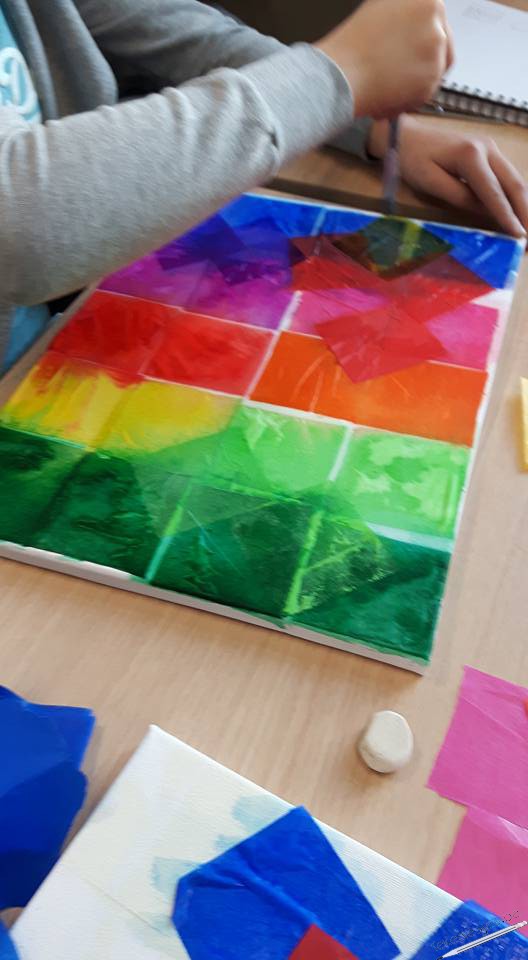
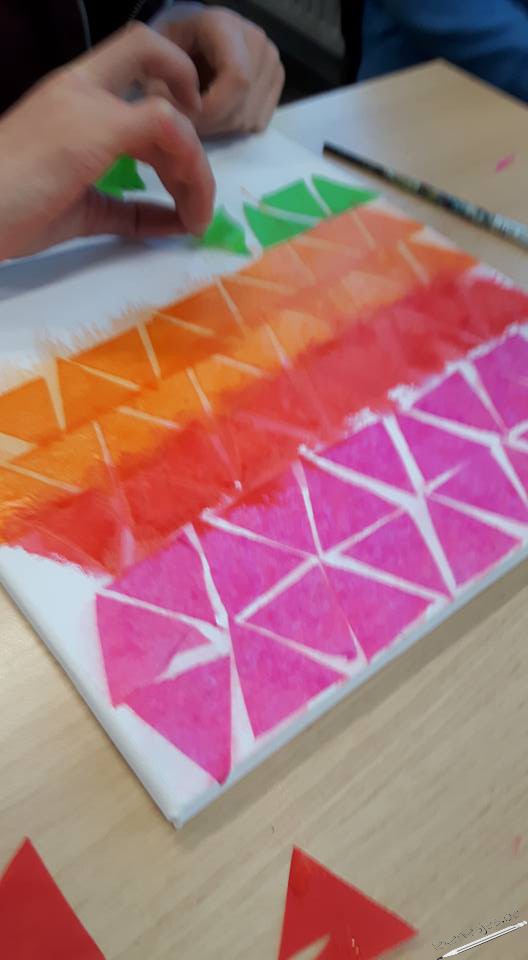
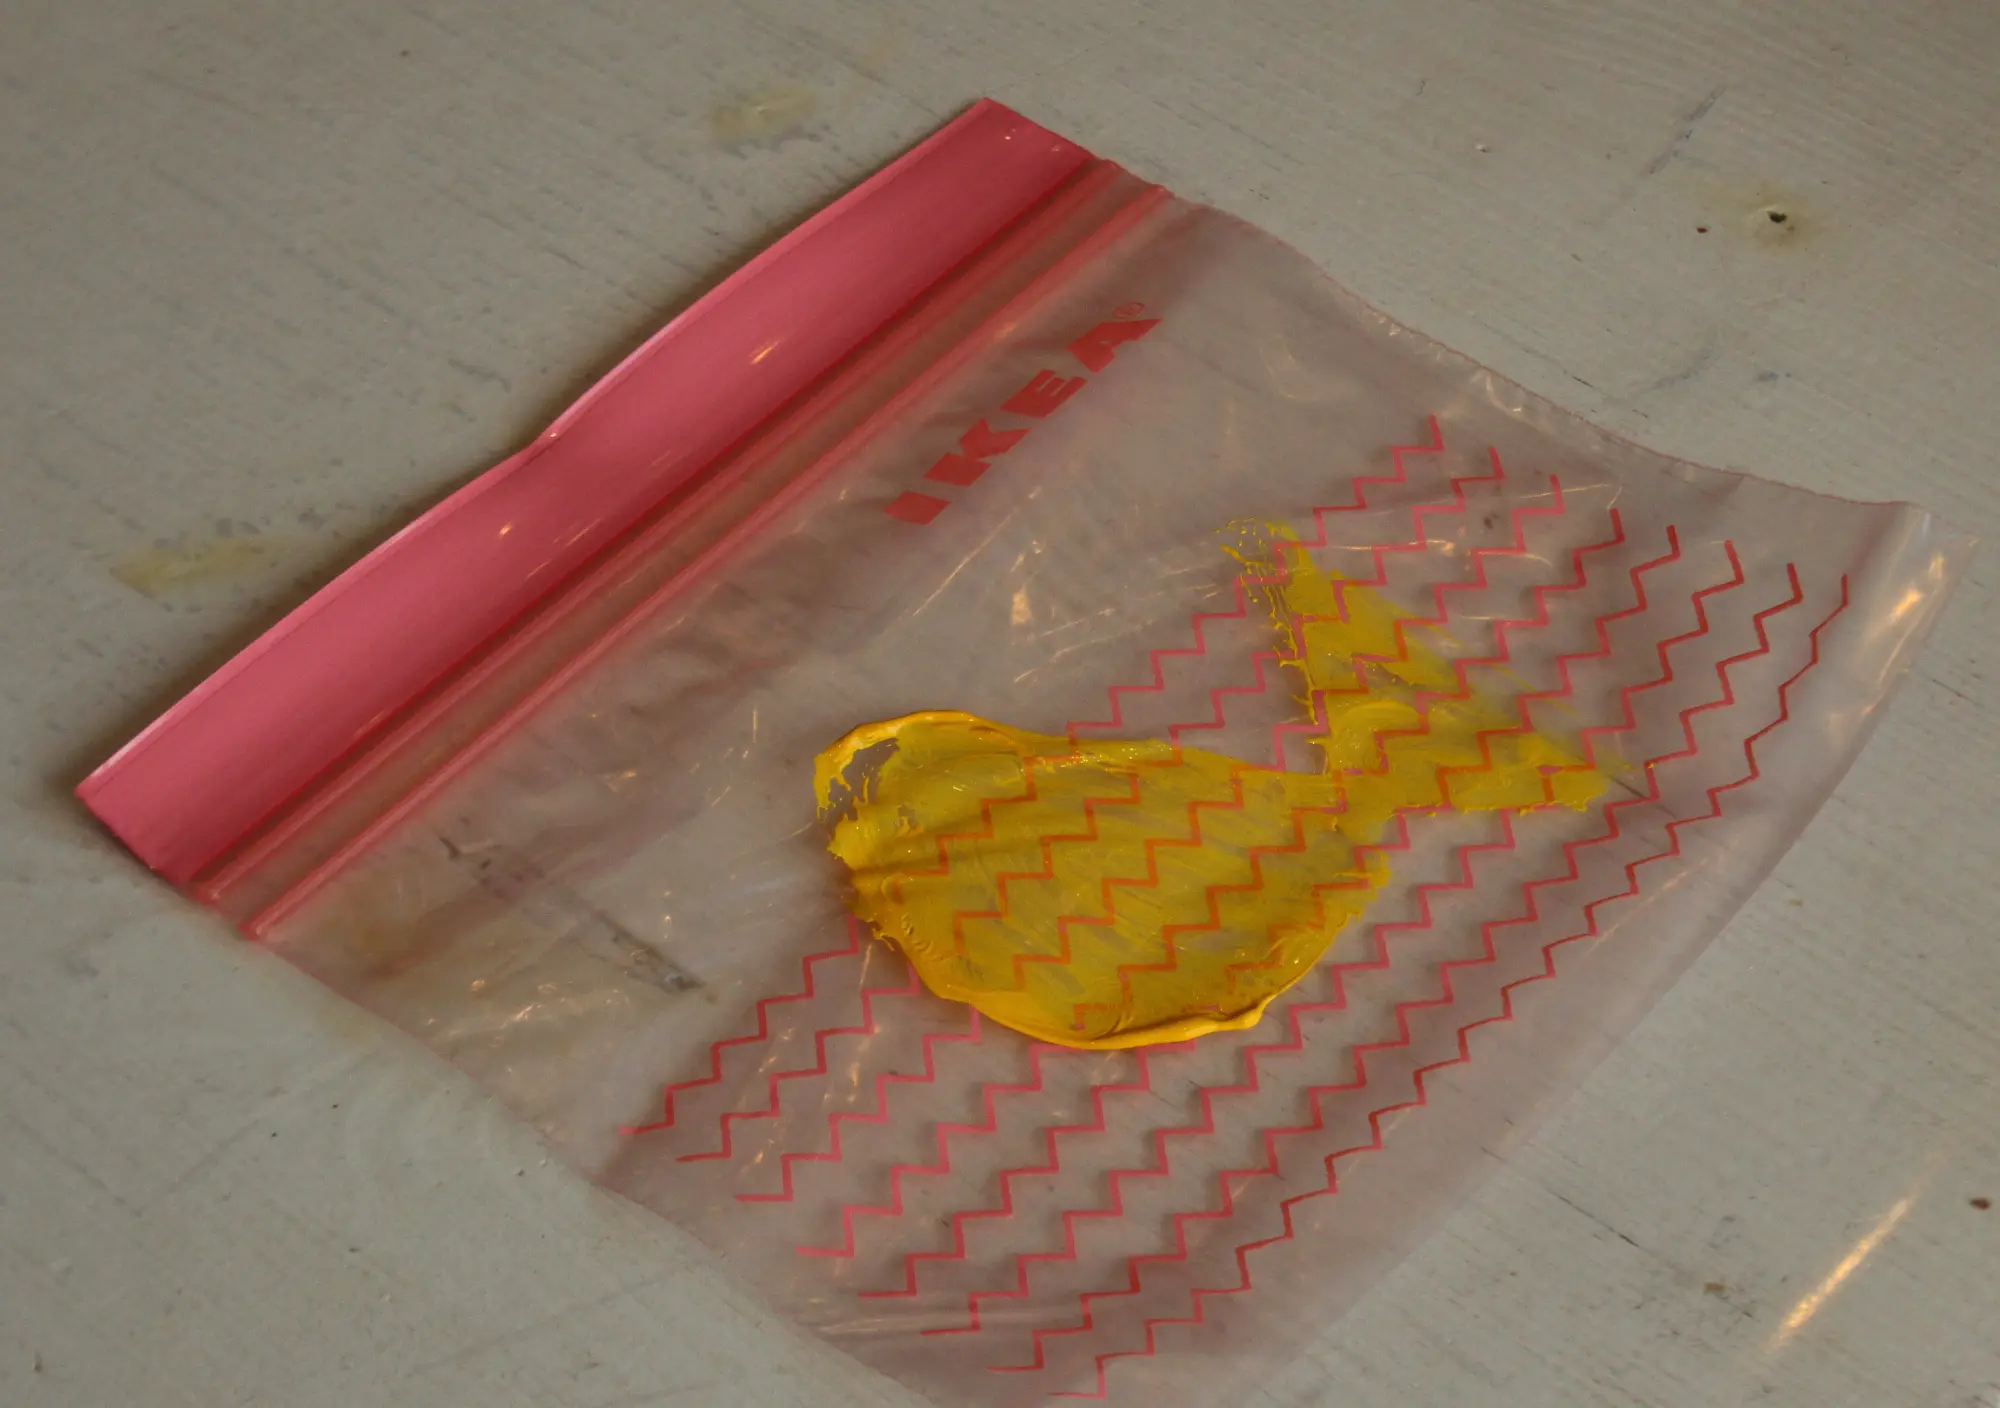
- glue the tissue papers on the canvas using the wet gesso! Be sure to make some structure!
- don’t forget to paint over the tissue paper too.
- let the canvas with the gesso and the tissue paper dry
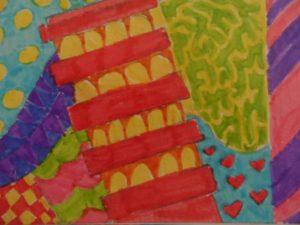
- color the background with yellow oil pastels
- draw a red heart on the canvas
- color the background with greens. Use blue and yellow to make other tints of green if you want to.
- trace the heart with a black oil pastel
- add a little white and pink if you want to. werk af met roze en wit oliekrijt
- finished!
I really hope you liked this super easy DIY on canvas! If you make one of your own, please let me know, so I can come and take a look at it!
If you use it in class, let me know too! It works really well, I promise.
You don’t have to use red and green.
I think baby blue and pink will do great in nursery for example!
Bye for now!
Take care and see you all soon!
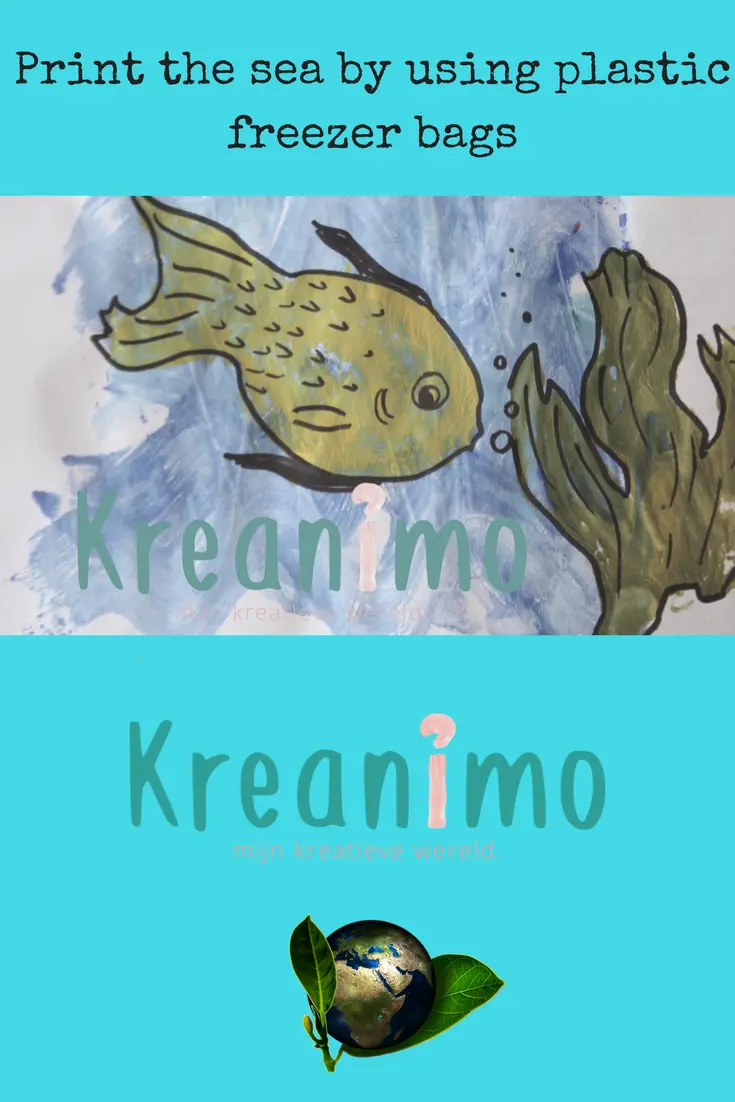
ps: have you ever painted with silk paper on canvas? That works great too! –> click here
[inlinkz_linkup id=745242 mode=1]