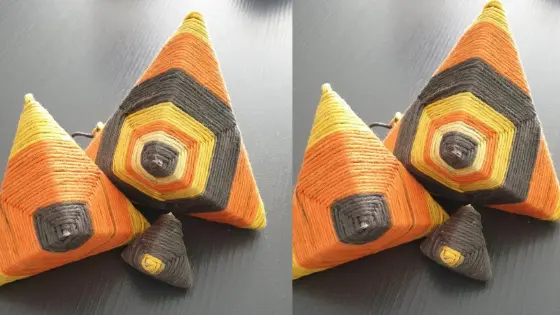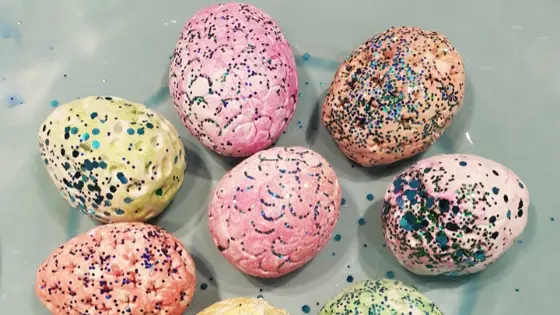
Dragon eggs craft in clay – step by step
Dragons keep tickeling our imagination. This dragon egg craft is super easy, but kids will love to make them. In our house one dragon egg wasn’t enough! It had to be a whole family! 😉
Step by step dragon eggs craft
Supplies for a dragon eggs craft
- air drying clay
- Acrylic paint
- gloves
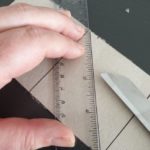
- clay tools
- (biodegradeble) glitter
- varnish
- water
Steps for your dragon eggs
- cover your table, put on an apron and the gloves
- take some clay. Don’t give too much clay to little hands. The less clay the easier it will be to mold!
- put some drops of acrylic paint on the clay and start kneading so the color mixes with the clay! If you want it darker, just put some more paint on the clay.
- roll the clay into a ball. Try to remove the cracks so the ball becomes smooth.
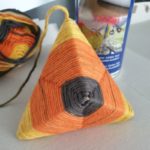
- try to shape the ball into an egg by rolling the upper side a bit.
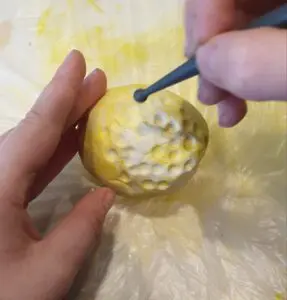
- now you have an egg in a lovely color. By using the clay tools you can give the dragon egg a pattern.
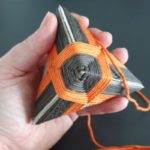
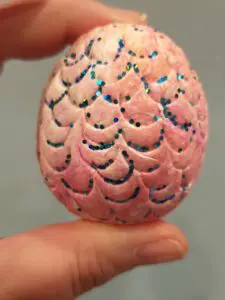
- roll the egg into the glitter.
- Let your dragon egg dry. Every inch normally takes about 24 hours to dry, so let it have enough time to dry up.
- When the egg is dry, you can put the varnish on. (That prevents the glitter from falling off!)
Draw your dragon
Let the kids think about their dragon. What would it look like? What can it do?
Let the kids draw the dragon that would come out of their egg.
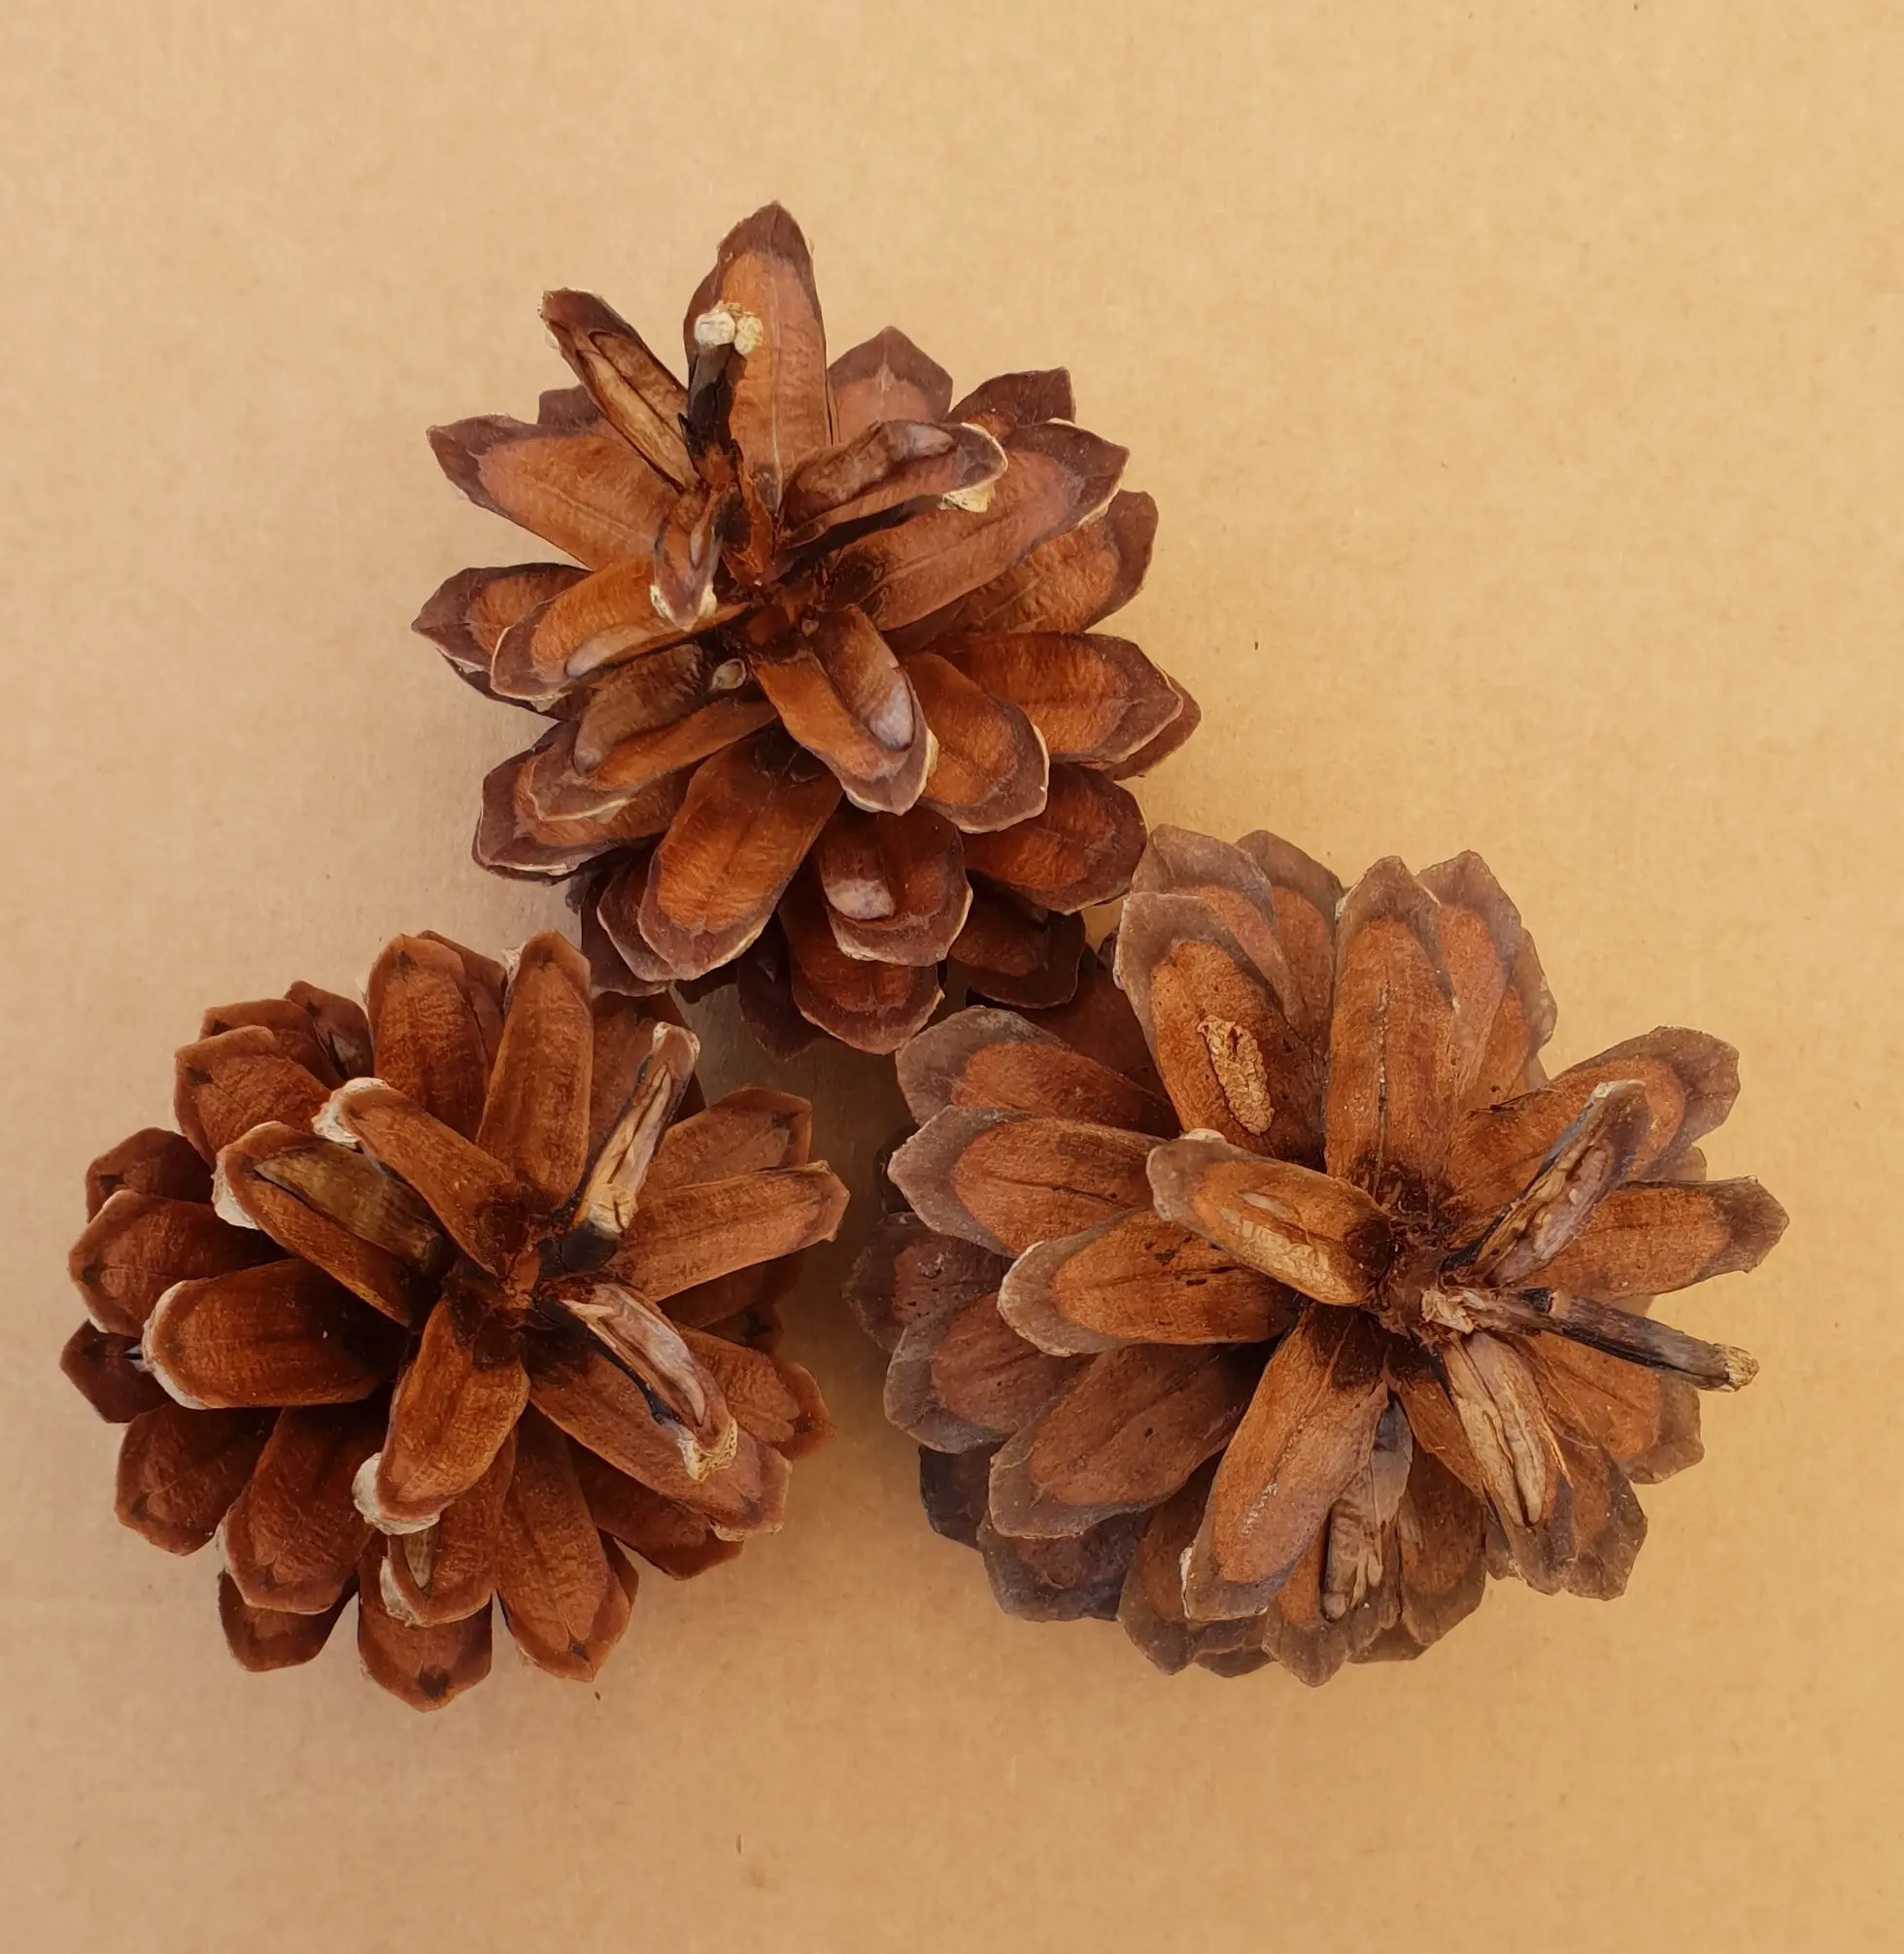
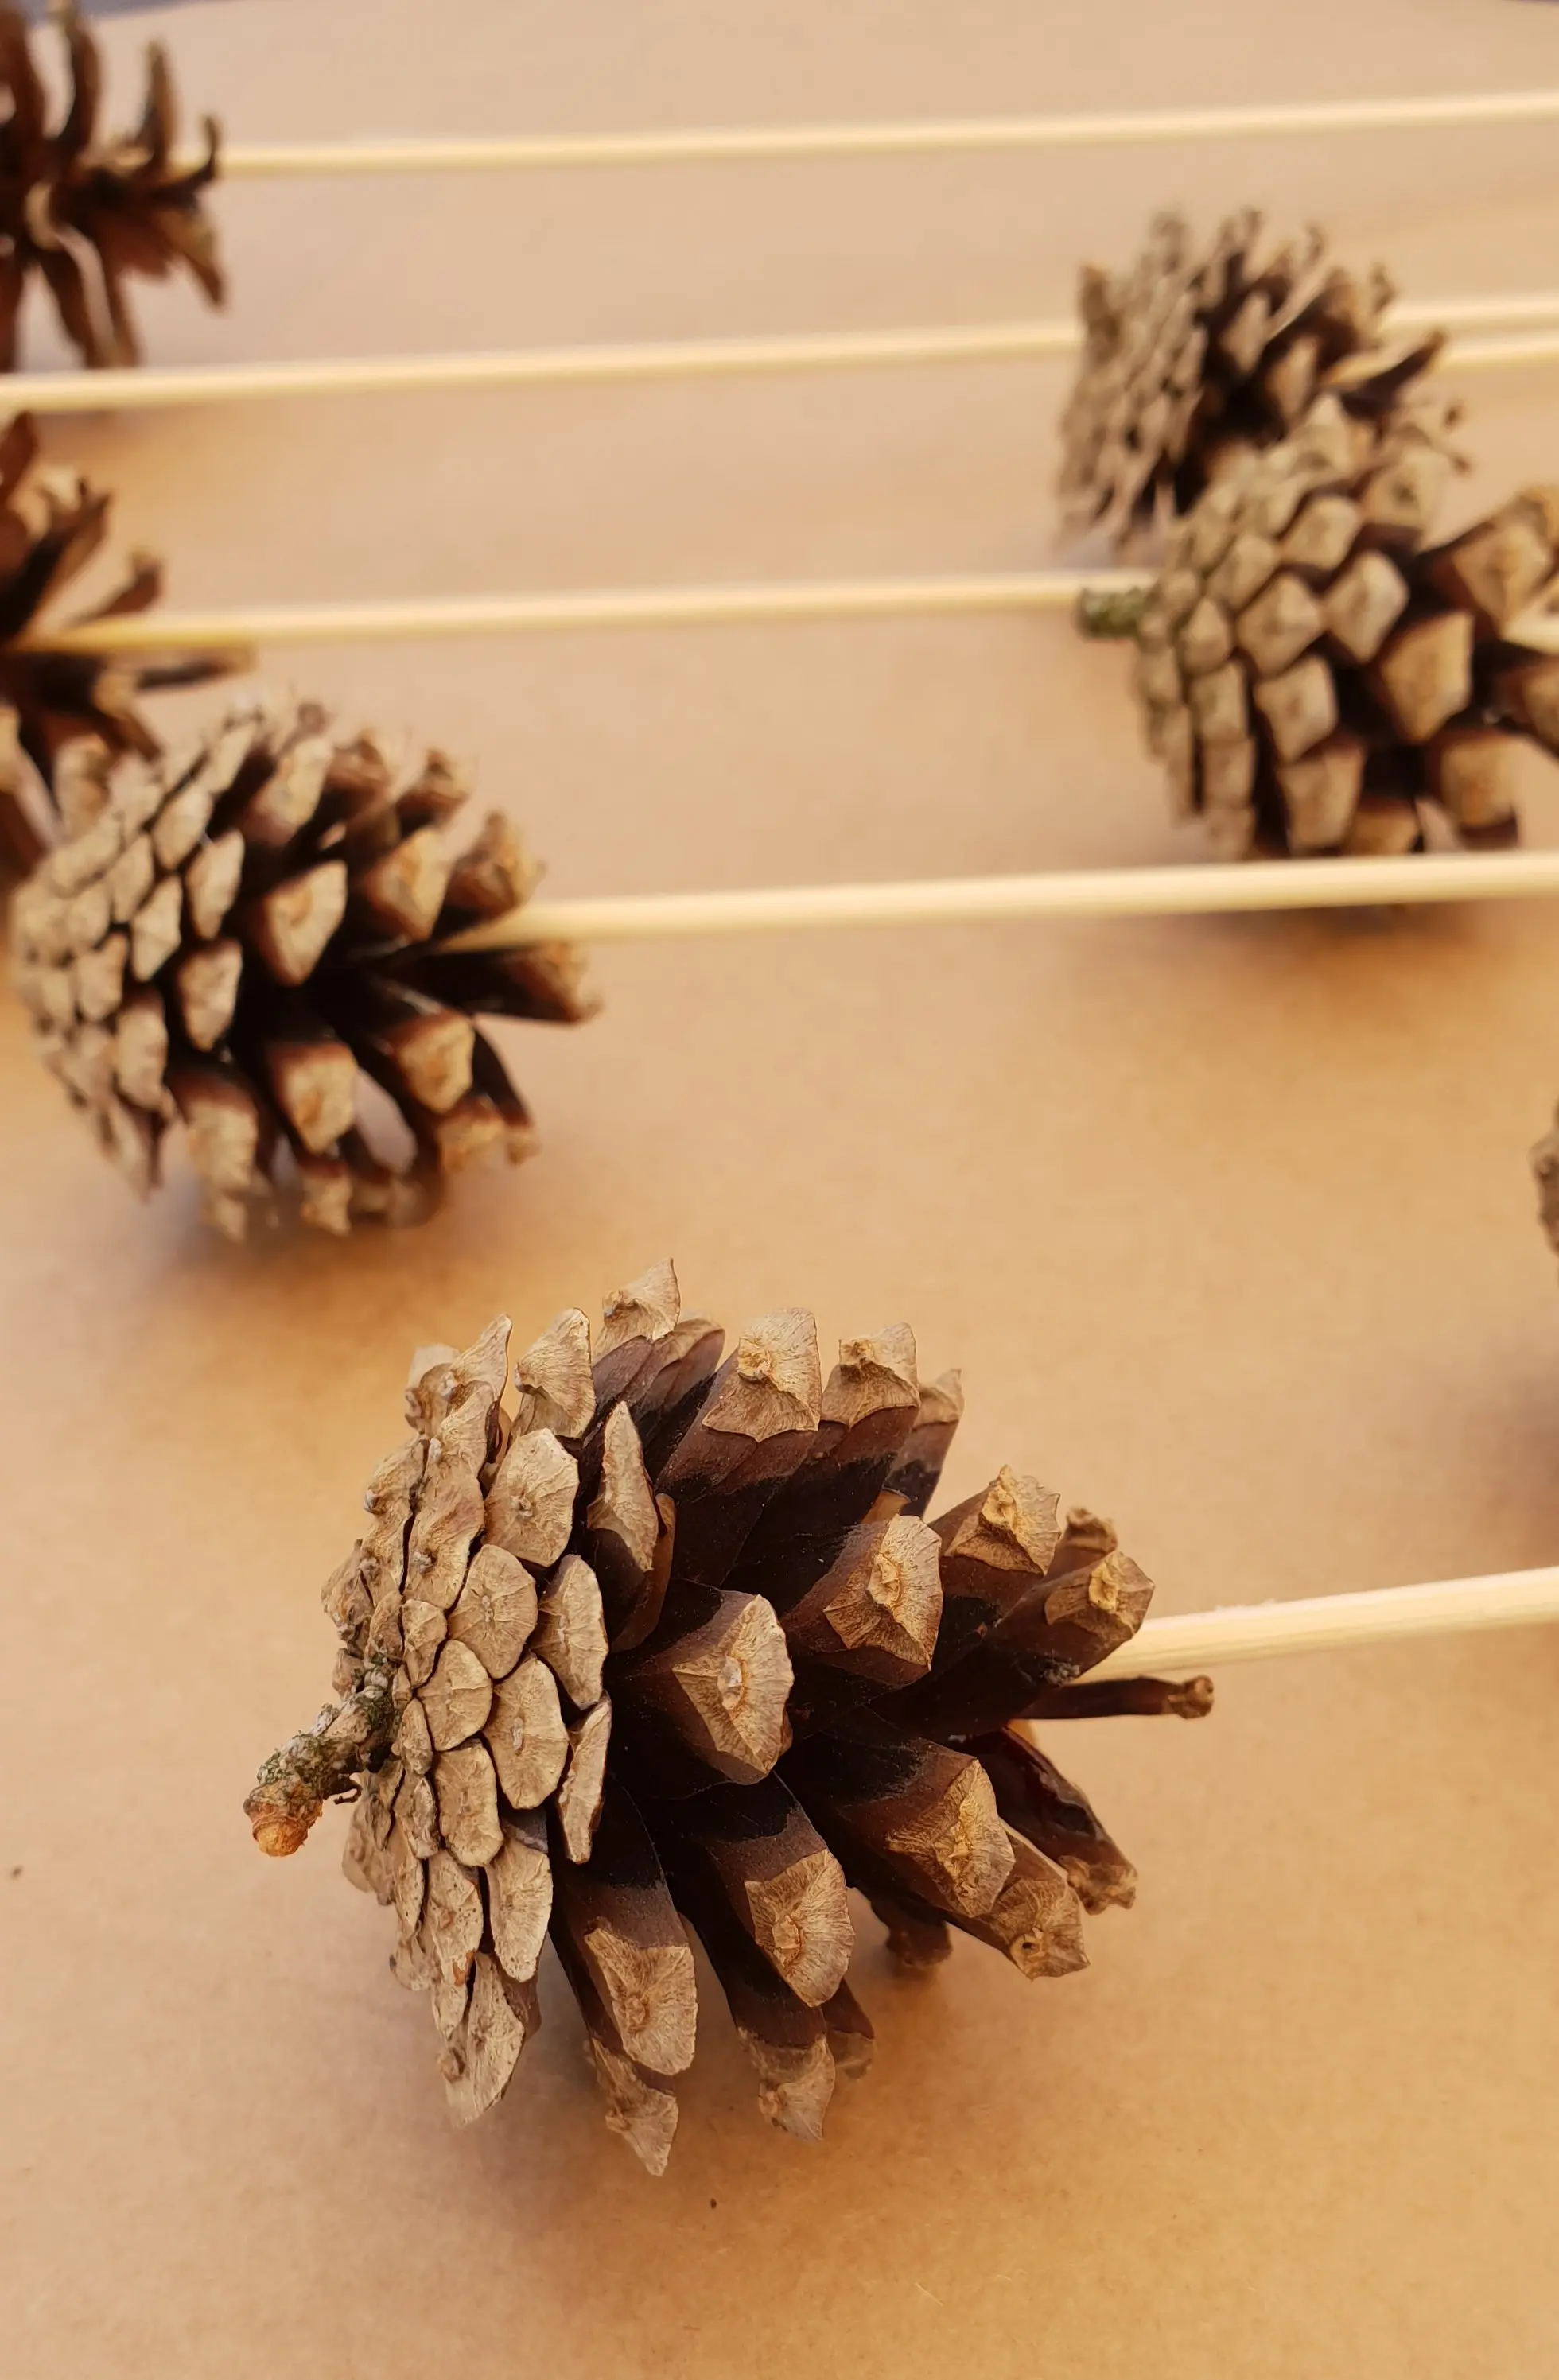
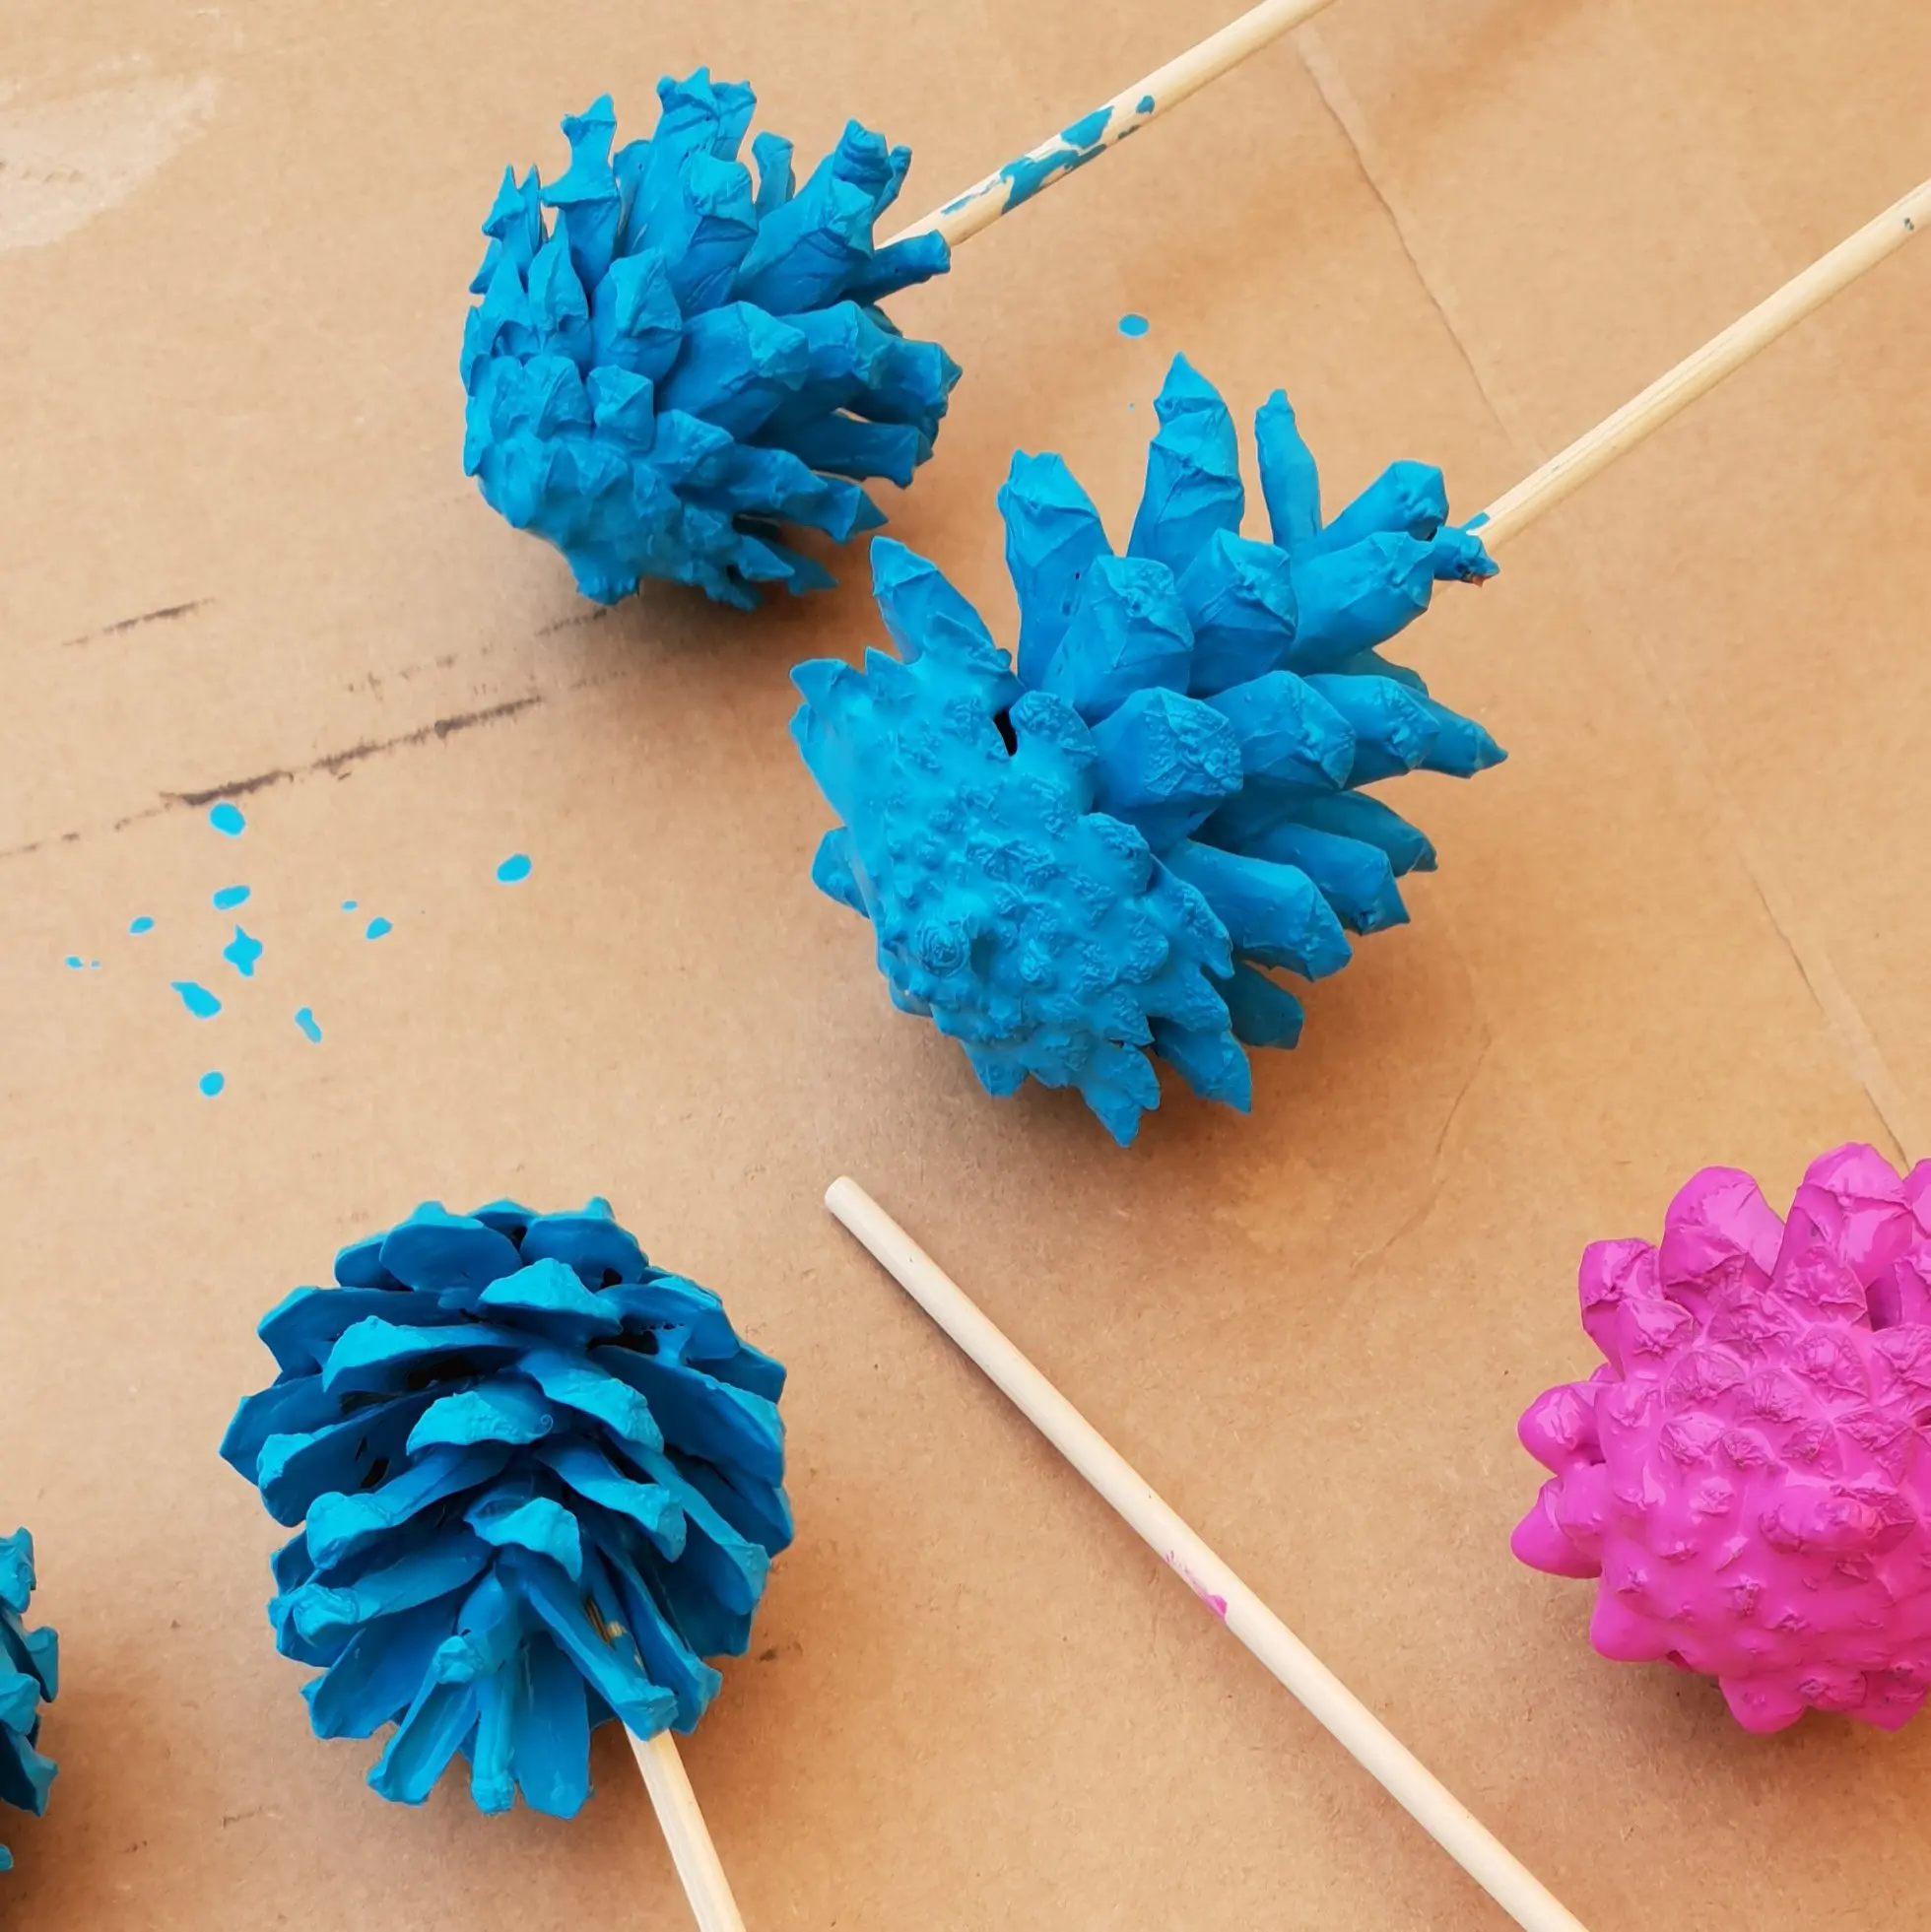
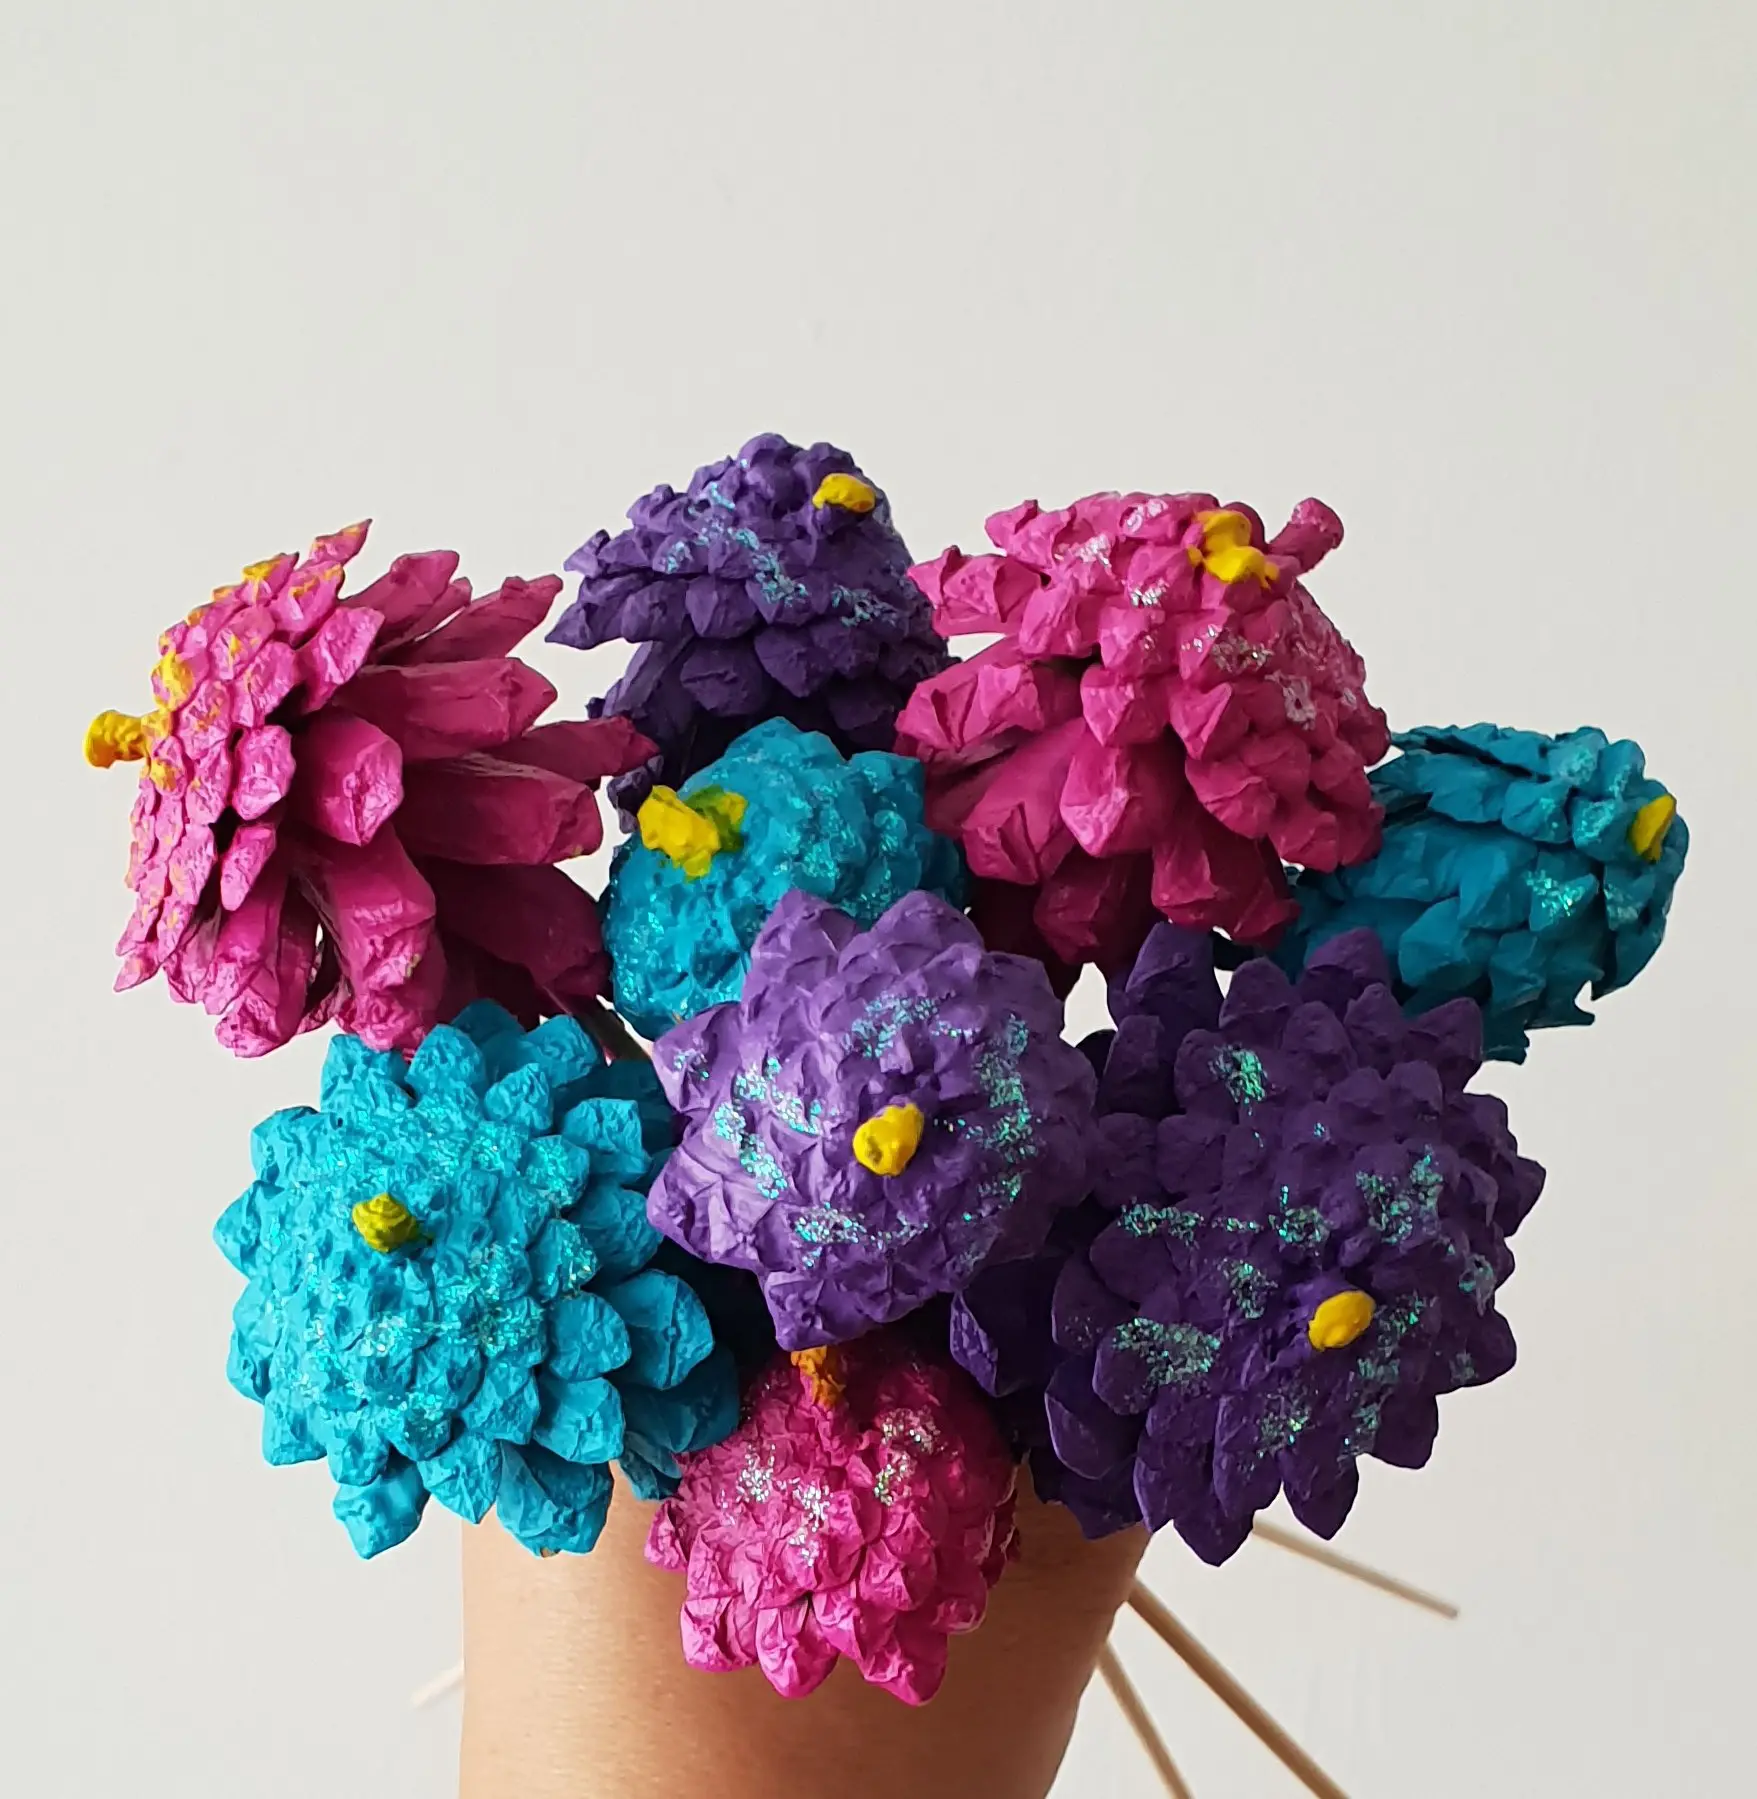
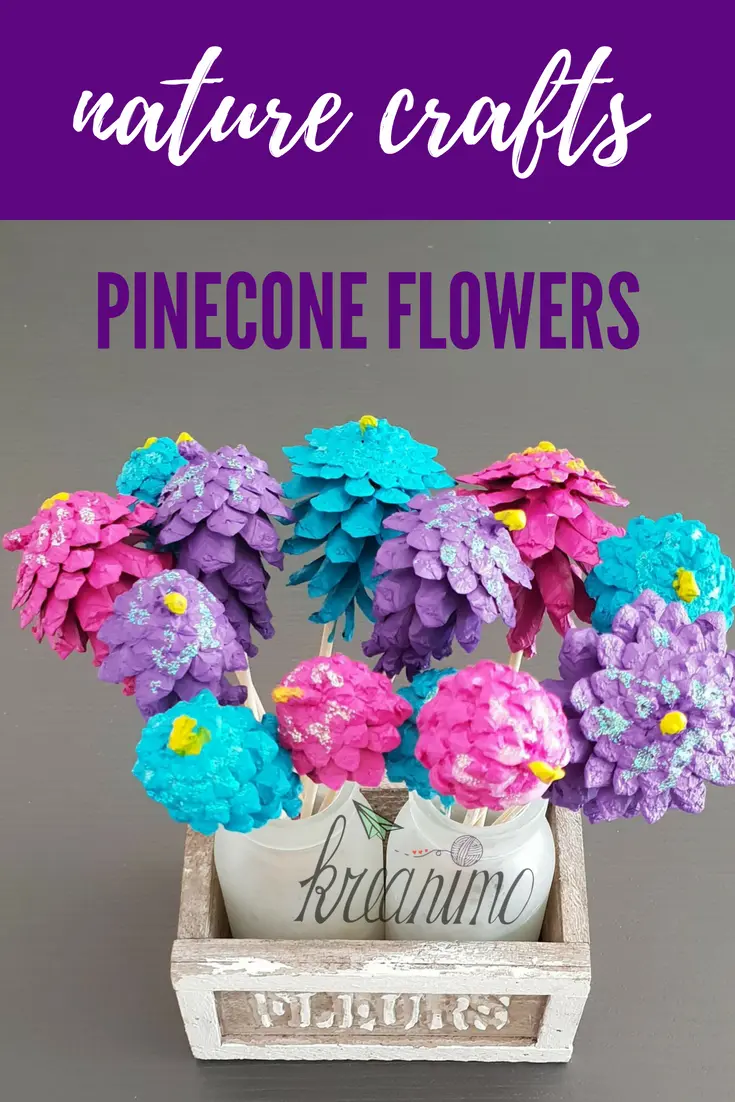
Maybe you’d like to craft pine cone flowers too? Click here.
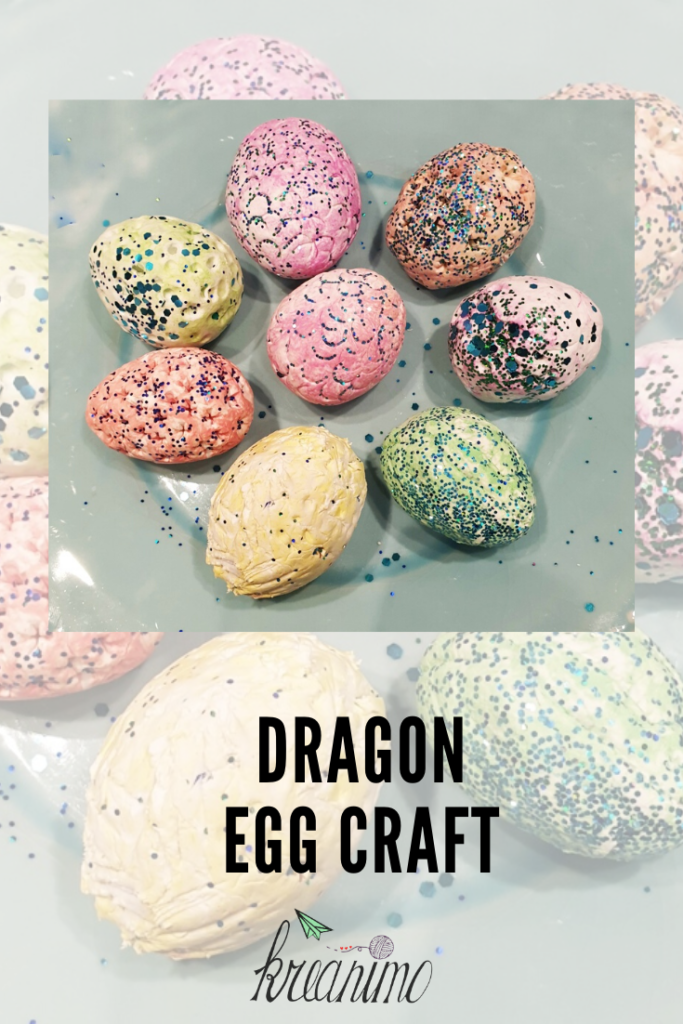
Pin for later:
Linkparty en insta-challenge CreaKrea
Add your dragon activities using the ‘add link’ button – you can choose 3 activities to linkup!