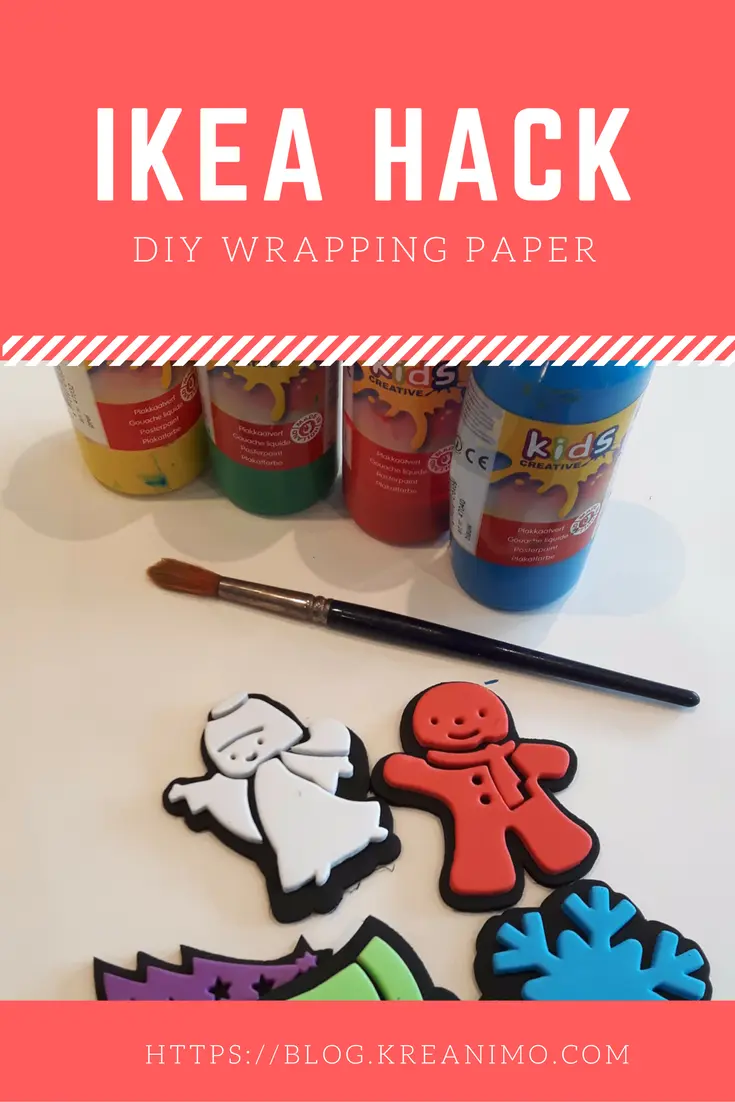
Ikea Hack DIY wrapping paper with Mala drawing paper
Oh no! Out of wrapping paper
I’m so good in not having enough wrapping paper or being out of wrapping paper on the most frustrating moments.
Since I have thought about this hack, I always have spare paper at home.
The best thing about this hack is the fun the kids have when stamping it together, no doubt about it!
Ikea hack DIY wrapping paper with Mala drawing paper.
A few weeks ago I bought foam stamps that go nicely with Christmas decorations. There’s an angel, a christmastree, a bell, a snow-flake and a gingerbread man.
I have foam stamps in many different designs, so you could do this one for easter or a birthday too!
If you don’t have those stamps, you can do wonders with a pototo! 😉
Supplies you need:
* Mala drawing paper from Ikea
* gouache paint (Acrylic works too, but I wouldn’t recommend it with children!)
* foam stamps or potatoes
* paintbrushes
Ikea hack DIY wrapping paper: step by step
- Put a large piece op the paper on the table and use tape on the edges to flatten
- Make a plate for every color you want to use and put a brush on it.
- Explain to the kids that you use a different brush for each color.
- Show them how it’s done: paint the stamp with the brush and ‘stamp’ on the piece of paper on the table.
- Tell the kids to spread around the designs and the colors.
- Make sure they stamp on all the empty spaces, so the wrapping paper looks ‘full’
- Let the wrapping paper dry
- Let the wrapping begin!
TIP
Don’t let them use the paint too thick. That way it won’t smudge!
Personal is so much more
Personal wrapping paper is so much more… So even if you arn’t ‘out’, you can still use this hack to make wrapping paper. It’s fun to do and quite cheap.
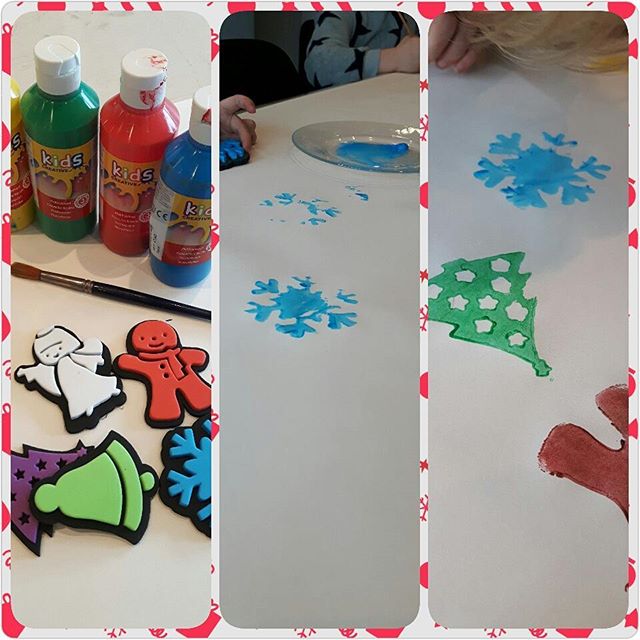

This is how the presents looked when my son (6) and my eldest daughter (4) helped stamping and wrapping! Hope you’ll all like this hack! Merry Christmas!
Please let me know if you use this ikea hack DIY wrapping paper, I’m curious to see your results!
Please follow on Bloglovin – Facebook – Twitter–Instagram –Pinterest –Youtube