Category: Knutselen

Dragon eggs craft in clay – step by step

Dragon eggs craft in clay – step by step

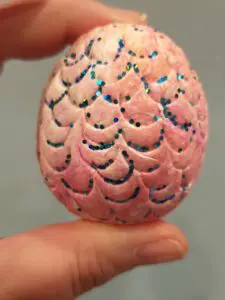
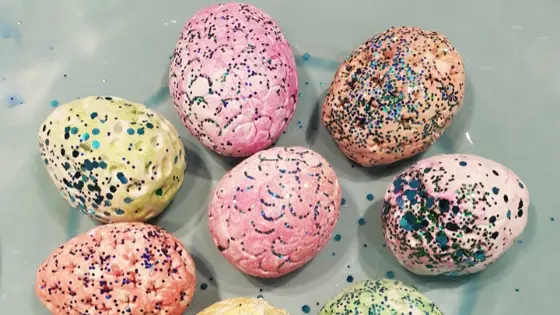
Dragons keep tickeling our imagination. This dragon egg craft is super easy, but kids will love to make them. In our house one dragon egg wasn’t enough! It had to be a whole family! 😉

Step by step dragon eggs craft

Supplies for a dragon eggs craft

  • air drying clay
  • Acrylic paint
  • gloves
  • clay tools
  • (biodegradeble) glitter
  • varnish
  • water

Steps for your dragon eggs

  • cover your table, put on an apron and the gloves
  • take some clay. Don’t give too much clay to little hands. The less clay the easier it will be to mold!
  • put some drops of acrylic paint on the clay and start kneading so the color mixes with the clay! If you want it darker, just put some more paint on the clay.
  • roll the clay into a ball. Try to remove the cracks so the ball becomes smooth.
  • try to shape the ball into an egg by rolling the upper side a bit.
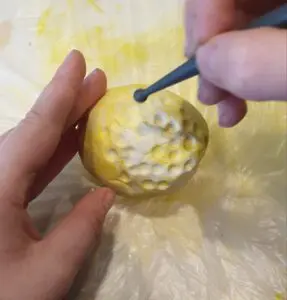
  • now you have an egg in a lovely color. By using the clay tools you can give the dragon egg a pattern.
  • roll the egg into the glitter.
  • Let your dragon egg dry. Every inch normally takes about 24 hours to dry, so let it have enough time to dry up.
  • When the egg is dry, you can put the varnish on. (That prevents the glitter from falling off!)
 

Draw your dragon

Let the kids think about their dragon. What would it look like? What can it do?

Let the kids draw the dragon that would come out of their egg.


Maybe you’d like to craft pine cone flowers too? Click here.


Pin for later:
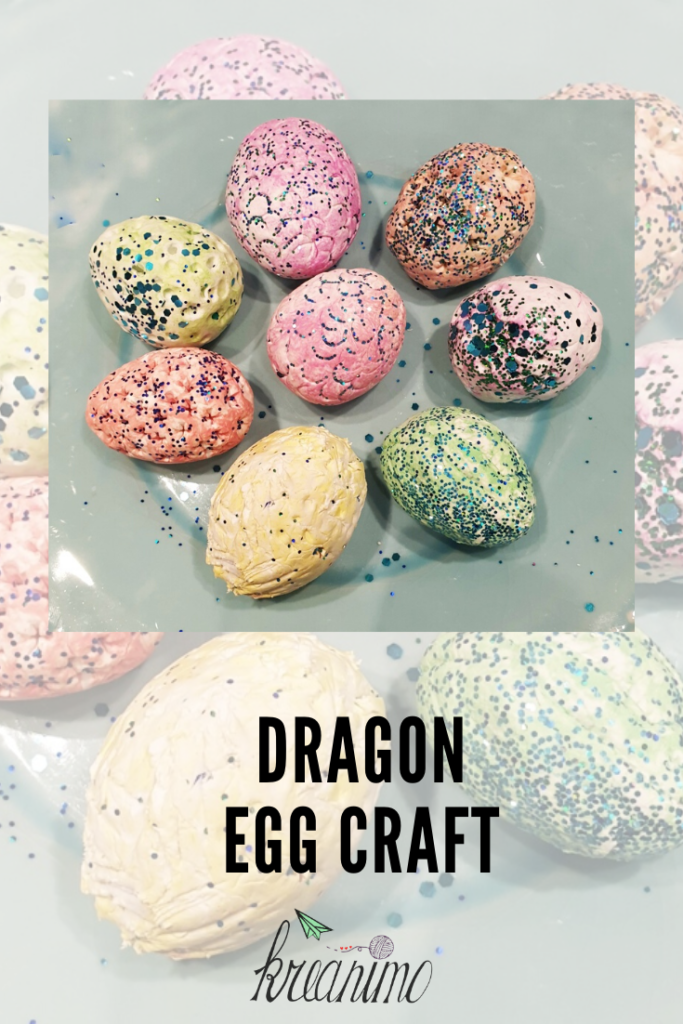
Dragon egg craft

Linkparty en insta-challenge CreaKrea

Add your dragon activities using the ‘add link’ button – you can choose 3 activities to linkup! 
You are invited to the Inlinkz link party!

Click here to enter


Geometric decorative pendant craft

Geometric decorative pendant craft

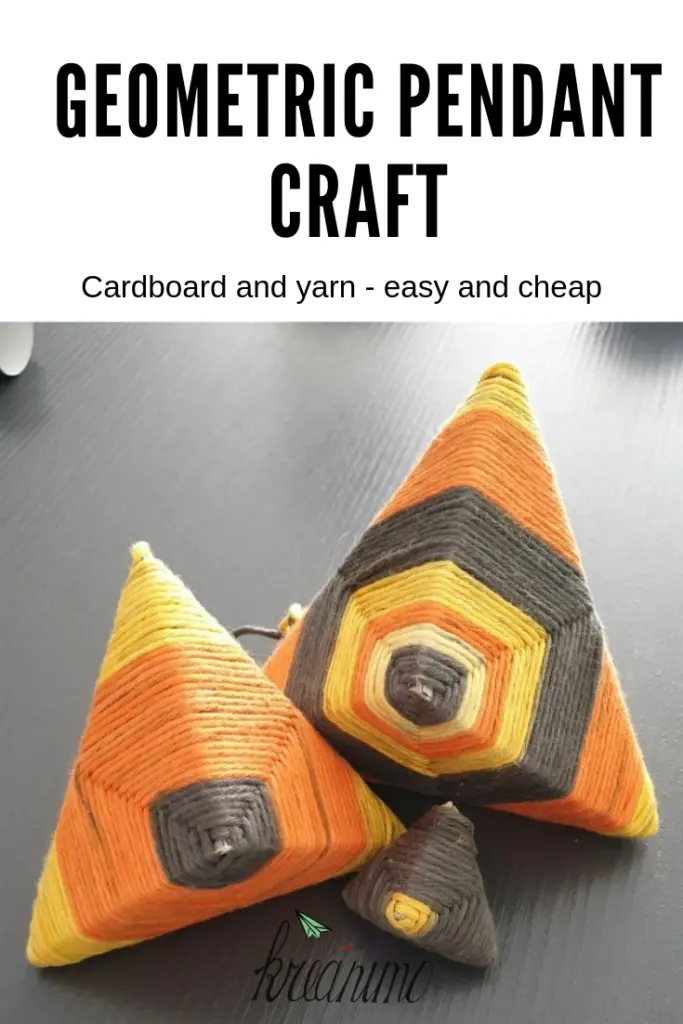
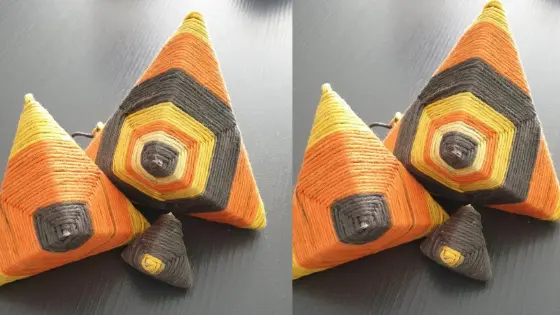
This is a craft project I used to do as a kid. I have no clue where it came from and I do this by heart! But it is fun and it gets great results, so I really wanted to share this one! Let me tell you how you can craft this geometric pendant.

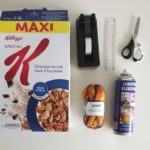
Materials for the geometric decorative pendant?

  • cardbord. I love to use empty corn-flakes boxes! They are just flexible enough.
  • scissors
  • glue (spray)
  • yarn
  • ruler
  • tape

Step by step:

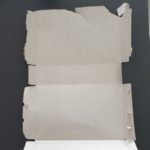
  • Open the cardbord box, so you can draw on the inside.
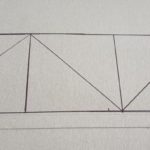
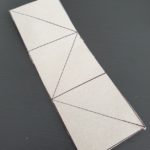
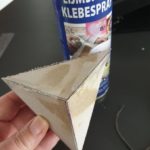
  • Draw 3 squares of exact the same size next to eachothers (see picture). The longest side is always 3 times the size of one side of the square.
  • Draw the 3 zig zag lines as shown on the picture below.
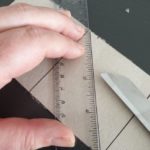
  • Cut out the shape you drew
  • Go over alle the construction lines with the point of the scissors,  That way you can easily fold the shape.
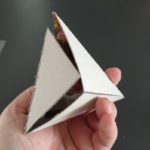
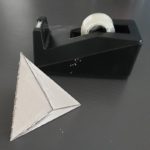
  • Fold the shape and tape it.
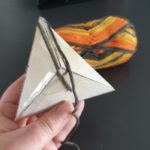
  • Spray some glue on the geometric shape.
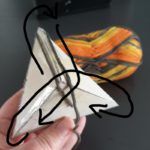
  • Start going around the shape with the yarn as shown on the picture. Keep the starting point in mind, if you start at the wrong point, it will not work.
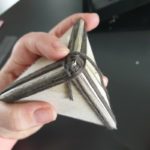
  • Spray some more glue at the end so the yarn sticks.
  • Plooi dan de geometrische vorm en plak hem met plakband dicht.
  • Daarna spuit je wat lijmspray op de punt en begin je het garen rond de vorm te draaien. Bekijk eerst even de tekening en volg de pijltjes. Het is belangrijk dat je op de juiste manier begint.
  • Leave a long tail if you want to hang the geometric shape as a pendant – You can cut it off shorter if you want to use it to decorate something else.

Cheap materials and lovely result!

What do kids learn?

Exact measuring is key!

Pin for later?


Nederlandse vertaling vind je hier! 

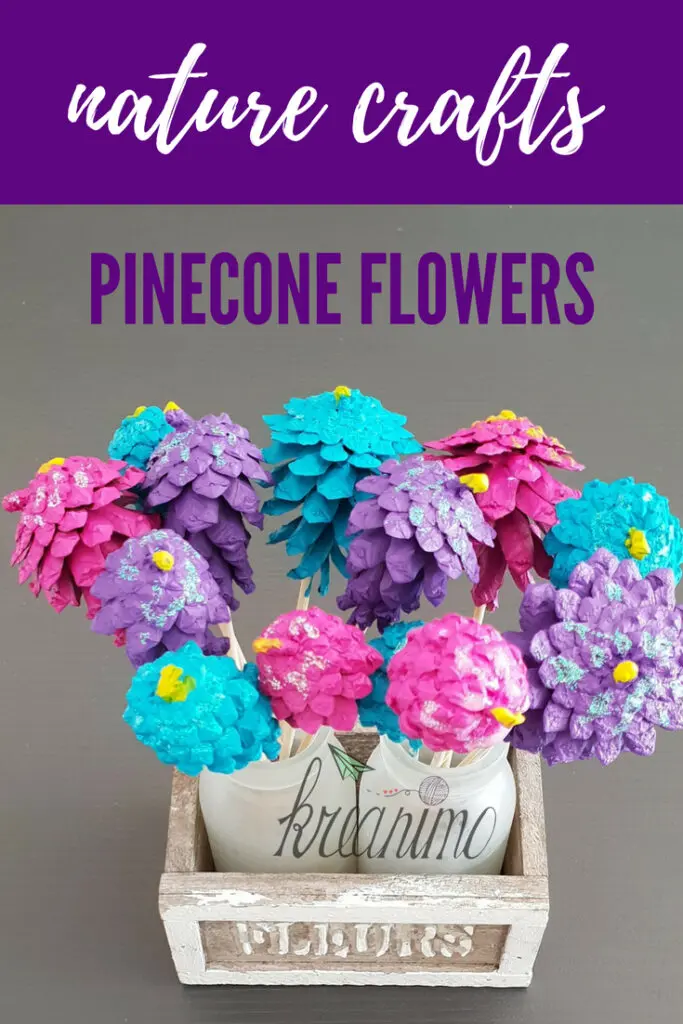
pinecone flowers craft – flowers to play with

pinecone flowers craft – flowers to play with

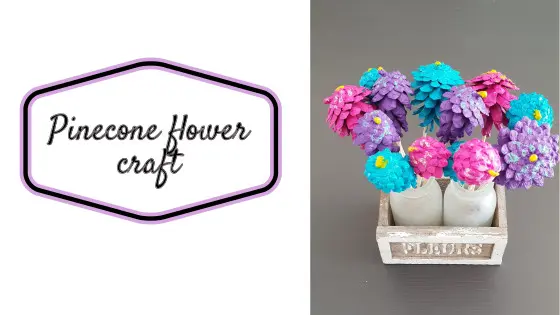
A few years ago my sons was crazy about a little book called ‘Musti and the Treehouse’. Here in Belgium Musti is a TV character of a cat for small kids. Daddy had a treehouse too when he was a kid, so mini-daddy wanted a treehouse too. The new planted trees in our garden were nog treehouse material though… our niece bumped into a wooden playhouse on a second hand facebookgroup. We went and bought that wooden house and it got called the treehouse as soon as it was built up again. Today I’ll show you how we made pinecone flowers to decorate the table of the treehouse.

The treehouse

As I already said, the treehouse isn’t really a treehouse. It’s nog around or in a tree, but we call it treehouse anyhow. Inside there’s a big chalkboard and under the house we have built the sandbox. That way, when it’s raining the kids can still play in it. There are beautiful sun-powerd lamps and they even have their own mailbox now. (We bought a new one and gave the old one to the kids for their wooden house.)
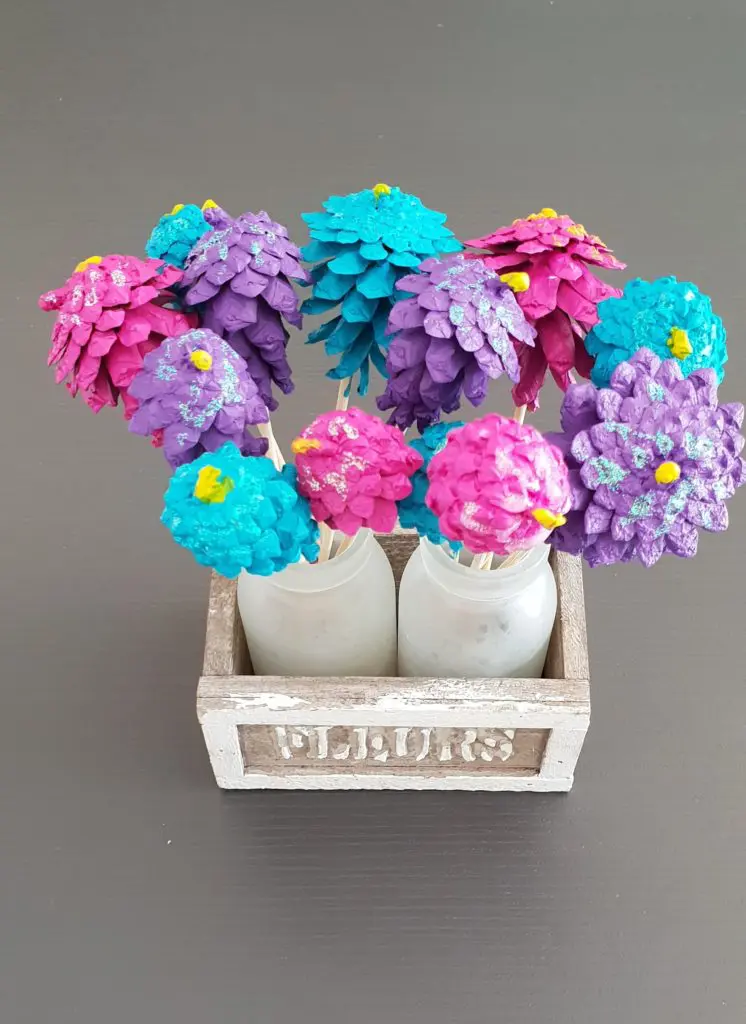
From the attic the got a little vase to put flowers in, but real flowers tend to be forgotten. So pince cone flowers could do the trick there!

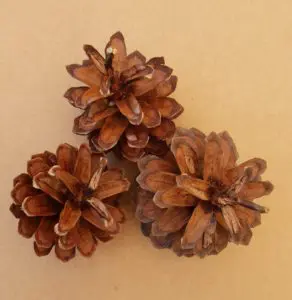
Searching for pine cones

The ladies and I went searching for pinecones. We live in a town where trees and forrest are very common, so we didn’t have to walk fare. Pine cones are there all the year round! Some people tend to think that pinecones are autumn and winter craft supplies! When I was a kid, my dad used them to light up the BBQ.

Other inspiration: The cutest bauble in the tree – craft 

denneappels

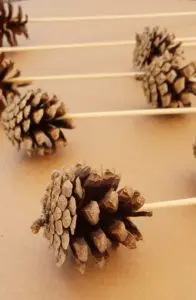
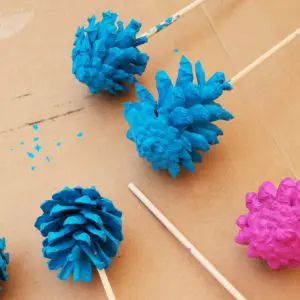
At home we cleaned the pincones and glued wooden sticks to them. 

Pinecone flowers painting

The day after we glued the pinecones we could paint them. I used acrylic paint with water in a glass bowl. That works very well to paint faster. With a small brush I painted the upper parts, which hadn’t touched the paint in the glass jar.

Denneappel bloemen in wording.

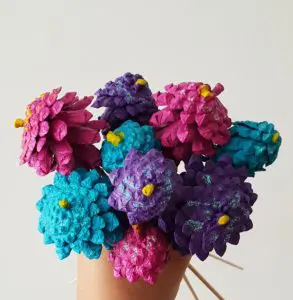
When the paint was dry we added some glitter – off course!

boeketje denneappel bloemen

Now the kis have beautiful pinecone flowers in their treehouse! 

denneappel bloemen knutselen

Tips for crafting with pinecones

  • go searching when it has been dry weather for a few weeks.
  • or dry the cones in the oven to bake out the insects. The oven should be on 160-180 C and you should bake them half an hour. Keep an ey on the oven though!
  • Use transparant glue – it looks better!
  • You can use differen sizes and shapes of pinecones.
  • Make sure the glue has dryed perfectly before you start painting.
  • The acrylic paint has toe be dry too

Other flower project: Yayoi Kusama flowers in paper mache

Pin for later? 

pinecone flowers craft

Take care and see you soon!

[inlinkz_linkup id=788490 mode=1]

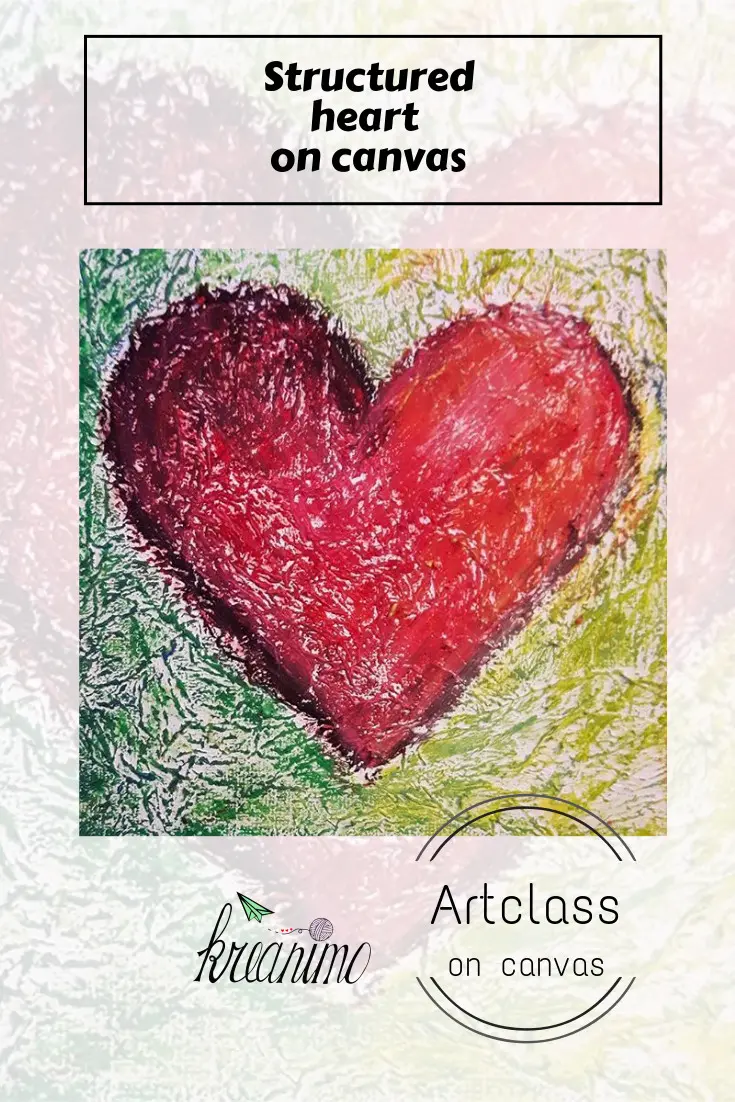
Structured heart on canvas – DIY

Structured heart on canvas – DIY

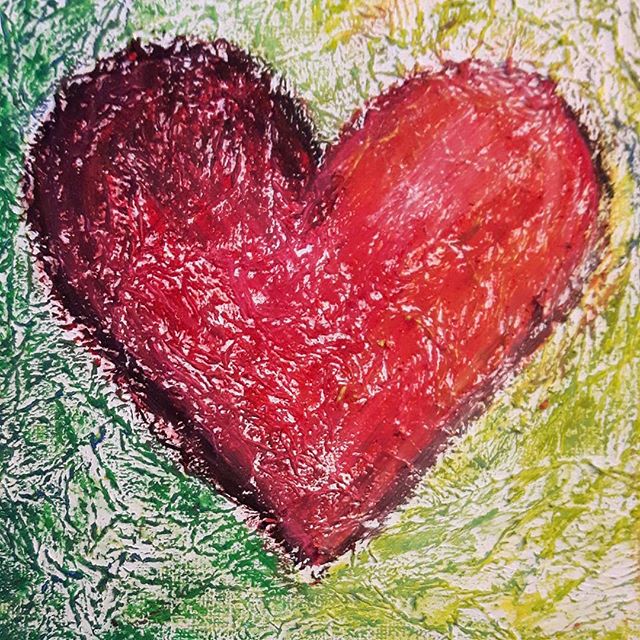
Hello everybody! Ready for yet again a super easy DIY project with great result? Here we go! Let’s make a structured heart on canvas!

Contrast on a canvas

The great thing about this DIY project is that it just can’t go wrong! It’s so easy and it looks so ‘artsy’! 😉
That’s why I love doing this project in artclass too, because it will certainly make the children proud! And that’s so important, don’t you agree,

You can do this project for Valentines day or just when you want to teach them about contrast. I used complimentary contrast in this project!

Structured heart on canvas:

supplies for your structured heart on canvas:

  • (little) square canvas
  • gesso
  • box of tissues
  • brush
  • oil pastels

Step by step your structured heart on canvas: 

  1. put some gesso on your canvas.
  2. glue the tissue papers on the canvas using the wet gesso! Be sure to make some structure!
  3. don’t forget to paint over the tissue paper too.
  4. let the canvas with the gesso and the tissue paper dry
  5. color the background with yellow oil pastels
  6. draw a red heart on the canvas
  7. color the background with greens. Use blue and yellow to make other tints of green if you want to.
  8. trace the heart with a black oil pastel
  9. add a little white and pink if you want to. werk af met roze en wit oliekrijt
  10. finished!

I really hope you liked this super easy DIY on canvas! If you make one of your own, please let me know, so I can come and take a look at it!
If you use it in class, let me know too! It works really well, I promise.
You don’t have to use red and green.
I think baby blue and pink will do great in nursery for example!

Bye for now!

Take care and see you all soon!

ps: have you ever painted with silk paper on canvas? That works great too! –> click here


[inlinkz_linkup id=745242 mode=1]

Christmas tree out of empty tealight cups DIY

Christmas tree out of empty tealight cups DIY

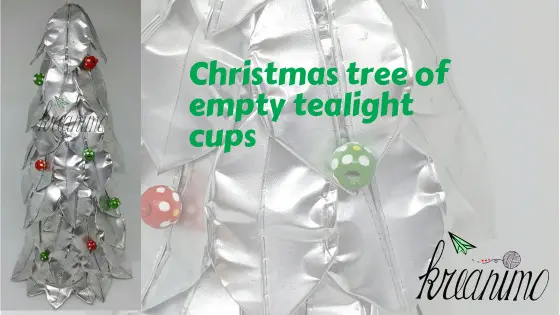
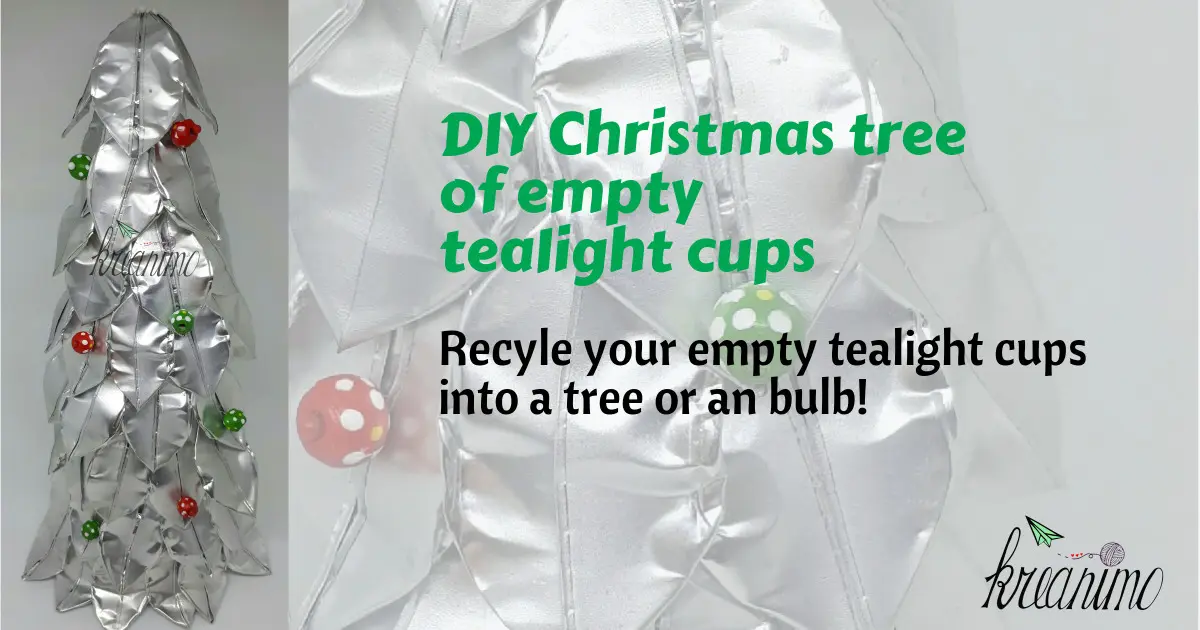
I’m one of those people who likes to burn candles to get a cosy feeling in the house. Scented ones or tealights in lovely holders. Sometimes I use those LED lights, the ones that are safer when you’ve got kids in the house. But most of the time I go for the real thing. And when you burn a lot of those little candles you get a lot of empty cups too. Years ago I learned that you can use these to make decorations. Today I’ll show you how to make a christmas tree out of empty tealight cups.

Supplies for a Christmas tree out of empty tealight

  • A lot of empty tealight cups. Not all the cups will turn out as nice when you flatten them. I wish I would have had some more so I could have chosen what ‘leaves’ turned out the best for my tree. But I still have some time left to burn some more candles and change the leaves I don’t like.
  • A pepper foam cone
  • pins
  • pearls or other things to decorate your tree.

christmas tree out of empty tealight cones


Step by step Christmas tree out of empty tealight cups

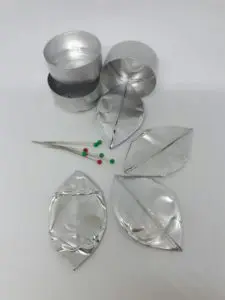
  1. make leaves by folding two opposite sides of the empty cup to the inside. Flatten the leaves as much as possible. Select the most beautiful ones if you have enough of them.

    benodigdheden

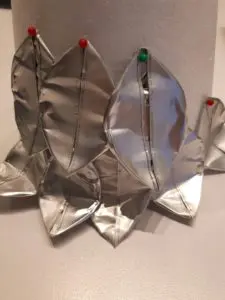
  2. start pinning the leaves at the bottom of the cone. Fold the leaves to so they don’t show the white cone.
  3. the second row has to be pinned like roofing pavement. The point of the leaf pointing down should come on top of the overlap of two leaves of the first (or previous)  row. (see picture)
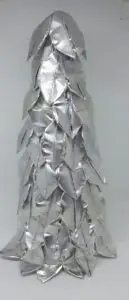
  4. Go on like this until your cone is full. On the top I used white pins. For the other leaves the color doesn’t matter because the heads of the pins don’t show.kerstboom van lege theelichtjes


5. Decorate your tree with pearls or other decorations and give your tree a nice spot in the house!


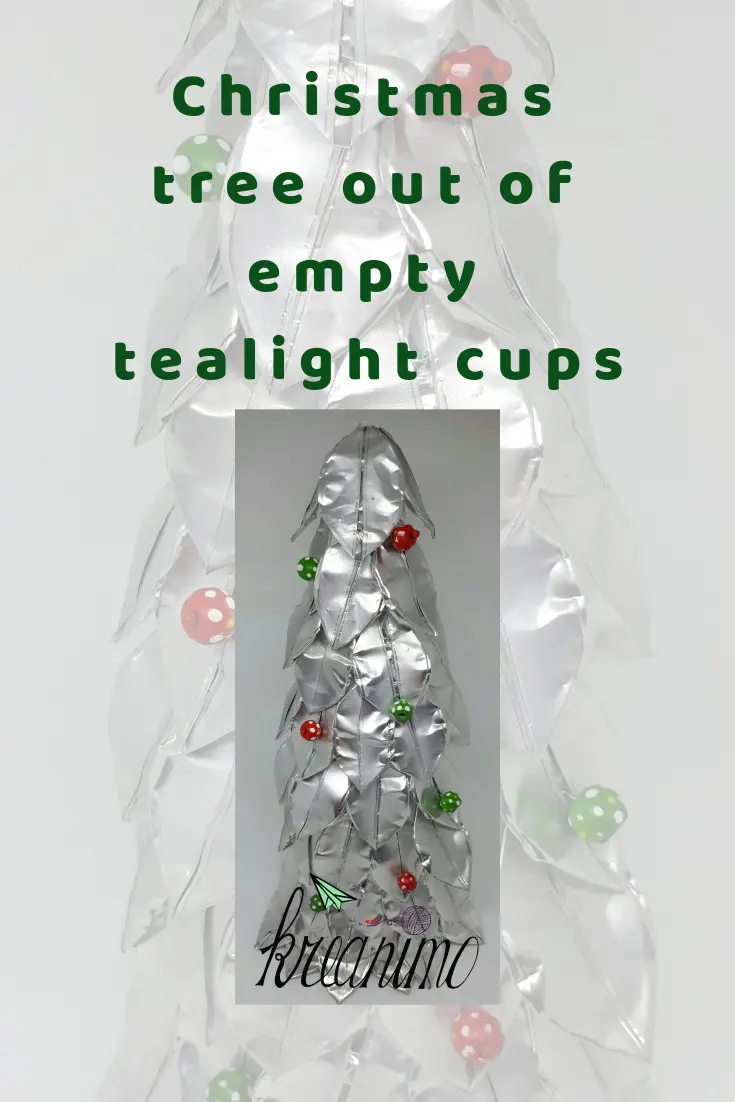
Pin this Christmas tree out of empty tealight holders for later:

christmas tree out of empty tealight cups

Crea-cross –  creative linkparty

This week the linkparty crea-cross has the prompt ‘fire’. Empty tealight cups fit that prompt, don’t they! 😉

If you have nice creative links to add, please do! you can use the blue button!

Take care and see you soon

Ilse

[inlinkz_linkup id=748463 mode=1]
Paint with silk paper DIY – step by step instructions for all ages

Paint with silk paper DIY – step by step instructions for all ages

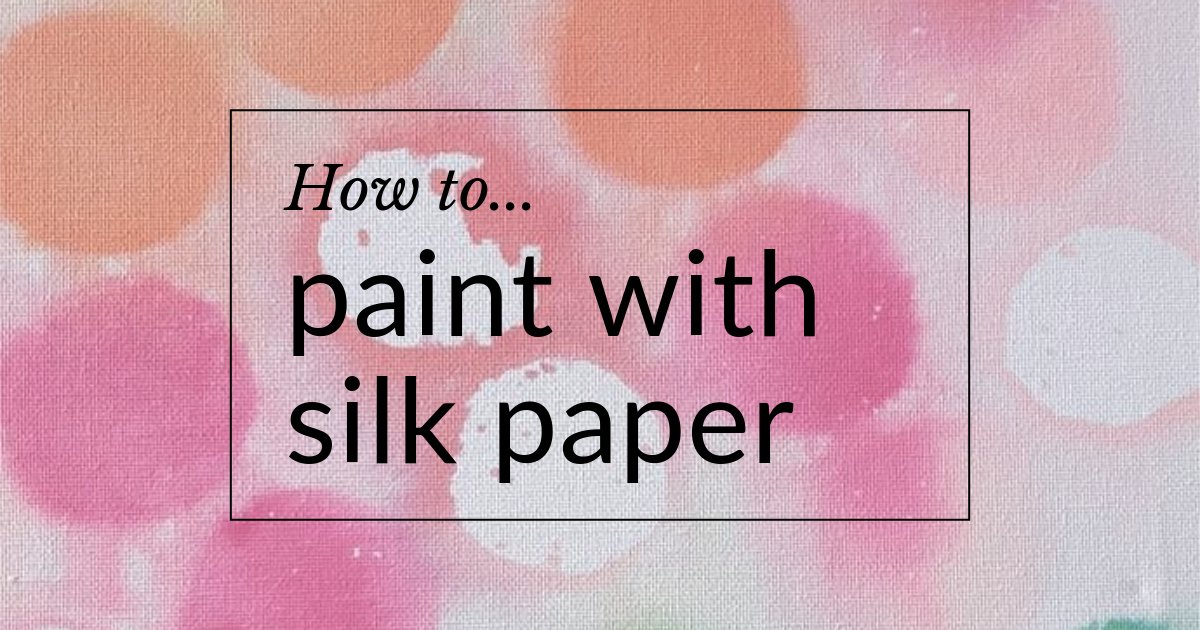
Did you know that you can paint with silk paper? Not as accurate as when you would use a brush and paint, but it does work. The paper and the colors often have a will of their own, but that makes it exciting for the artists.

How to paint with silk paper on canvas

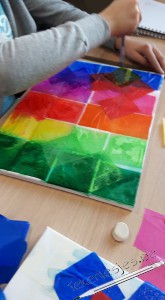
Sometimes art projects go totally different in class than you intended. My eight graders were supposed to use this ‘paint with silk paper’ technique to make a background on their canvas to paint over. But when they were done they didn’t want to paint anything over them!

“No, Miss! What if we paint over it totally messes things up?” – They loved the results very much!

And sometimes a good teacher has to listen tot her pupils! We decided to leave them just the way they were!

paint with silk paper


What do you need to paint with silk paper on canvas?

  • a canvas (duh 😉 )
  • water
  • brushes
  • silk paper in different colors
  • scissors
  • old newspapers or other protection for your table
  • protection for your clothes and if you want platic gloves for your hands.

How to paint with silk paper step by step

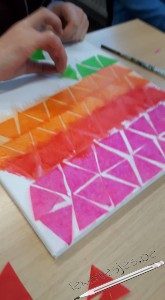
  • Chose the colors you want to use. Think of a pattern, that makes it easier!
  • Cut out the shape(s) you want to use in diferent colors.
  • ‘glue’ the pieces on the canvas, using only water! This way, when the the pieces of silk dry, you can just swipe them off. The color will stick on the canvas.
  • You can mix colors by ‘gluing’ different colors on top of each other.
  • Let the ‘painting’ dry. Make sure to protect the spot you let the canvas dry! The pigment on the paper is a killer for untreated wood. Your hands will need a good saok!

Watch out!

  • as I said silk paper, when wet, will get color everywhere! Protect your works space, drying space, clothes and hands!
  • When dry little pieces of silk paper will fall off the canvas when you walk by because they are very light! So best you put it in a space where you don’t walk by it every 5 minutes if you don’t want to be pick up lots of pieces of paper! 😉

12509651_1065066023545544_845624711752621782_n schilderen met zijdepapier

Paintining with silk paper is ideal to use in projects about shapes and color and even patterns.
The result will be surprising every time!
Little children can do this already, but the older ones will enjoy it too because of the surprise effect it brings!
I still think it will work well as a background too!

Pin ‘painting with silk paper’ for later:

paint with silk paper


Volg je al op FacebookTwitterInstagram – Pinterest?


Bookmarkers DIY – PinterTESTed for you. Which failed?

Bookmarkers DIY – PinterTESTed for you. Which failed?

And there’s Thursday again!  The weekly prompt for Crea-Cross is Books so I went on Pinterest and found some great bookmarkers to test out.  I did make a few changes in the designs and made a whole new idea on my on!

Books

I still love the smell and the feel of books, even now that I hava an  e-reader. I love illustrations and the colors!  My son is learning how to read now, so that means that I have more books in the house…

bookmarkers

Bookmarkers DIY – PinterTEST

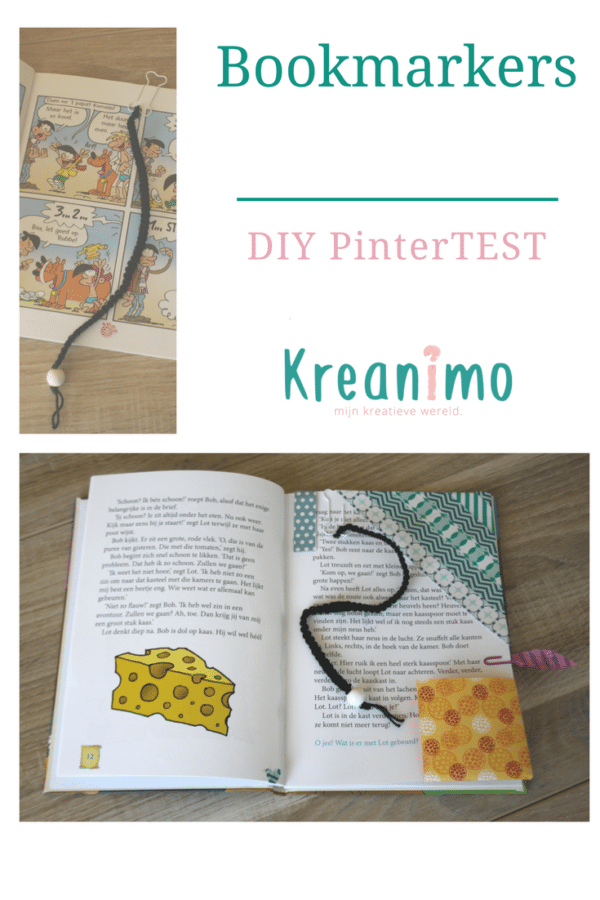
I tested three bookmarkers as they were explained on Pinterest.  The orange origami bookmarker on the right corner is very simple and you can follow the steps. When you use lovely paper with cute patterns, your result just can’t go wrong!
The second one I tested is the one on the right upper corner, made out of an envelope and Washi tape. You can find the instructions here.

The third pin I tested, the one on the left, closest to the fold I used magnet paper and washi tape. This one failed, because the magnet paper wasn’t strong enough and the bookmarker kept falling out! If you want to see if you can do better, be my guest and follow the instructions.  It looks oké, but the magnetpaper wasn’t very qualitative.

The two I combined

For the one with the pink feather and the paperclip I combined two other pins: The feathers out of washi tape and the flags out of whashi tape on a paper clip.

I made a feather flag on a paper clip!
The new bookmarker

I a dollor shop here in Belgium I found these funny paperclips in the shape of a dog’s bone.  I made a macramé rope with a white pearl.  This became a nice bookmarker for a dog lovin’ friend.

Next week’s prompt is ‘smile’

I’m hoping for lots of smiling faces… but for this week: show me your bookmarkers or other book related DIY!

Take care and see you soon!

Ilse

Please follow on FacebookTwitterInstagram –Pinterest –Youtube

[inlinkz_linkup id=716078 mode=1]


Busy bags cheap DIY activities – Crea-Cross

Busy bags cheap DIY activities – Crea-Cross

Week 13 of Crea-cross already… Maybe I should have know the number 13 wouldn’t work so well! busy bags

If you don’t know Crea-cross you can read about it on the crea-cross 2017 page above.

Co-host

This week Marije is my co-host.  I’m so happy she took this difficult prompt and I’m curious to see what she did with it.

Silence

As I already said, I found this a difficult prompt.  I wonder if I would have had this idea if the internet wouldn’t exist.  But than again, I wouldn’t want to blog either.
I started googling and pinteresting and came accross great activities for children, put in a quiet bags or busy bags.
Activities they can do on their own, without any help and in silence… hear hear 😉
Because we mothers, do need some piece and quiet sometimes! 😉

Busy bags diy

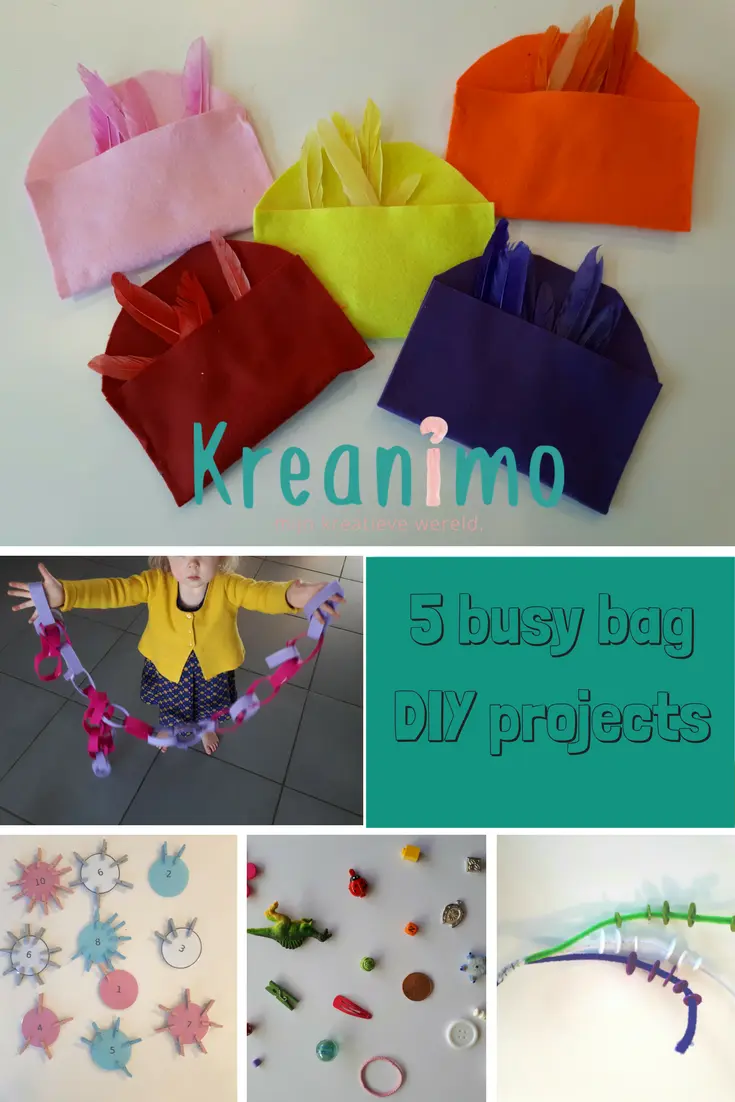
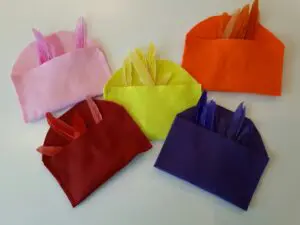
Colorful feathers in velt pockets.

I bought colored feathers and felt in a local dollar shop and made pockets out of the felt.  With some scissors and textile glue that’s easy peasy!
When finished this is a sorting activity!

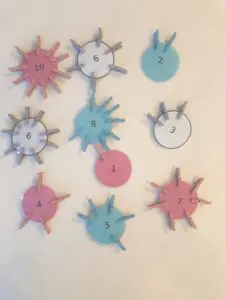
Counting with small clothes pins

I found these lovey baby pink and baby blue clothes pins.
I drew some circles with numers on them on the computer and laminated the circles.  This activity is for sorting and counting.
The number of pins and the color of the pins should be correct.
Smaller children can just sort by color.

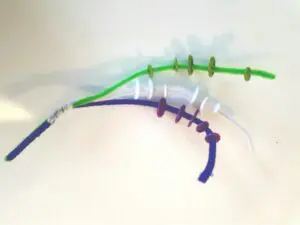
Button sorting.

Using pipe cleaners and buttons in de same colors, I made a sorting branch.
Very easy and cheap an works like charm.

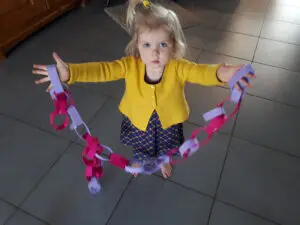
reusable garland

With long pieces of felt and self-adhesive velcro I made this reusable garland.  My youngest loved it.  I want to make this in several colors, so that we can reuse them at the birthday parties of the kids.    In the movie you can see how she puts it together.  (It is in Dutch, my daughter doens’t speak English 😉 )
For the older childeren I put a card with possible color patterns into the bag.  That way it’s more challenging for them.

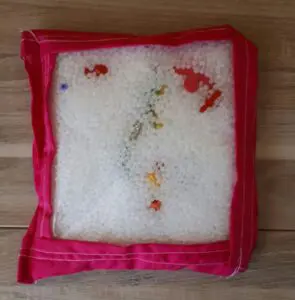
My first sewing project.

I also found a little I spy bag I wanted to sew, but fair is fair, I’ve never sewn before.  Using the manual I did my first sewing project.
I got the machine to stitch and everything!
But I should have taken more time to prepare thoroughly!  It is safe to use, but it looks like … euhm well – sorry ‘shit’!


I am going to do this again though!  I found a great tutorial! 🙂

 Pinterest board for busy bags activities

I made a pinterest board to put all the silence bag or busy bags ideas on, because I really like this idea!  Welcome to join!

Letters

Next week the prompt is Letters… so handlettering people, please join in! 😉


Please follow on: BloglovinFacebookTwitterInstagram –Pinterest –Youtube


[inlinkz_linkup id=706189 mode=1]
Print a travel journal for your kids to fill in.

Print a travel journal for your kids to fill in.

When you travel, pictures will help you to capture the beautiful moments. Although, pictures just don’t capture ‘being there’ if you ask me. To be able to remember more, to keep the little things in mind it is a good idea to write things you eat and places you visit down into a travel journal.

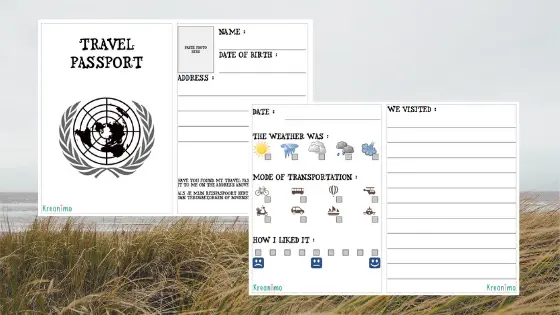
I created a travel journal printable for kids. It is very easy to use.
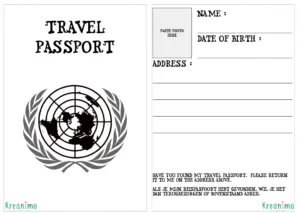
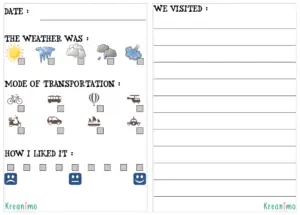
It has a ‘pasport’ and they can circle the weather of the day. They can tell what they ate. How did they travel and how long was their journey?

Print a travel journal

These printables can be printed and glued in little A5 booklets.  I chose spirals, just because that works better when the kids have to color and write in them.
The Passport has to be printed out just once.
The other pages can be printed as many times as needed.  When your journey takes ten days, just print them out ten times.

Hope you have lots of fun traveling and using this free printable

Take care and see you soon

Ilse

[inlinkz_linkup id=700671 mode=1]
Frozen tealight holders- DIY

Frozen tealight holders- DIY

Frozen tealight holders  DIY

frozen tealight holders

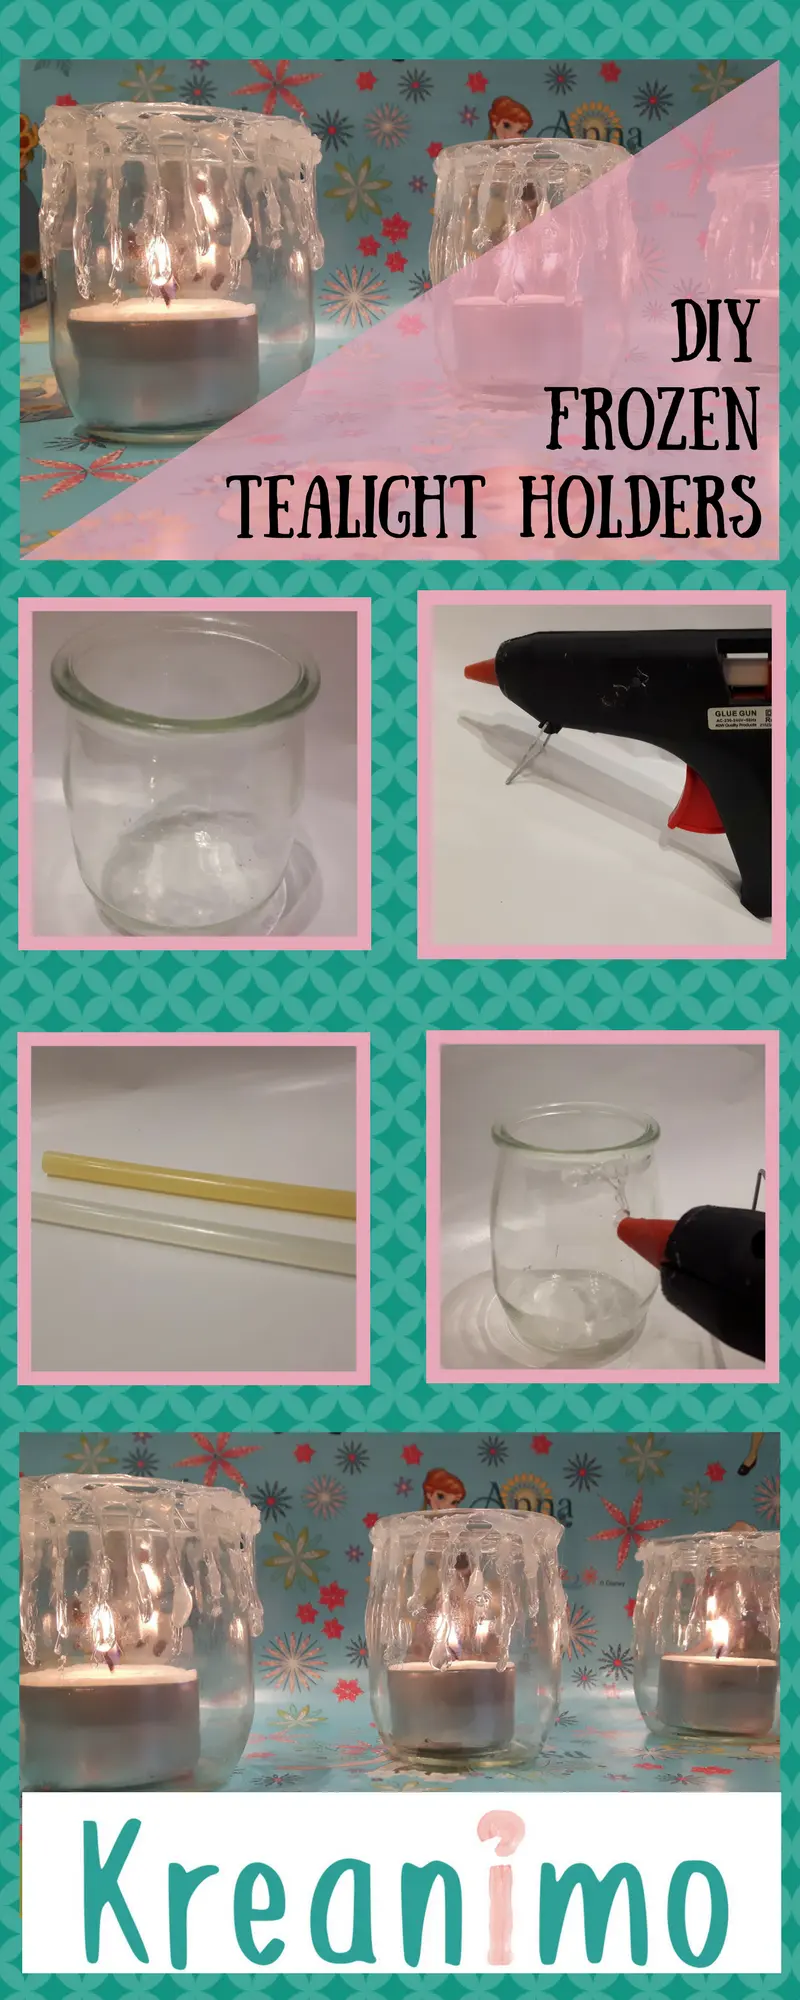
What do you need to make these Frozen tealight holders?

Little empty glass yoghurt jars, a glue gun with white/transparant glue and tealights!
Be sure to use the white/transparant glue.  The yellow colored won’t look like ‘ice’! 😉

This is a nice way to upcycle empty glasses!

How do you make Frozen tealight holders?

Let the glue gun heat up.  Be sure that you use the transparant glue, as I already said.
Start at the edge of the glass jar and go around.  Don’t make all the icicles the same length. Try to vary: a short one, a longer one,…

Let the glue iciles cool down.

Working with a glue gun, you will often have thin glue threads.  You can use tweezers to pick them off.  Be sure the glue has cooled before you start with the tweezers, though! 😉