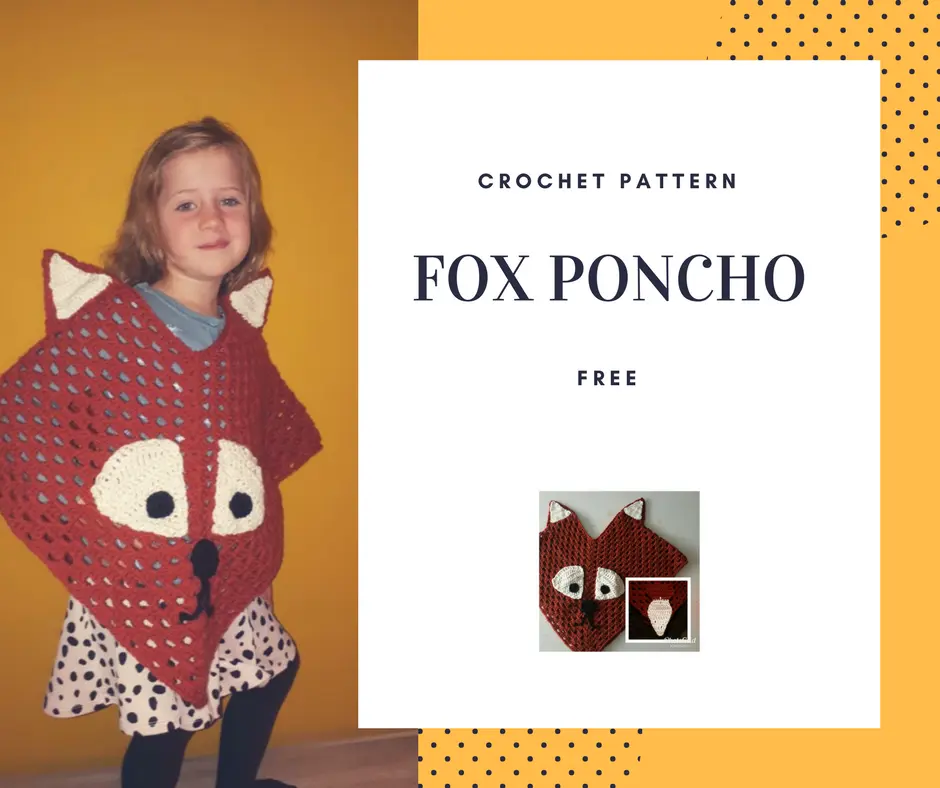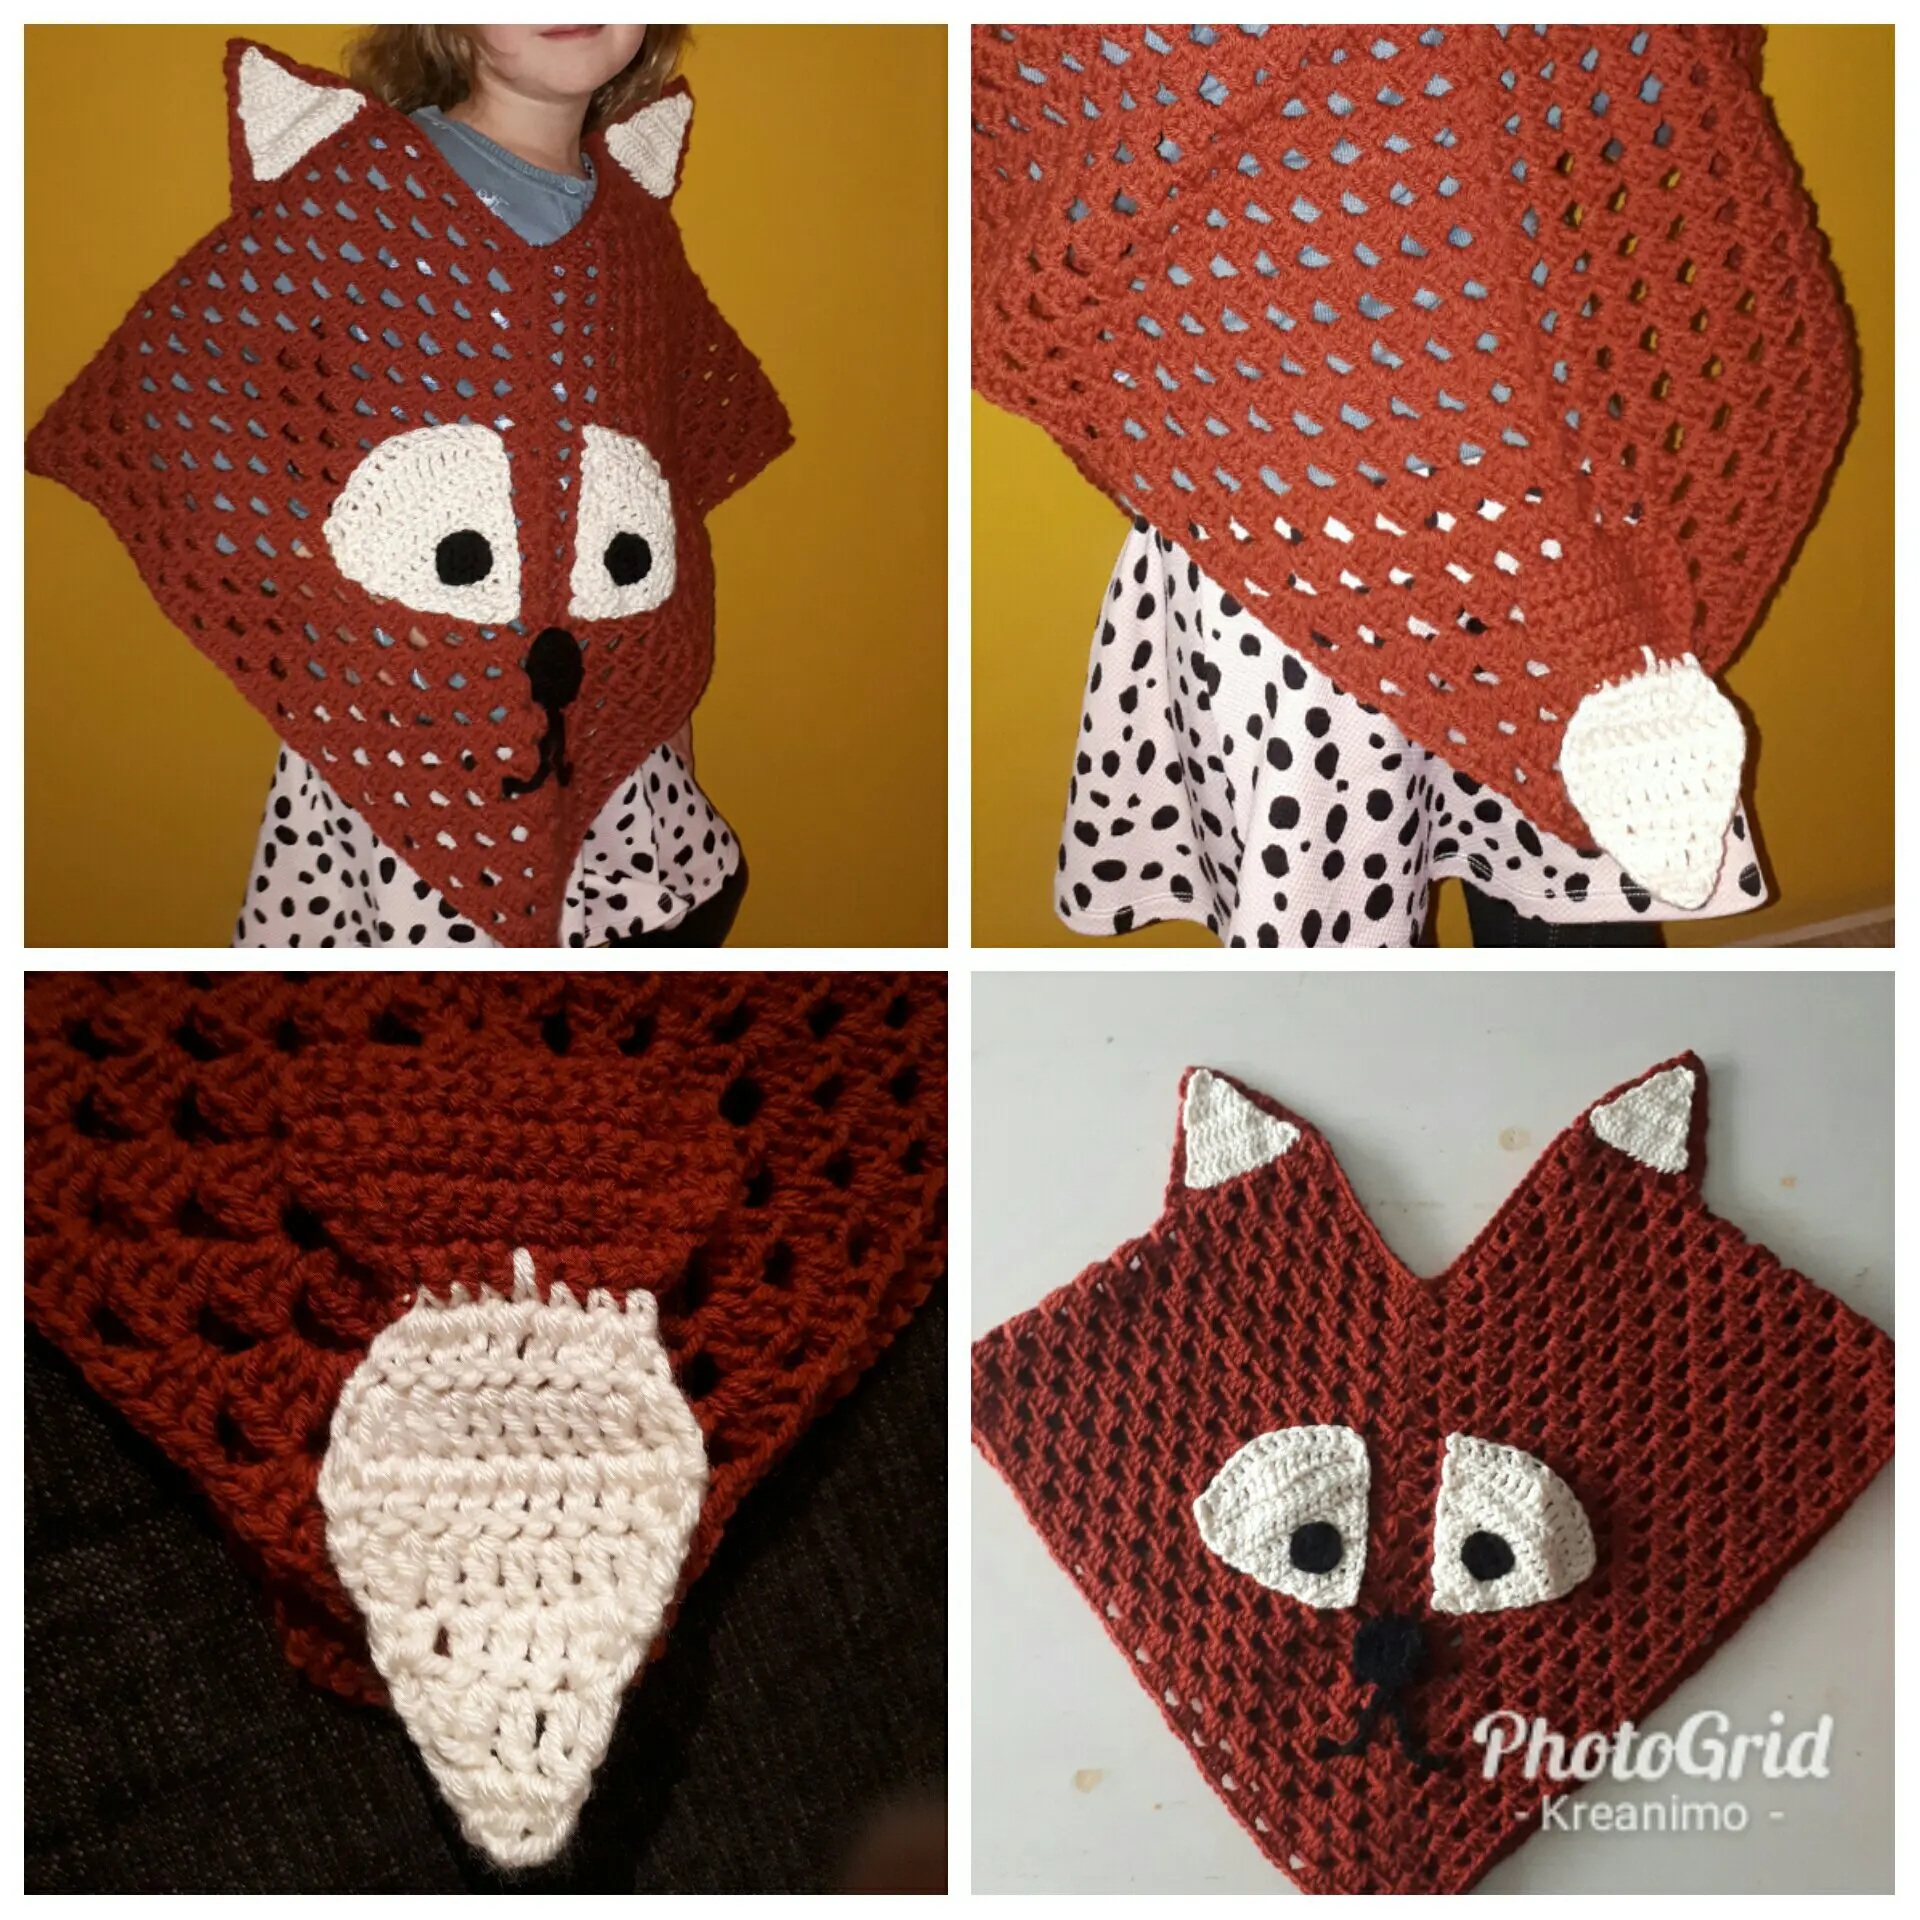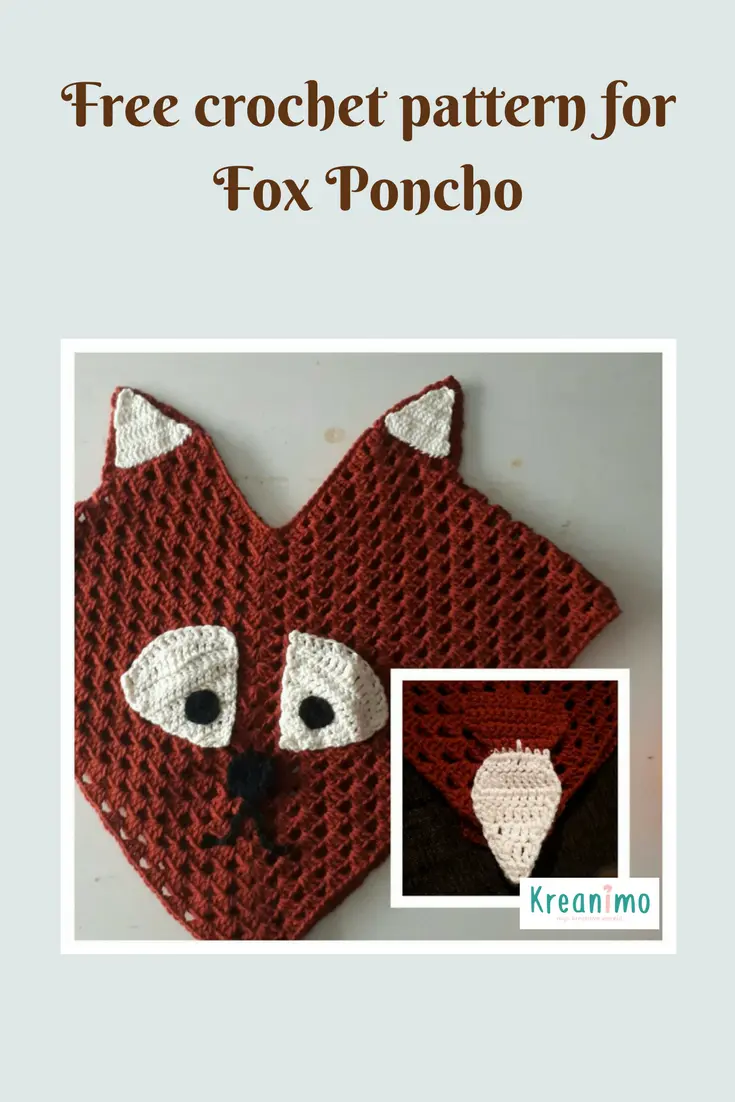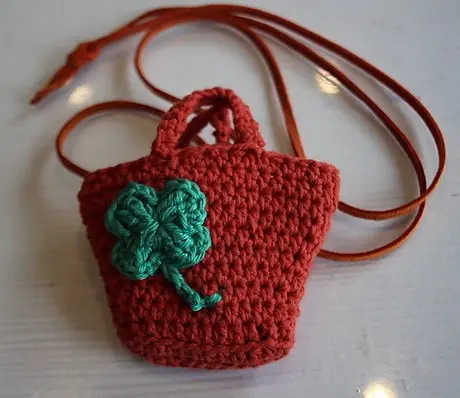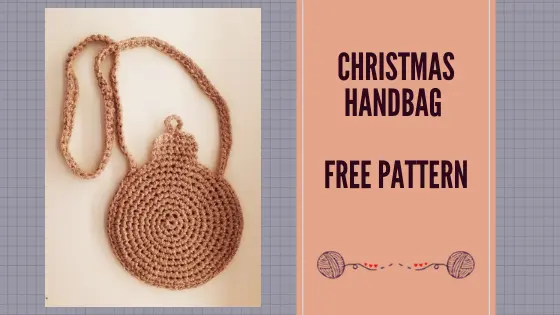
Christmas handbag pattern for children
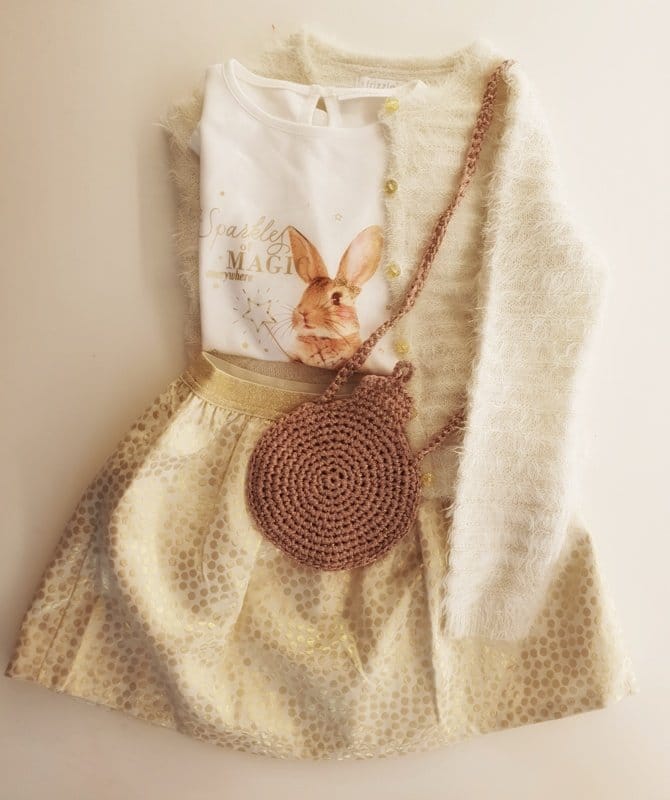
My girls are real ‘girls girls’. They love perfect outfits, accessories and glitter. They chose lovely light colored outfits with gold for the holidays. I still had some lovely glitter yarn that has the perfect color to match the outfits! So I decided to try and crochet a real Christmas handbag with this yarn. The little bags tuned out great and I decided to share with you all.
Christmas handbag materials
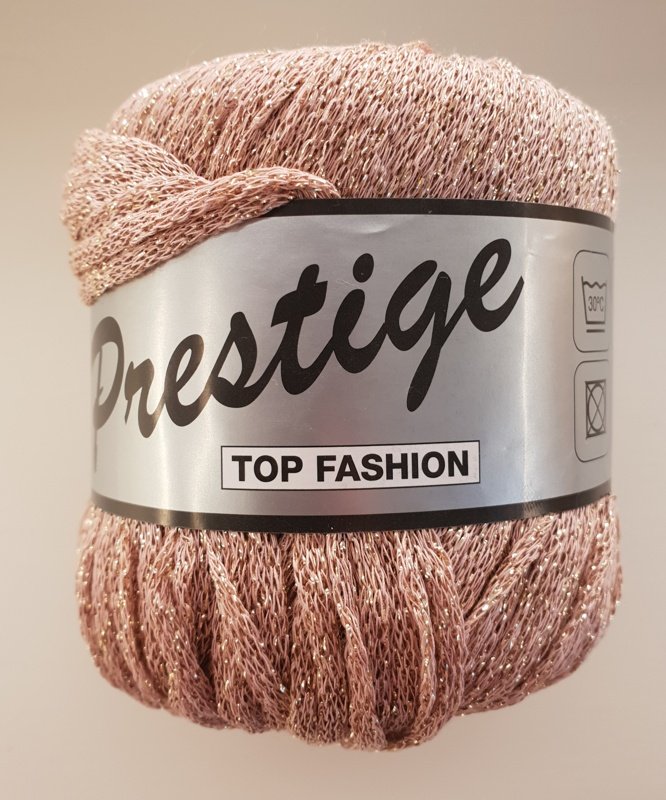
- I used Prestige yarn. 50 g is 90 meters. (You have some yarn left when the project is finished).
The yarn is quite bulcky and has glitters. Remember this when you choose another kind of yarn! - 1 wooden button
- Hook 5 (4,5 -5 on the label)
- Stitch marker – very handy here because you have to crochet a perfect circle!
Christmas handbag free pattern
I used these stitches UK therms: chain, magic loop , secure, slip stitch.
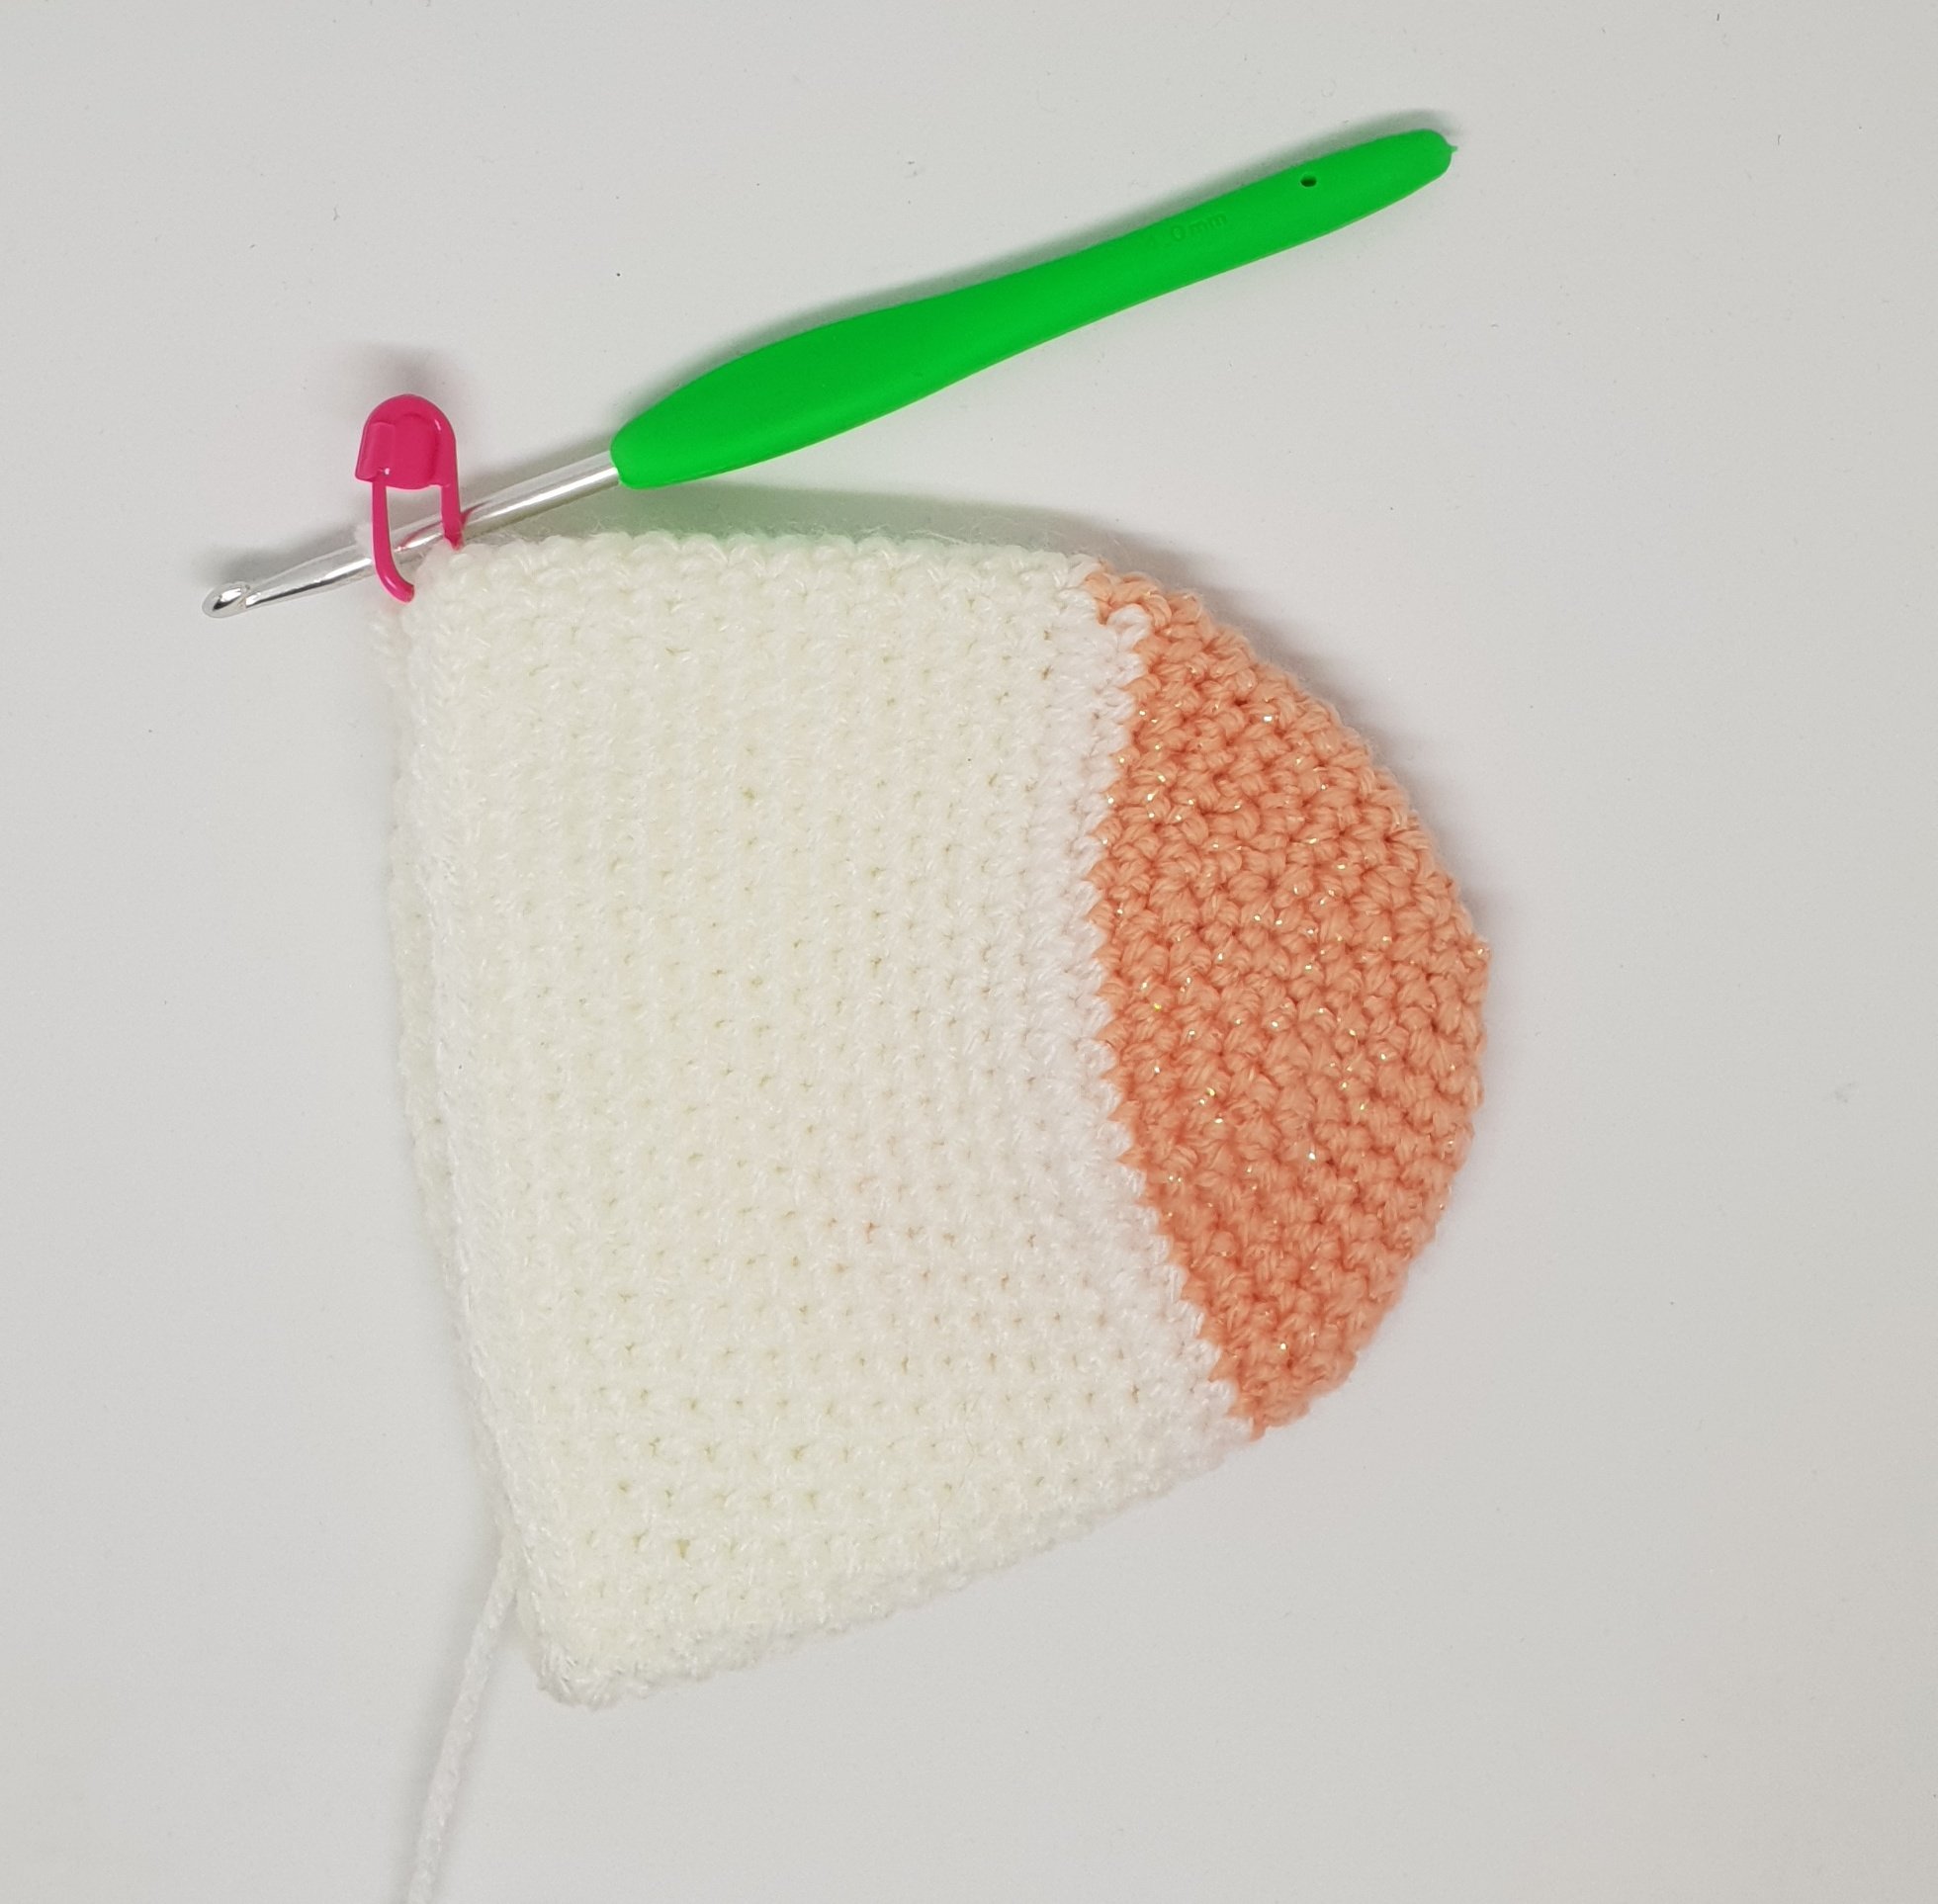
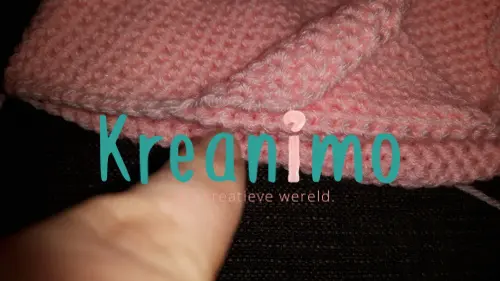
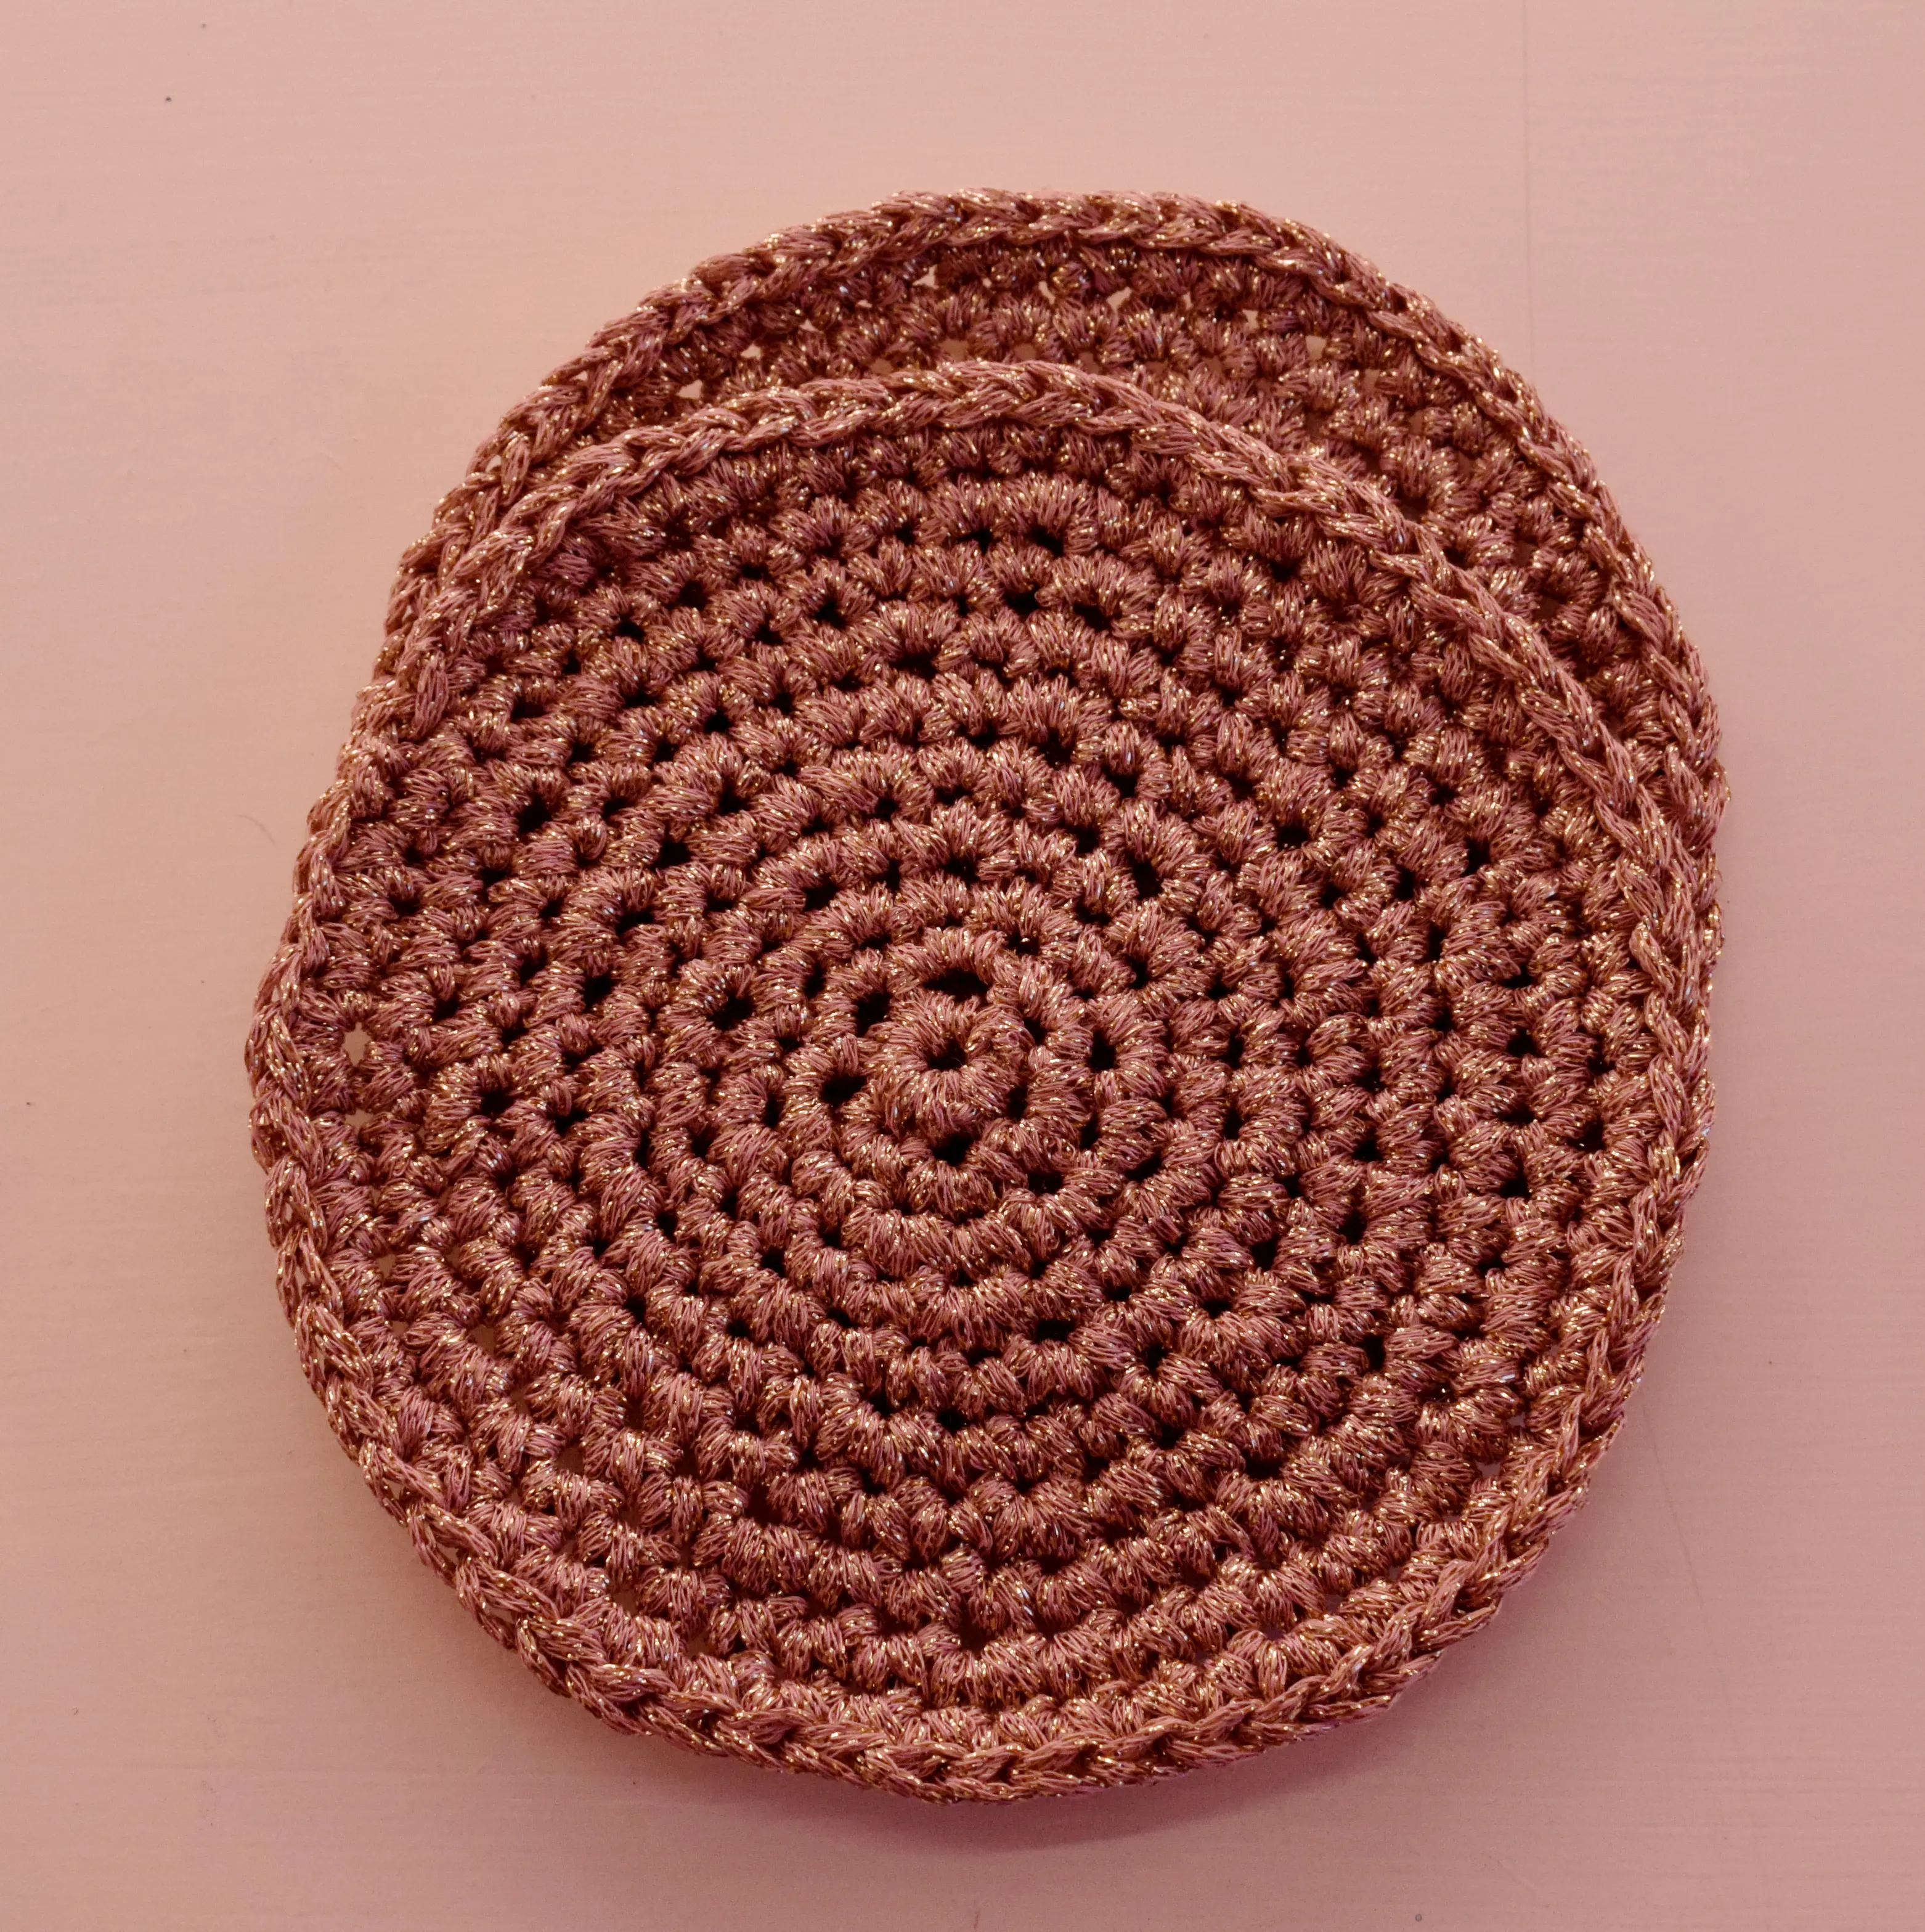
You need two identical circles to start. You connect them later. To get perfect circles it is very important to follow the pattern. If you don’t, you will get corners!
Perfect circle (you need 2)
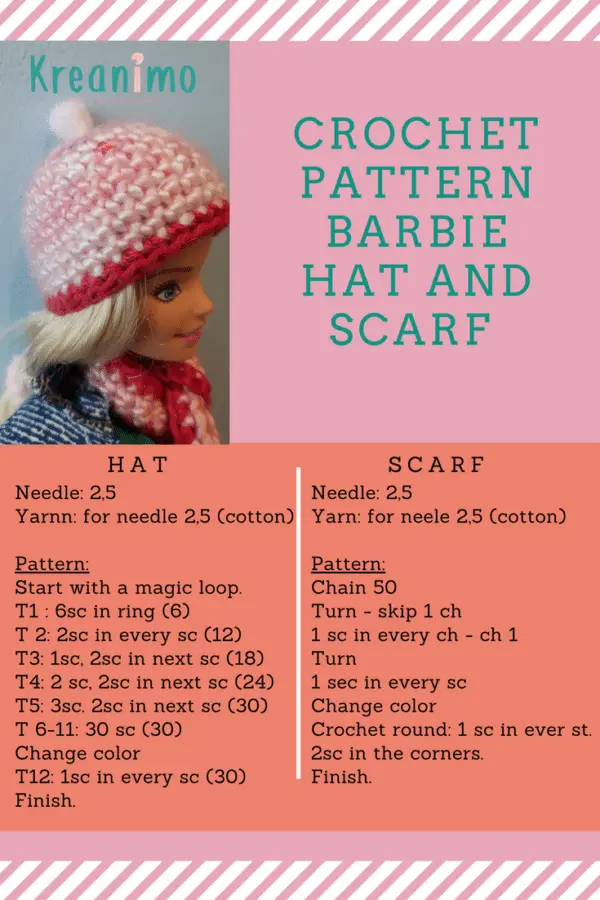
R1: 6 sc in magic loop (6)
R2: 2 sc in every sc (12)
R3: (2sc in sc, 1sc) x6 (18)
R4: 1sc, (2sc in sc, 2sc) x5, 2sc in sc, sc (24)
R5: (2sc in sc, 3sc) x6 (30)
R6: 3sc (2sc in sc, 4 sc) x5, 2sc in sc, 1sc (36)
R7: (2s, 5sc) x6 (42)
R8: 4sc (2sc in sc, 6sc) x5, 2sc in sc, 2sc (48)
R9: (2sc in sc, 7sc) x6 (54)
R10: 5sc (2sc in sc, 8 sc) x5, 2sc in sc, 3 sc (60)
Finish off.
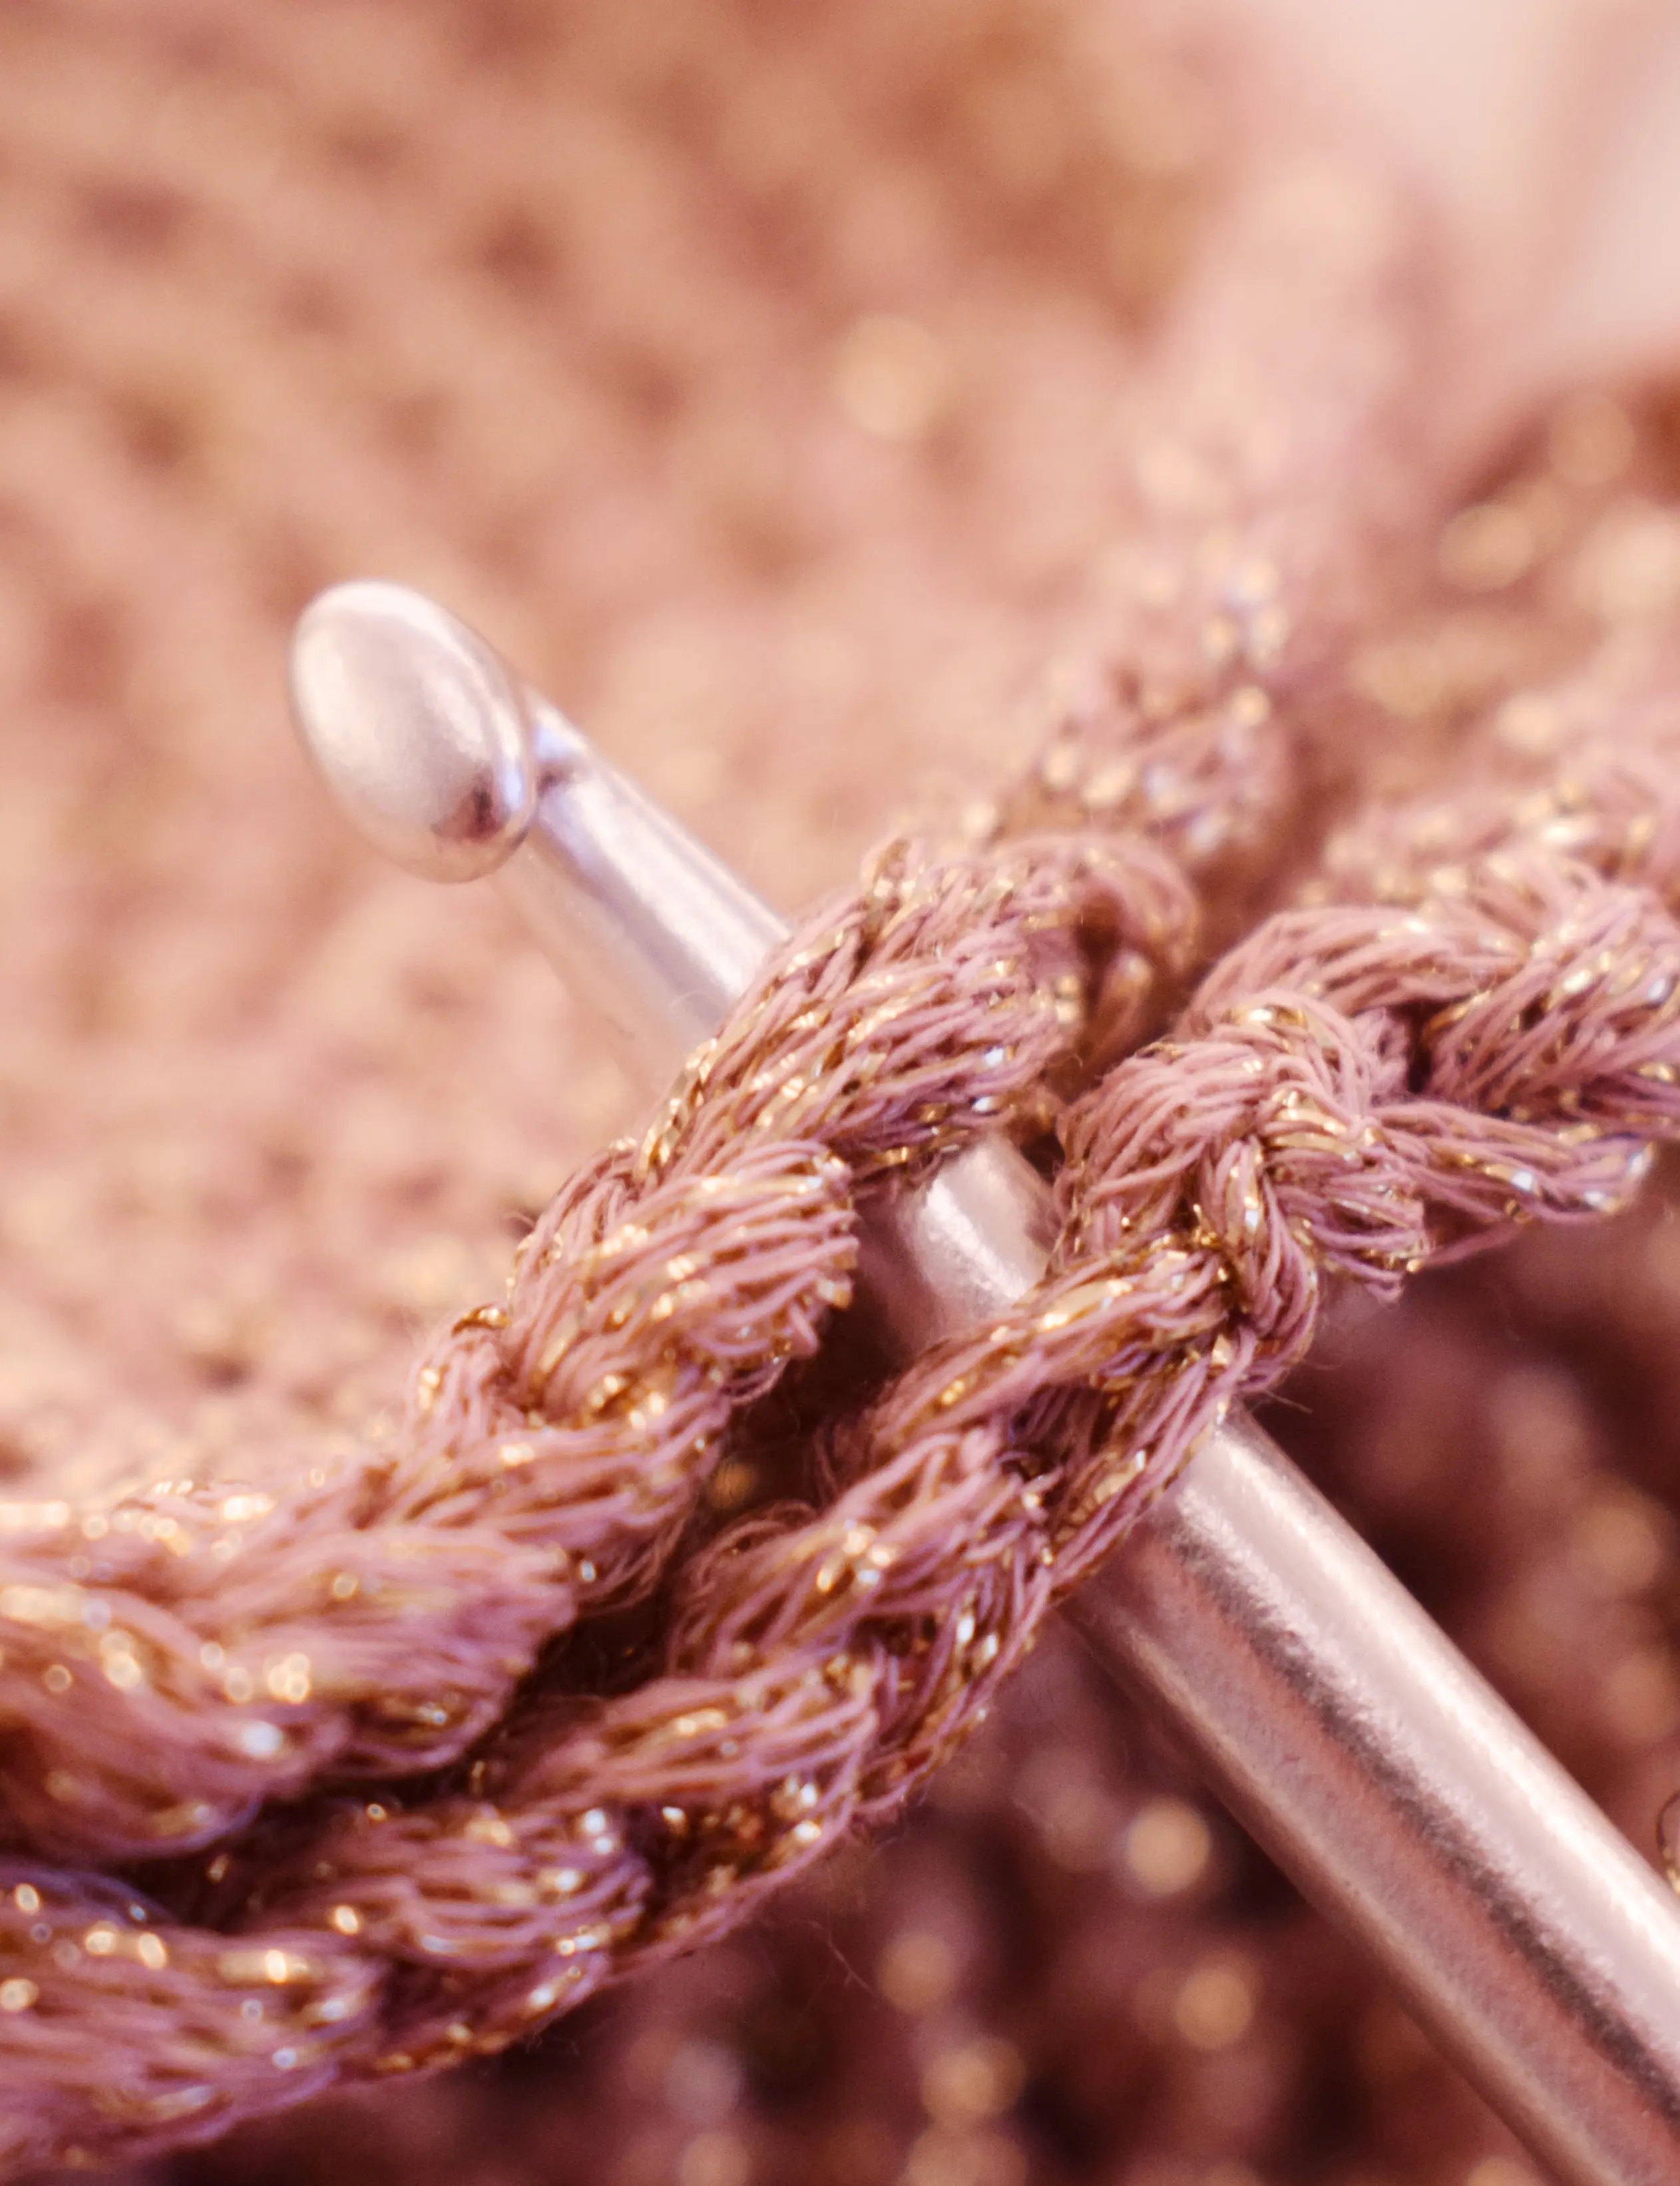
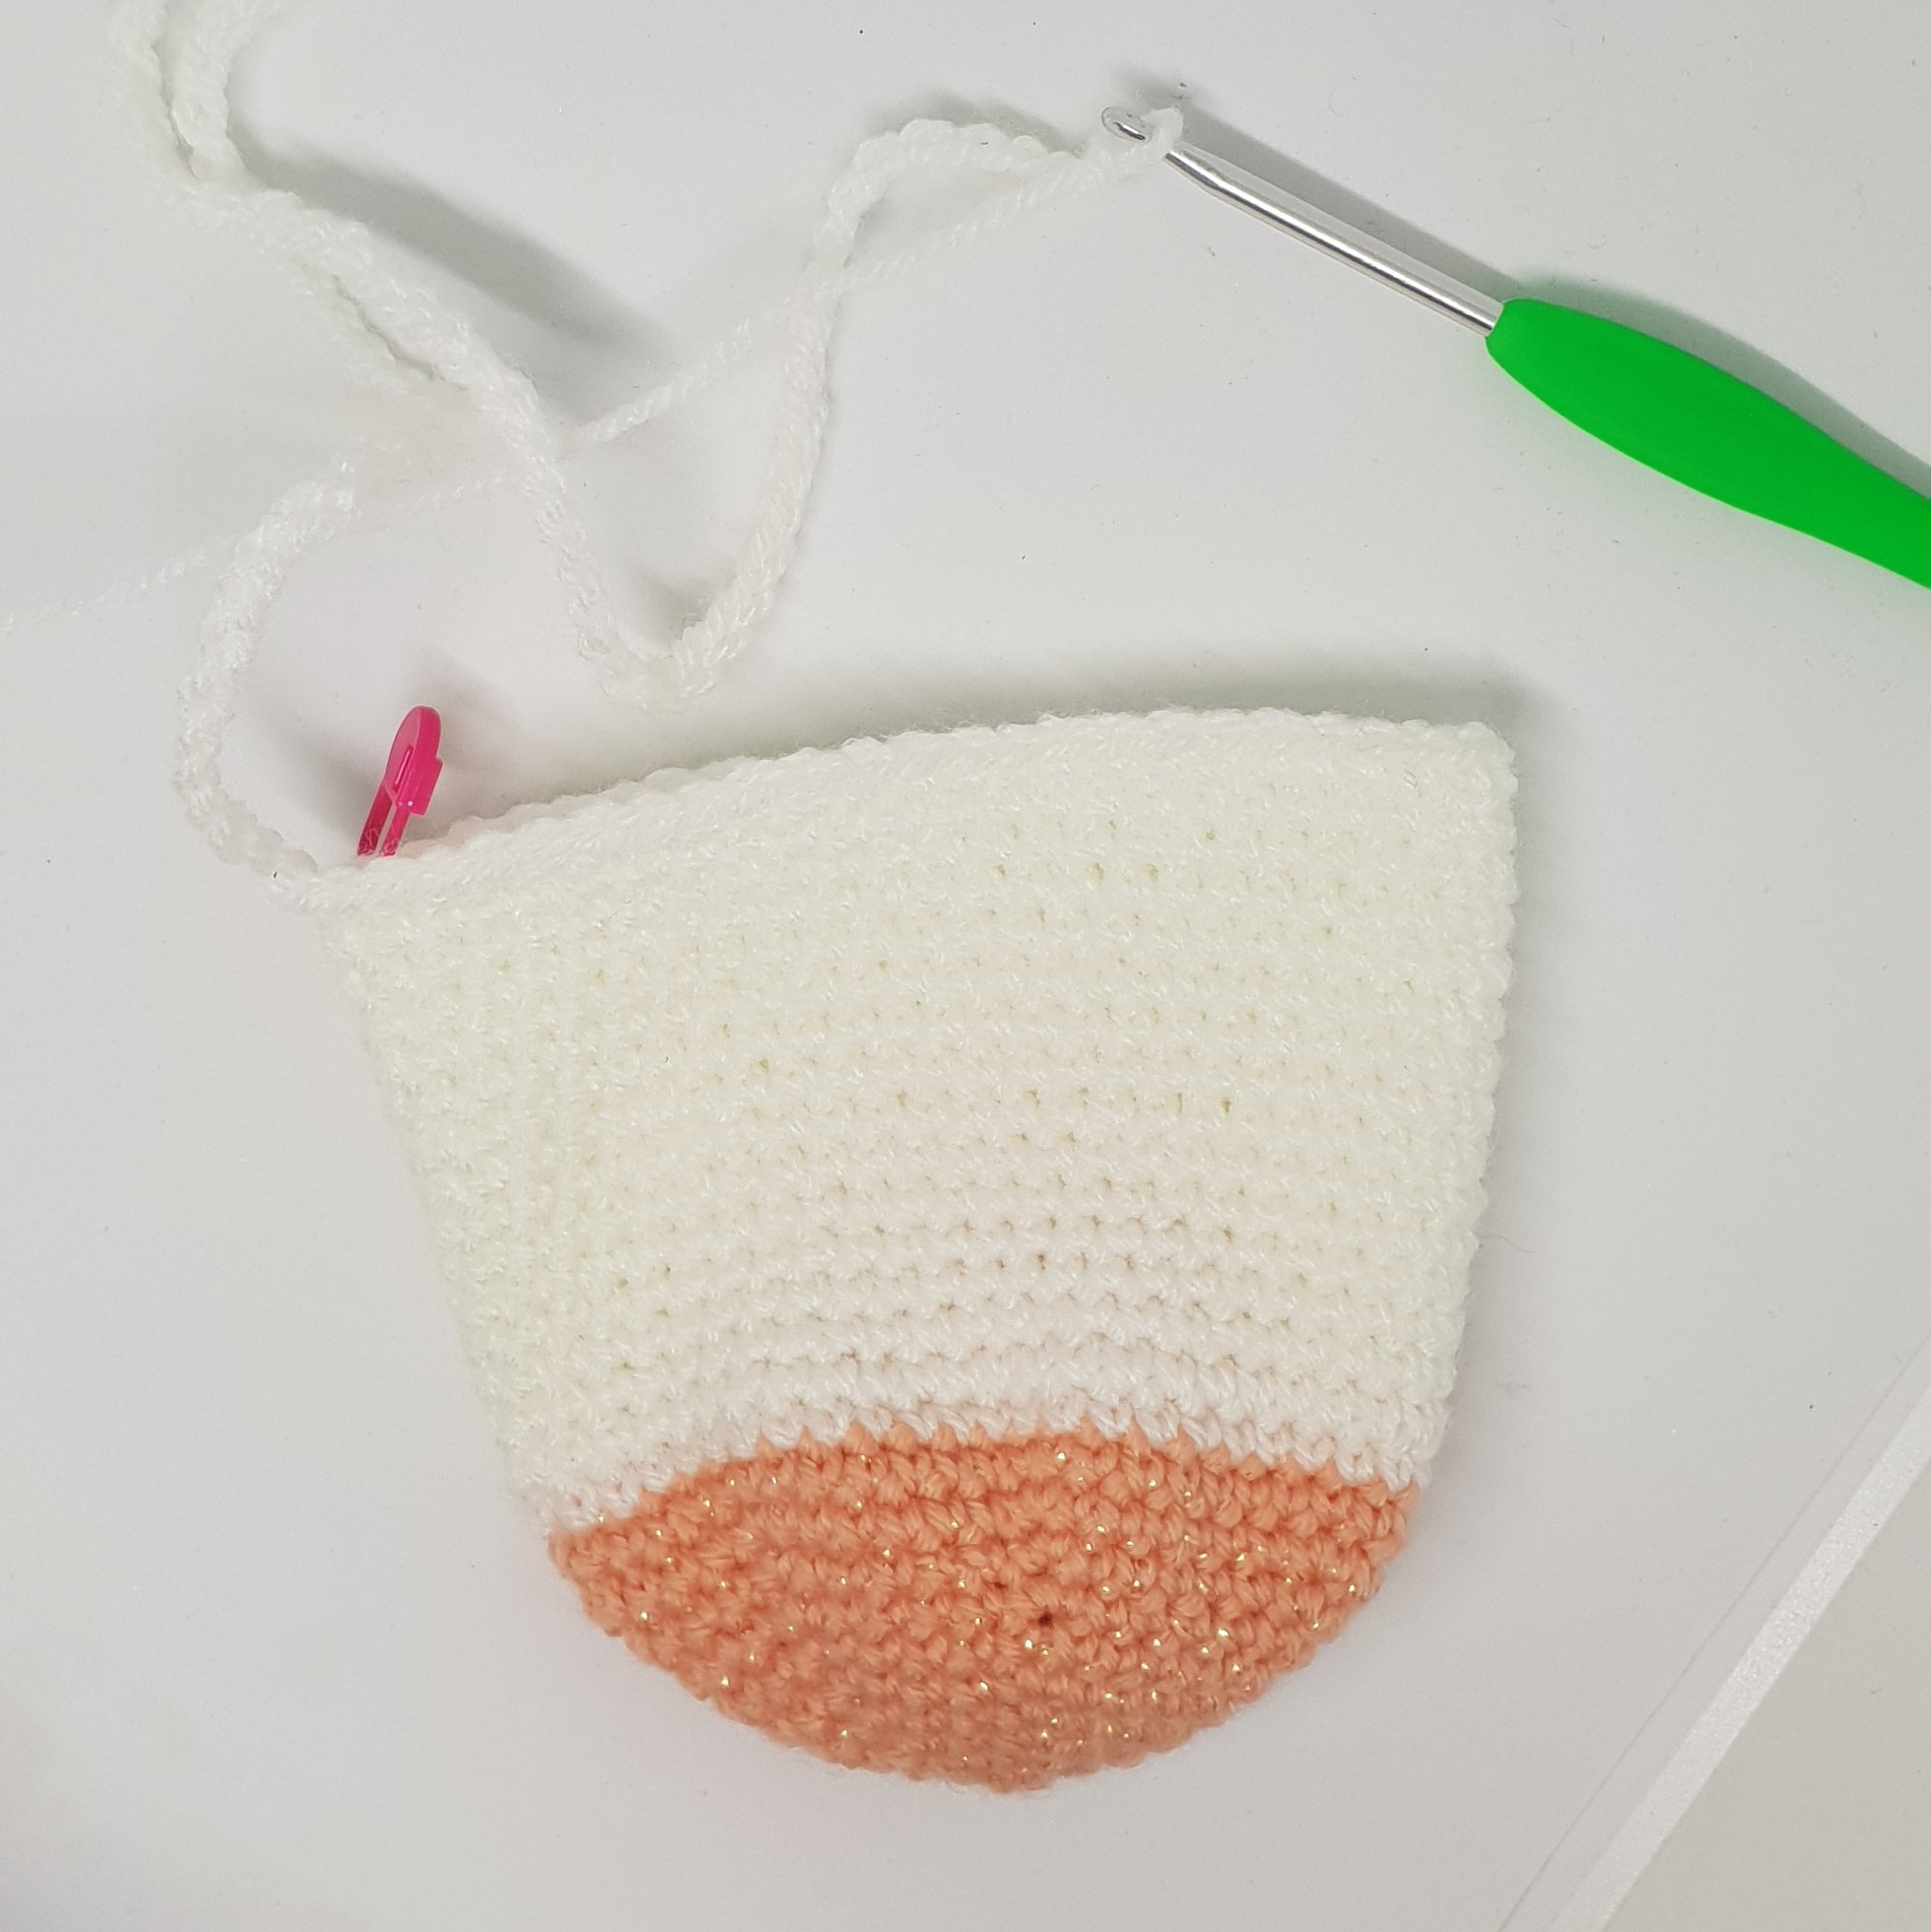
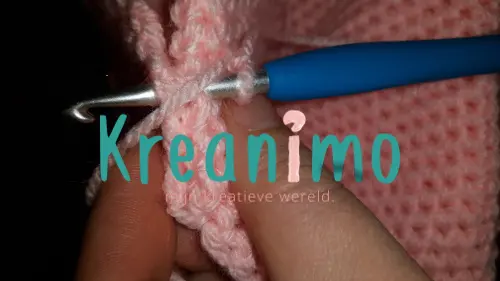
Put the two circles on eachother. Make sure the good sides are on the outside.
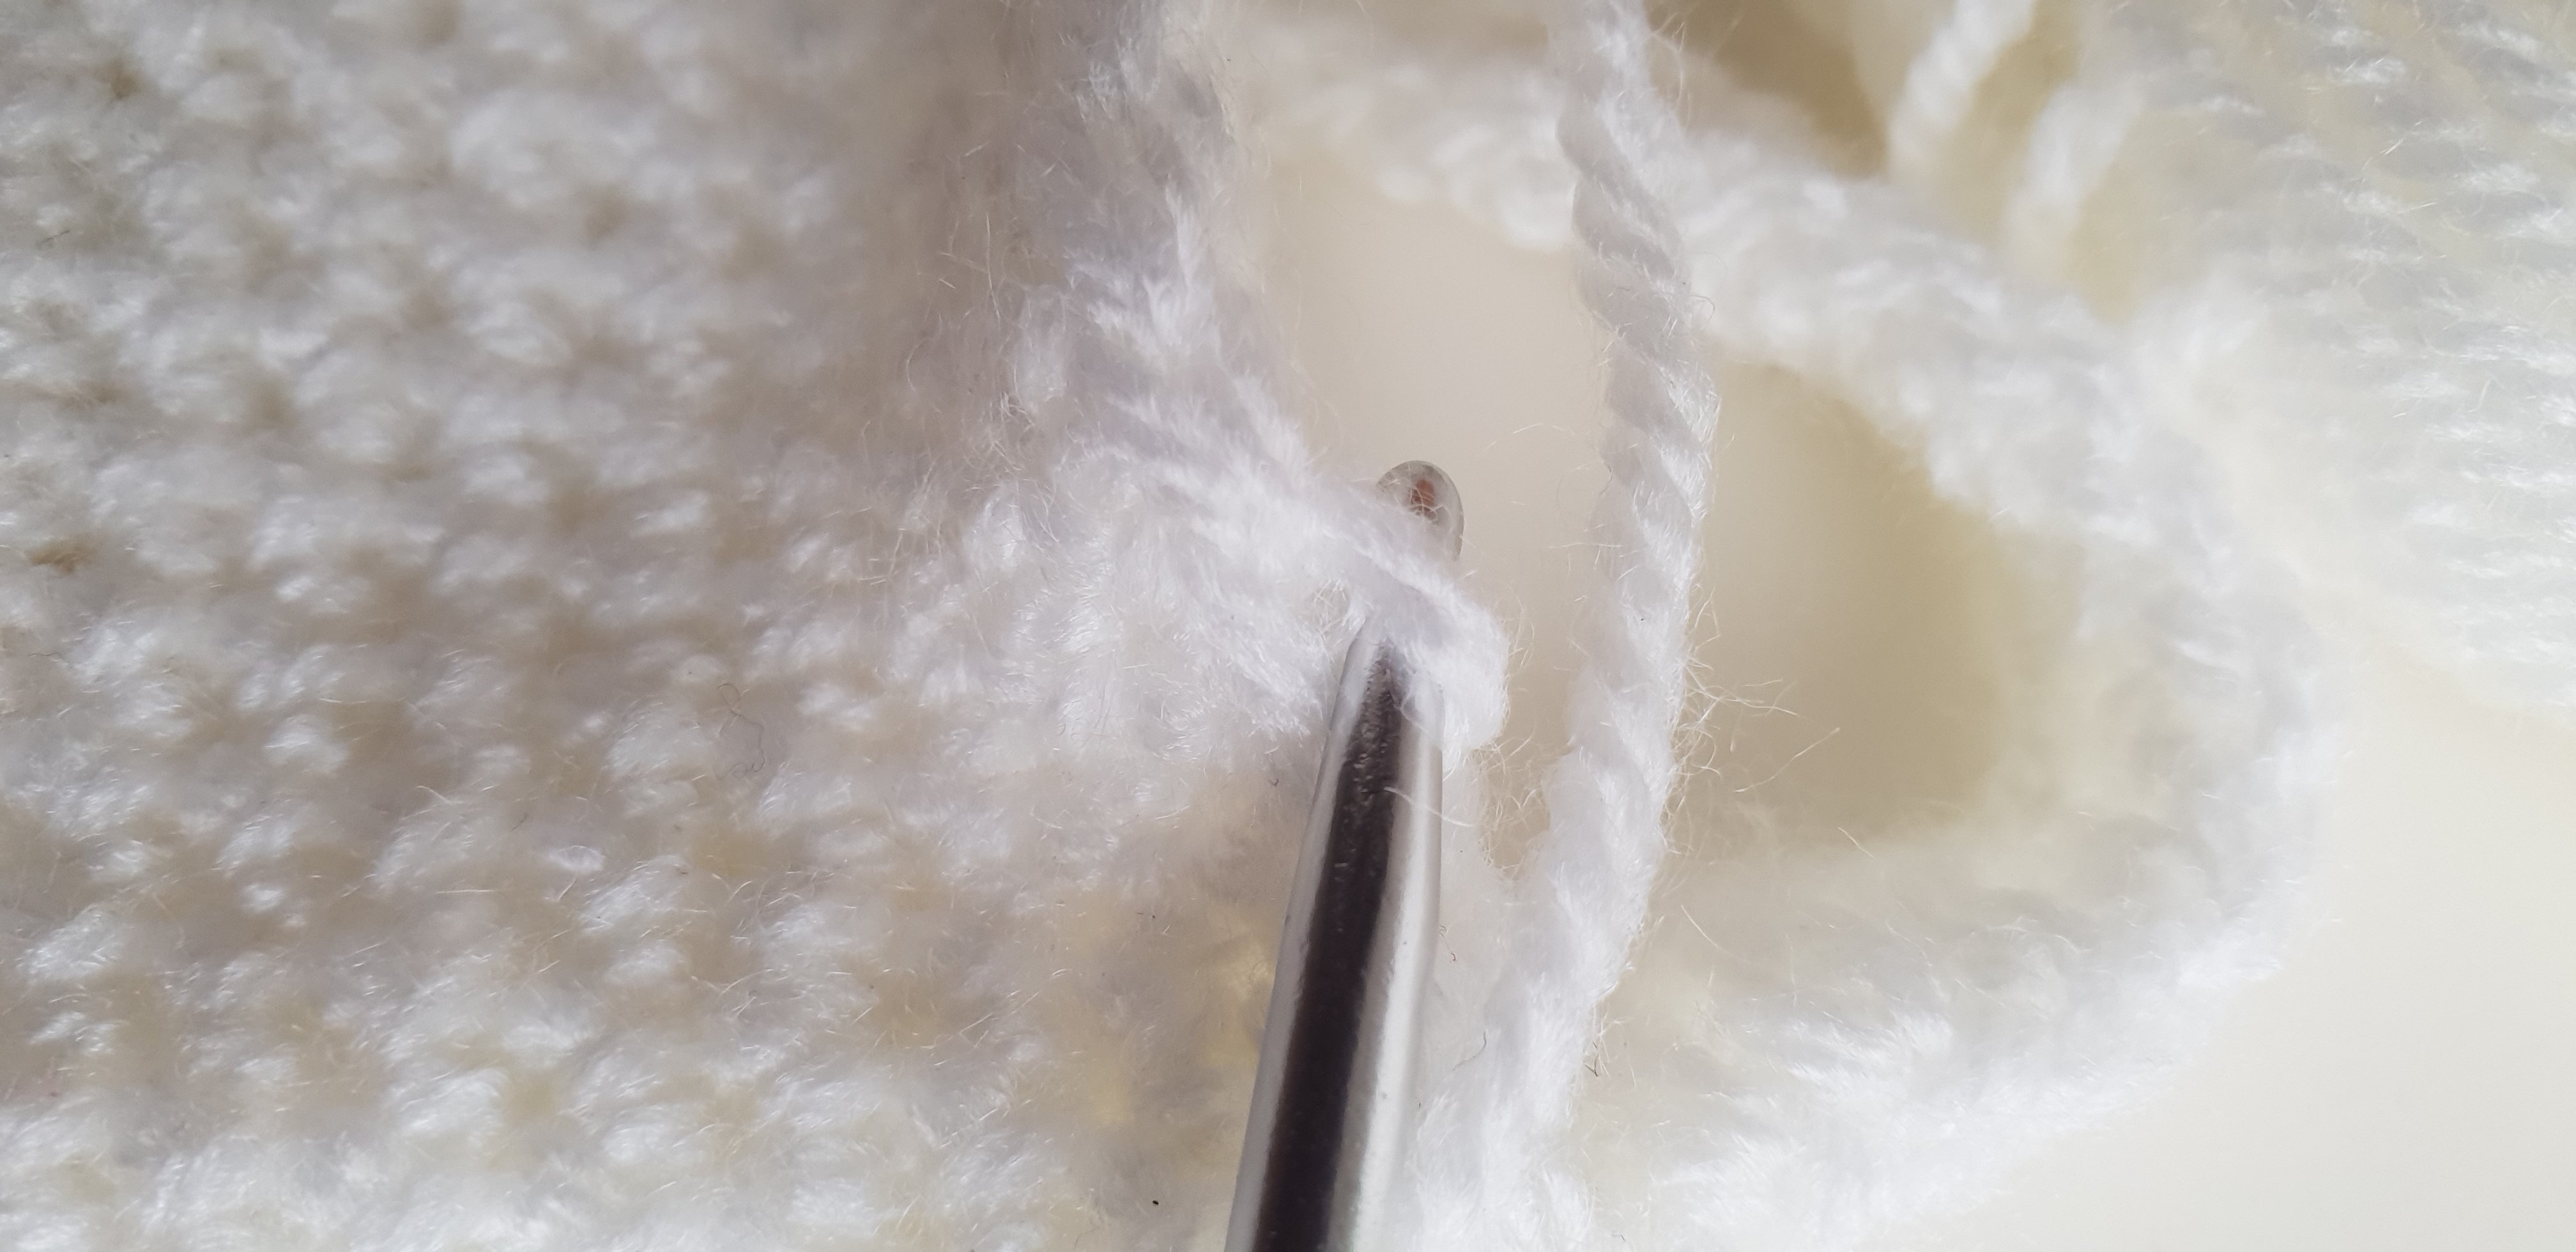
Crochet the two circles together using secure.
Crochet 48 in total.
Do not finish off.
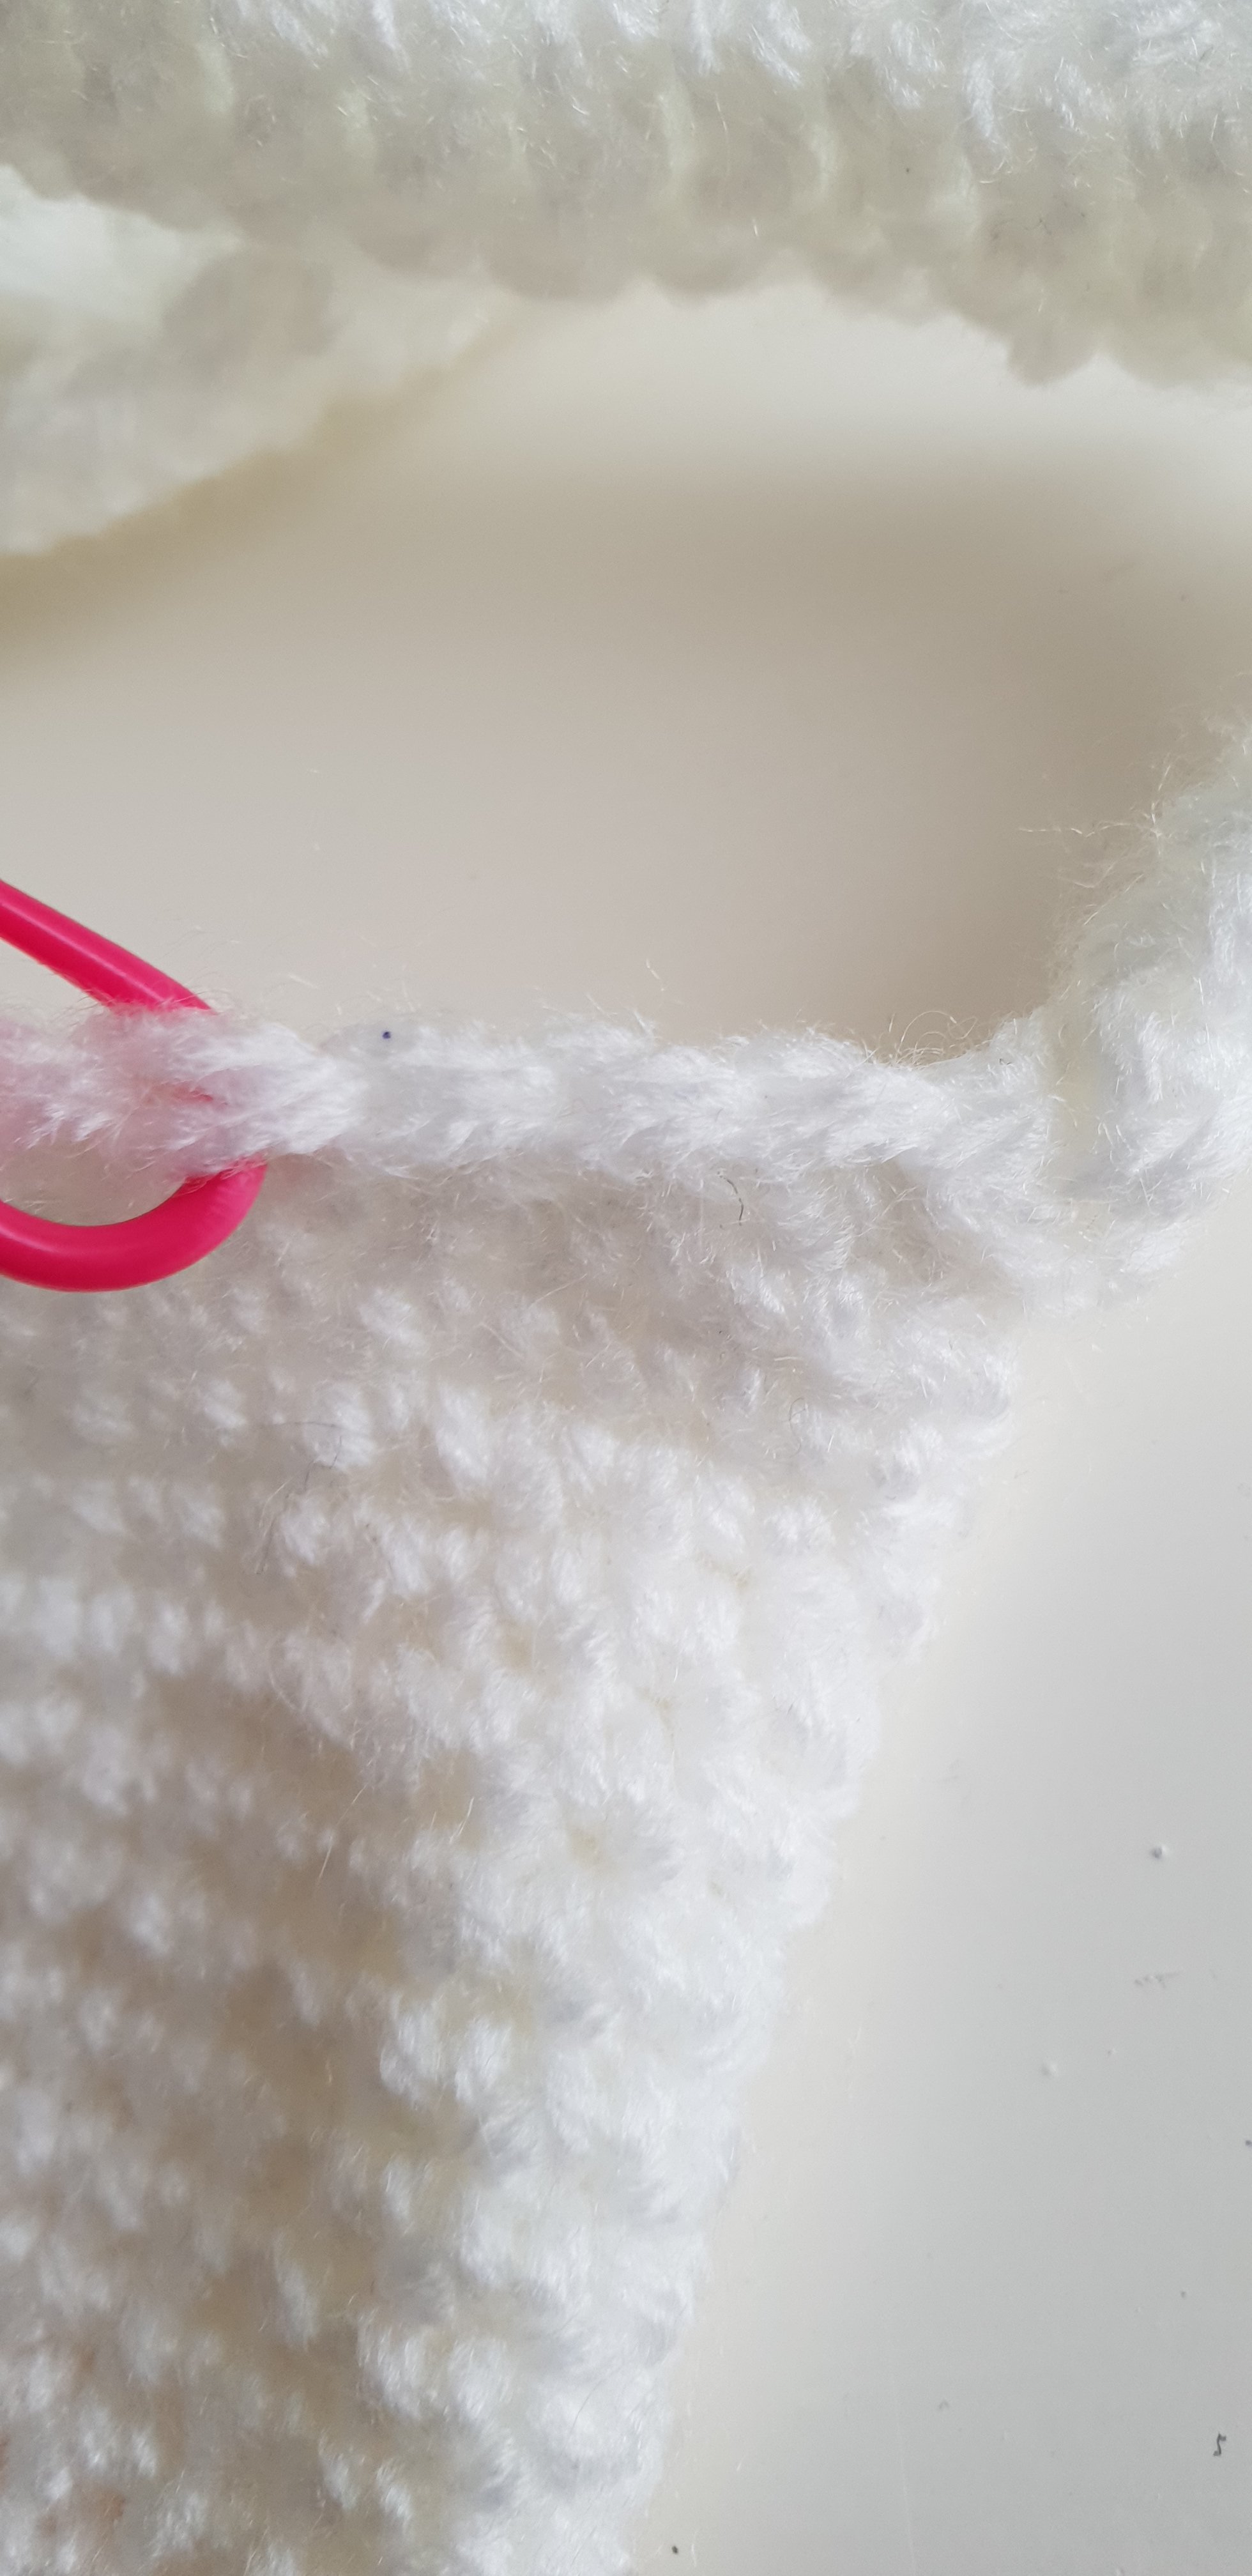
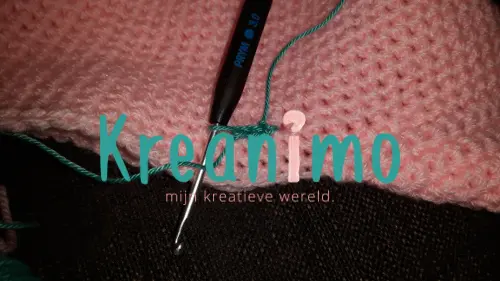
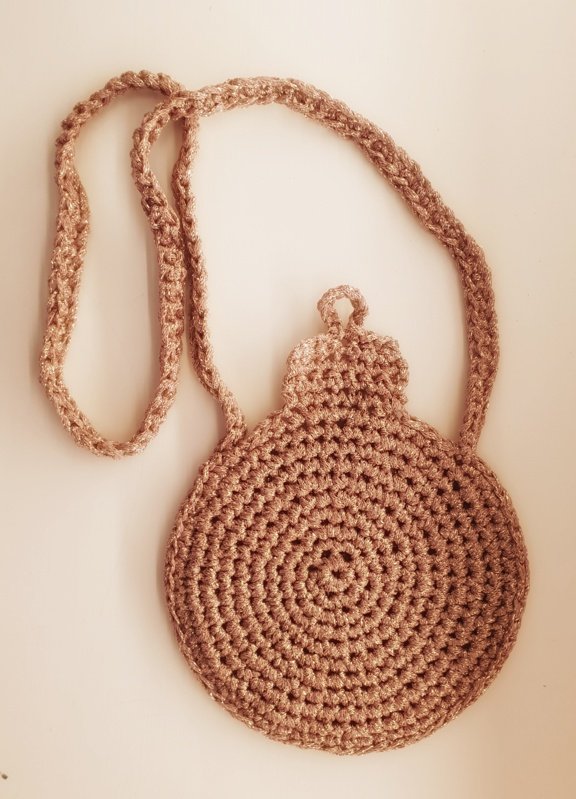
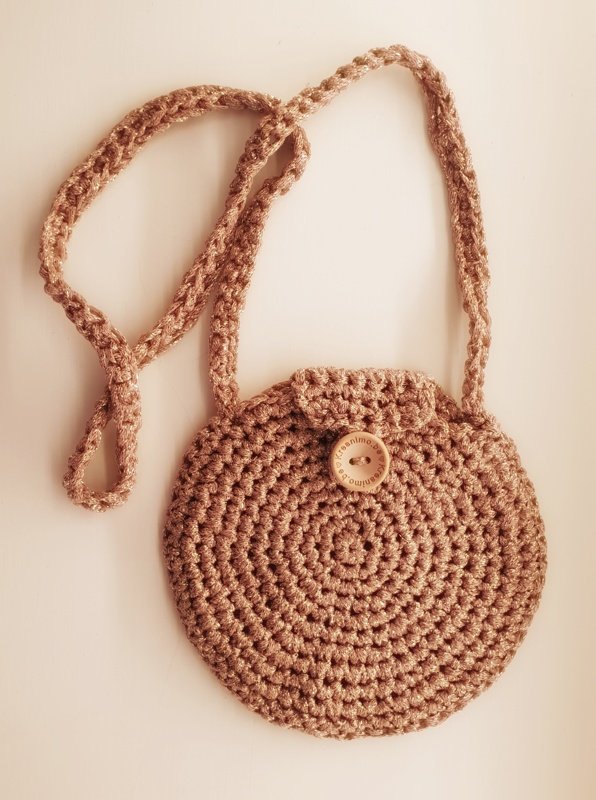
Chain 110. My daughter is 6 years old and this made the shoulder band long enough. I do recommend to measure the child. If you need a longer shoulderband, just add more chains.
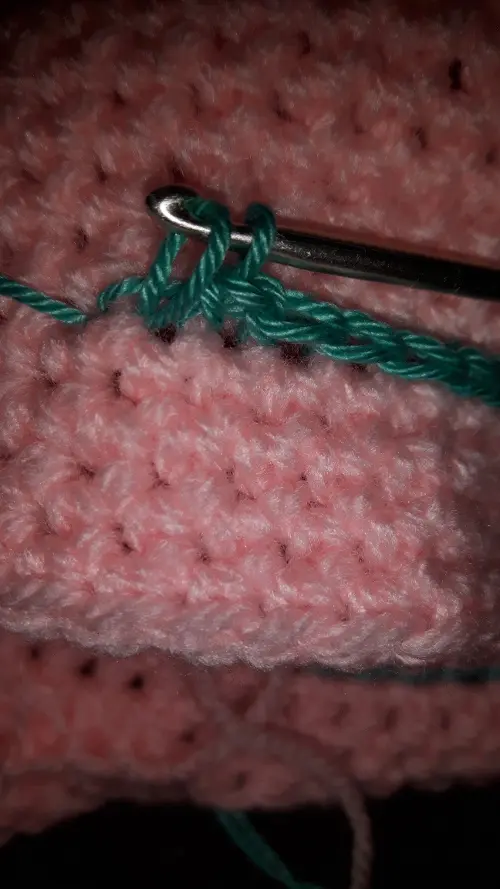
At the end of the chain I turned, starting 2 stiched from the hook.
I crocheted all the way back to the fist chain using secure stitches.
I finished of.
I sew the shoulderband on on the other side using a needle. Make sure the shoulderband is not turned when you do tis.
Start again on one side of the bag, 2 stiches from the shoulderband.
crochet 7 sc – chain one and turn
crochet 7 sc – chain one and turn
crochet 7 sc
Use slip stitches to get to the 4th sc (middle)
Chain 8
Slip stitch in 4th sc
Finish off.
Sew one button on the other side. When you close the bag it is ‘just a round bag’.
When it is open it looks like a bauble.
Let me know if you used the pattern.
You can tag me on instagram!
Take care en tot snel
Liefs Ilse