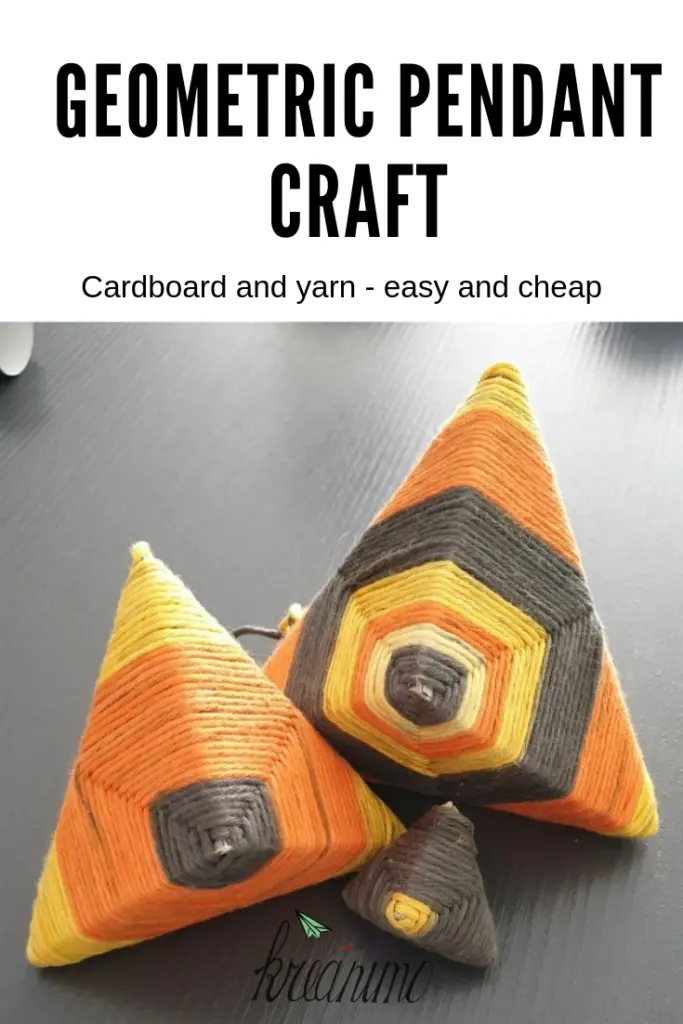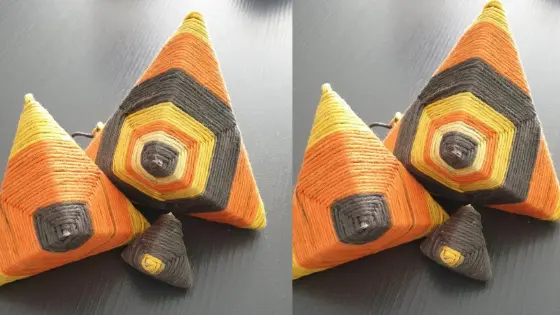
Geometric decorative pendant craft
This is a craft project I used to do as a kid. I have no clue where it came from and I do this by heart! But it is fun and it gets great results, so I really wanted to share this one! Let me tell you how you can craft this geometric pendant.
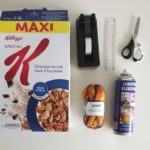
Materials for the geometric decorative pendant?
- cardbord. I love to use empty corn-flakes boxes! They are just flexible enough.
- scissors
- glue (spray)
- yarn
- ruler
- tape
Step by step:
- Open the cardbord box, so you can draw on the inside.
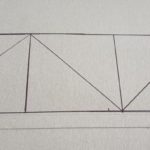
- Draw 3 squares of exact the same size next to eachothers (see picture). The longest side is always 3 times the size of one side of the square.
- Draw the 3 zig zag lines as shown on the picture below.
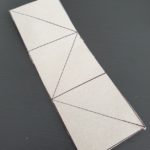
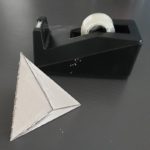
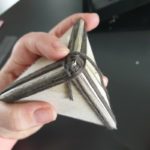
- Cut out the shape you drew
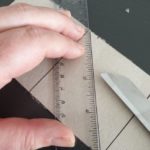
- Go over alle the construction lines with the point of the scissors, That way you can easily fold the shape.
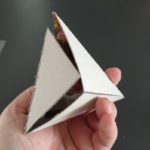
- Fold the shape and tape it.
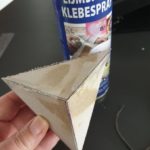
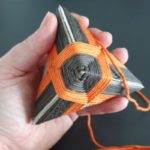
- Spray some glue on the geometric shape.
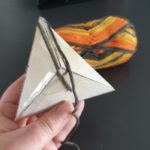
- Start going around the shape with the yarn as shown on the picture. Keep the starting point in mind, if you start at the wrong point, it will not work.
- Spray some more glue at the end so the yarn sticks.
- Plooi dan de geometrische vorm en plak hem met plakband dicht.
- Daarna spuit je wat lijmspray op de punt en begin je het garen rond de vorm te draaien. Bekijk eerst even de tekening en volg de pijltjes. Het is belangrijk dat je op de juiste manier begint.
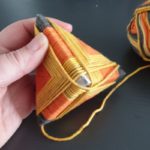
- Leave a long tail if you want to hang the geometric shape as a pendant – You can cut it off shorter if you want to use it to decorate something else.


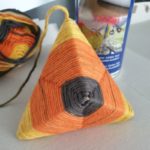
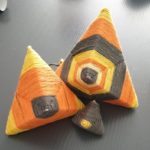
Cheap materials and lovely result!
What do kids learn?
Exact measuring is key!
Pin for later?