Category: Haken

Christmas handbag pattern for children

Christmas handbag pattern for children

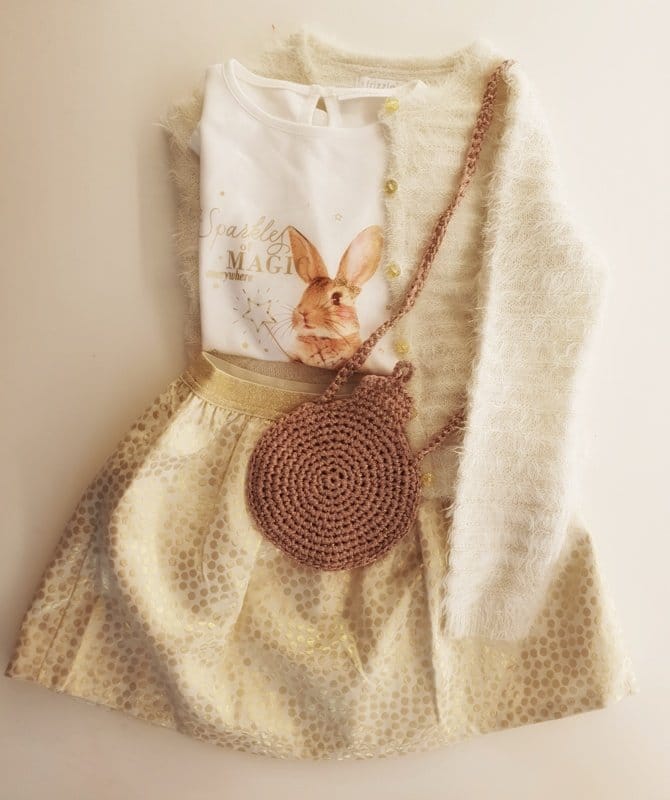
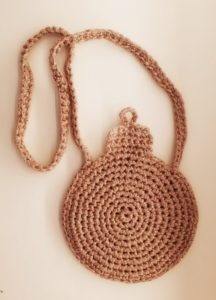
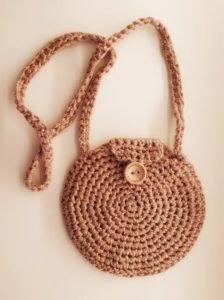
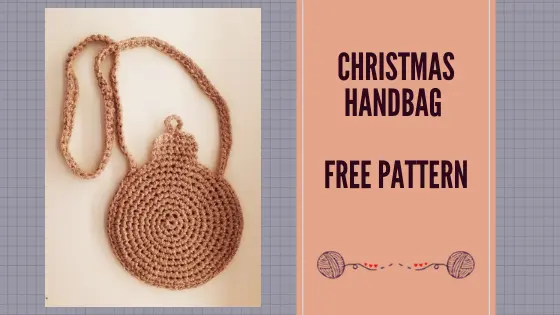
My girls are real ‘girls girls’. They love perfect outfits, accessories and glitter. They chose lovely light colored outfits with gold for the holidays. I still had some lovely glitter yarn that has the perfect color to match the outfits! So I decided to try and crochet a real Christmas handbag with this yarn. The little bags tuned out great and I decided to share with you all. 

Christmas handbag crochet pattern

Christmas handbag materials

Kerstbal tasje haken met Prestige van Lammy

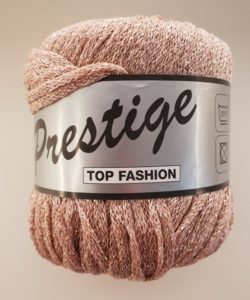
  • I used Prestige yarn. 50 g is 90 meters. (You have some yarn left when the project is finished).
    The yarn is quite bulcky and has glitters. Remember this when you choose another kind of yarn!
  • 1 wooden button
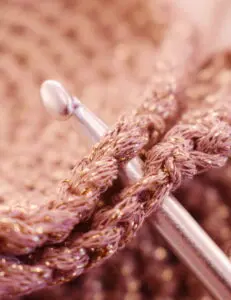
  • Hook 5 (4,5 -5 on the label)
  • Stitch marker – very handy here because you have to crochet a perfect circle!

Christmas handbag free pattern

 I used these stitches UK therms: chain, magic loop , secure, slip stitch.

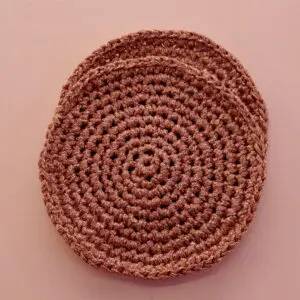
You need two identical circles to start. You connect them later. To get perfect circles it is very important to follow the pattern. If you don’t, you will get corners! 

Perfect circle (you need 2)

R1: 6 sc in magic loop (6)
R2: 2 sc in every sc (12)
R3: (2sc in sc, 1sc) x6  (18)
R4: 1sc, (2sc in sc, 2sc) x5, 2sc in sc, sc (24)
R5: (2sc in sc, 3sc) x6 (30)
R6: 3sc (2sc in sc, 4 sc) x5, 2sc in sc, 1sc (36)
R7: (2s, 5sc) x6 (42)
R8: 4sc (2sc in sc, 6sc) x5, 2sc in sc, 2sc (48)
R9: (2sc in sc, 7sc) x6 (54)
R10: 5sc (2sc in sc, 8 sc) x5, 2sc in sc, 3 sc (60)

Finish off.

Christmas bag - two circles Christmas bag crochet - attach 2 circles

Put the two circles on eachother. Make sure the good sides are on the outside.
Crochet the two circles together using secure. 
Crochet 48 in total.
Do not finish off.
Chain 110. My daughter is 6 years old and this made the shoulder band long enough. I do recommend to measure the child. If you need a longer shoulderband, just add more chains.
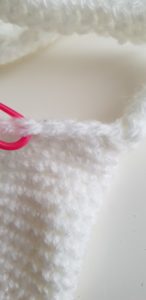
At the end of the chain I turned, starting 2 stiched from the hook.
I crocheted all the way back to the fist chain using secure stitches.
I finished of. 
I sew the shoulderband on on the other side using a needle. Make sure the shoulderband is not turned when you do tis. 

Start again on one side of the bag, 2 stiches from the shoulderband.
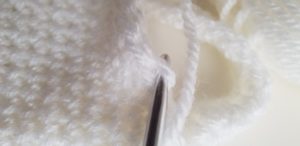
crochet 7 sc – chain one and turn
crochet 7 sc 
Use slip stitches to get to the 4th sc (middle)
Chain 8
Slip stitch in 4th sc
Finish off. 

Sew one button on the other side. When you close the bag it is ‘just a round bag’.
When it is open it looks like a bauble. 

Christmas bag crochet Easy handbag crochet

Let me know if you used the pattern. 
You can tag me on instagram

Take care en tot snel

Liefs Ilse 


Unicorn bag for kids – free crochet pattern

Unicorn bag for kids – free crochet pattern

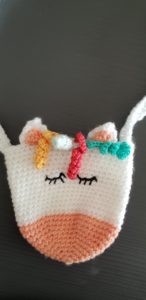
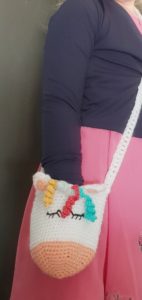
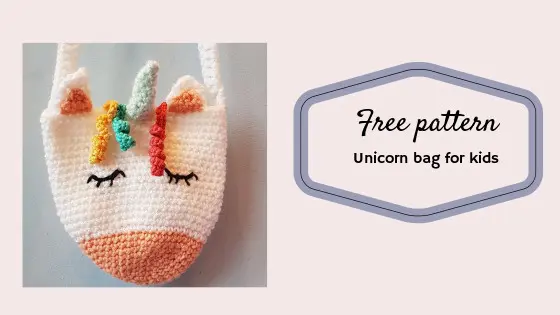
I saw a beautiful unicorn bag for kids on my Pinterst feed. The link brought me to to this etsy store where I could buy it for 20 dollars. Now if there’s anyone who appreciates handmade stuff, it’s me, but this looked so easy I wanted to try and make one, just by looking at it.

Used crochet stitches for unicorn bag

magic loop, chain, single crochet, double crochet, single crochet in back loop, single crochet in front loop, fasten off.

This bag is a short project and perfect for beginning crocheters.

Unicorn bag pattern

Pattern Unicorn bag for kids:

  • Start with magic loop in the color of the nose.
  • R1 – 6 sc in ml
  • R2 – 2 sc in every sc (12)
  • R3- (1sc, 2sc in nest st) repeat until the end of the row (18)
  • R4 – ( 1sc, 1sc, 2 sc in next st) repeat until the end of the row (24)
  • R5 – (1sc, 1sc, 1sc, 2 sc in next st) repeat until the end of de row (30)
  • R6 – 30 sc (30)
  • R7 – (4 sc, 2sc in nest st) repeat until the end of de row (36)
  • R8 – (5sc, 2sc in next st) repeat until the end of de row (42)
  • R9 – 42 sc (42)
  • R10 – (6sc, 2 sc in next st) repeat until the end of de row (48)
  • color change to white
  • R11 to 25 – 48 sc (48) – Do NOT fasten off!

ch 120
1 dc in 2nd chain from the hook
118 dc
sc in sc where the chain started – fasten off.

Count 24 stitches to the right and put a stitch marker in that one.
Sew the shouder belt to the other side. Make sure it’s straight.

Unicorn bag ears

Put the bag flat on the tabel and count three stitches to the the left of the shoulder belt and put a stitch marker in those stiches.

Attach white yarn in the marked stitch and crochet 5 sc in the back loops.

Crochet 1 chain and turn
Crochet 5 sc (in both loops from now on) – 1 ch and turn
Crochet 2 sctog, 1 sc, 2sc tog – 1 ch and turn
Crochet 3 sc. – 1 ch and turn
Crochet 3sctog – fasten off

Put the back flat on the table again. Count 8 stitches from the shoulder belt to the right.
Attach white yarn and crochet 5 sc in the backloops.

Crochet 1 chain and turn
Crochet 5 sc (in both loops from now on) – 1 ch and turn
Crochet 2 sctog, 1 sc, 2sc tog – 1 ch and turn
Crochet 3 sc. – 1 ch and turn
Crochet 3sctog – fasten off

Attach the pink yarn in the front loop (in front of the white ear you just made). Make sure you start one stitch further than where the white triangle started.
Crochet 3 sc in the front loops.

crochet 1 ch and turn
crochet 3 sc – 1 ch and turn
Crochet 3sctog and fasten off

Repeat from “Attach the pink yarn in the front loop) on the other side.

Sew the pink part onto the white part of the ear. Make sure you don’t see this at the back of your white ear.
Weave in all ends.

Unicorn bag – ears

Crochet 3 sc in ml
Crochet a sc in every sc (3)
Crochet 2 v in sc, crochet 2 sc  (4)
Crochet 2 v in sc, crochet 3 sc (5)
Crochet 5 sc (5)
Crochet 2 sc in sc, crochet 4 sc (6)
Crochet 2 sc in sc, crochet 5 sc (7)
Crochet 7 sc
fasten off

Sew the horn onto the front, in the middle of the two ears.

Unicorn bag – hair:

Attach yarn in a color you want and ch 20.
Crochet 2 sc in every ch. The curls come on their own that way.
Crochet a slip stitch in the sc your starte and fasten off.

Repeat as many times as you want. I chose to attach 3 colors.


Unicorn bag the eyes

Sew the eyes with black yarn. Make sure to put your bag flat on the table so you put the eyes on the same hight! Eyelashes complete the look! 😉

The bag is ready to magically put some smiles on some kids faces!
The pattern can be used, but please link back to this post and give credit.
Let me know if you finished it, I’m so curious!

Maybe you would like to crochet te troll head too? Check out the pattern here.

Take care and see you soon

love Ilse
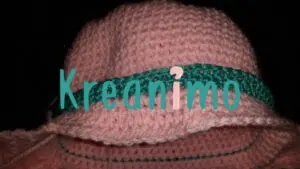
 

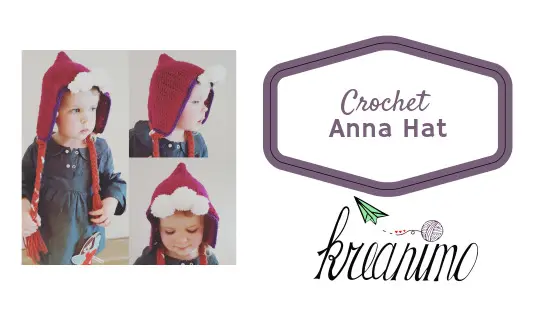
Anna hat crochet pattern – easy pattern for beginners!

Anna hat crochet pattern – easy pattern for beginners!

A while ago a crocheted an Elsa hat, by now my daughters have grown out of that one. So the time had come to crochet another hat. This time I chose an Anna hat. I saw on someone’s instagram stories a hat like this and asked how it was made. (So sorry I forgot who it was, I follow a lot of crochet people, so if you see this and you think: hey, that was me, give me a yell and I’ll give you credit! ).
I didn’t get the pattern, there was none, but she did tell me how to start and what to do.

I still had the right color in Bravo yarn and I used a 4mm. hook. These are USA crochet terms!

Anna hat – part 1

I started with a 35 chain, but that way the hat turned into a giant Anna hat! So I frogged it all and started over.
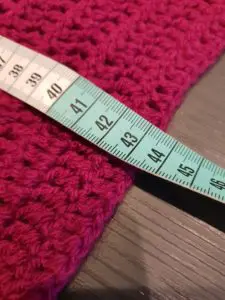
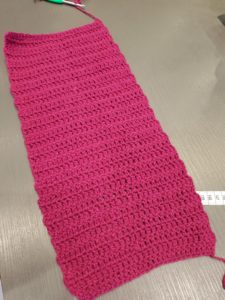
This time I chained 30 stitches and crocheted rows of double crochet up and down util the rectangle was 43 cm. long. I folded the patch in half and measured on a hat one of the girls that still fits very well. That way I had an indication it the hat was turning out ok.
You can make the hat smaller by starting with less chains and/or making the rectangle smaller. Use a hat that fits to make sure that is isn’t turning into a giant hat!

Anna hat step 2: fold in half

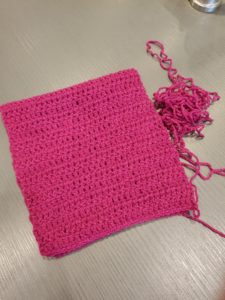
I folded the rectangle and closed one side using single crochet stiches.
I changed color to dark purple and crocheted aroud the border with single crochet stitches two times. You can finish off by now!

Anna hat part 3: the braids

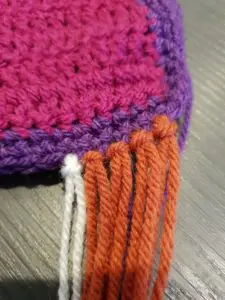
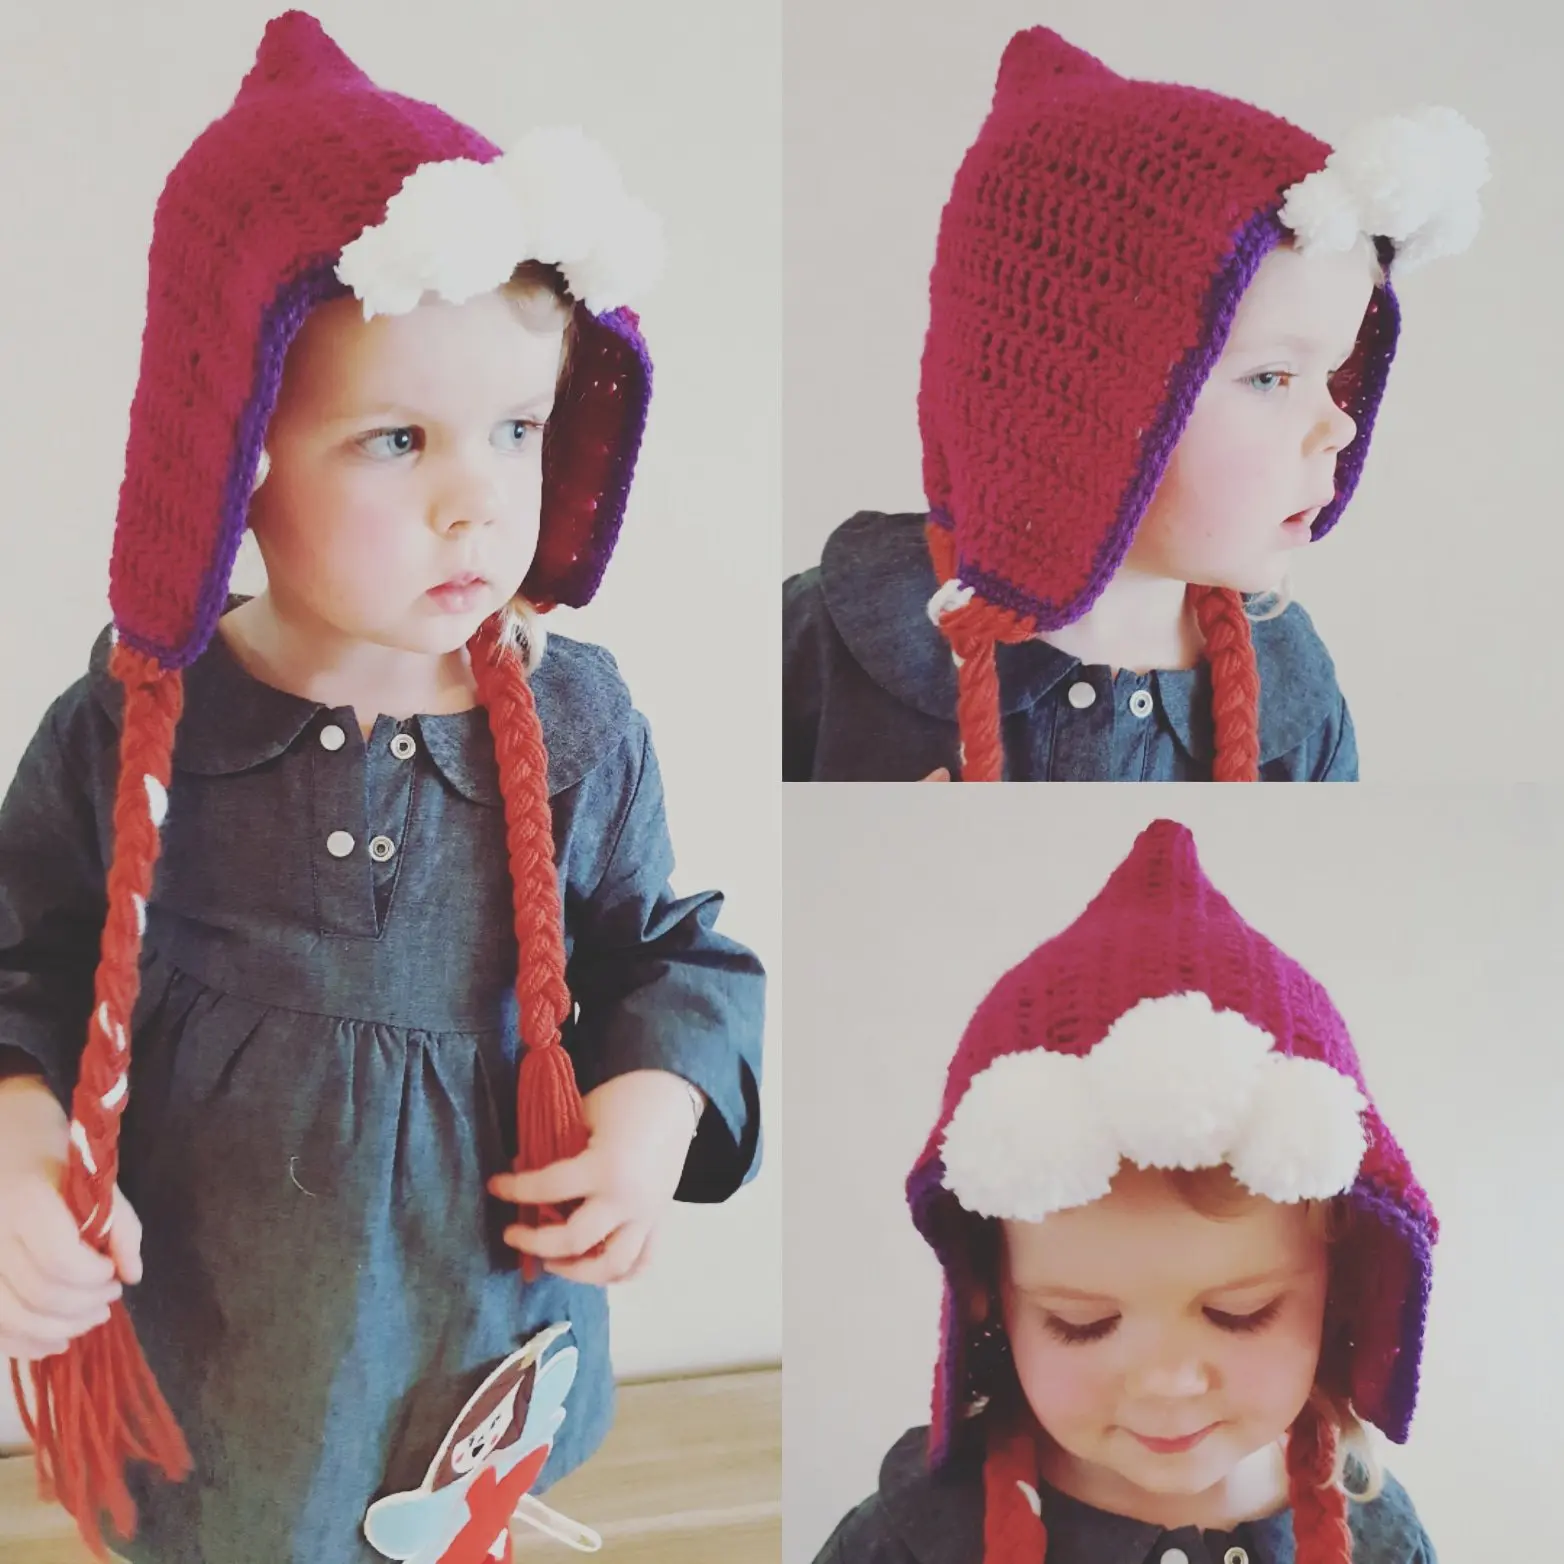
I used brown and white yarn to attach to the sides. These strings will be braided into the two braids Anna has! The white yarn is for the string of white hair Anna gets when Elsa touches her heart with her ice magic.
Make sure the strings of yarn are long enough. Mine were almost 1m. That was a bit too long though. But I’m always scared that the strings will be too short, so that’s on me! 😉
Each side got 15 strings.


Anna hat – braiding

Make a braid on each side of the hat.

Anna hat – pompons

I made 5 pompons that had to look like ‘fur’. I made them a bit too large though. Make them a bit smaller! 😉

And now: anna in the house!


anna muts

This Anna hat can be used for dressing up, but my daughter already took it too school!
If you make it in red yarn, it can be a red rindinghood too by the way!

I also have this pattern to add to your kids collection:

Princess Poppy hat – free chrochet pattern crea-cross

Fox Poncho for kids – free crochet pattern


Take care and happy crocheting!
If you have any questions: shoot!

Greetings from Belgium!
Ilse
Fox Poncho for kids – free crochet pattern

Fox Poncho for kids – free crochet pattern

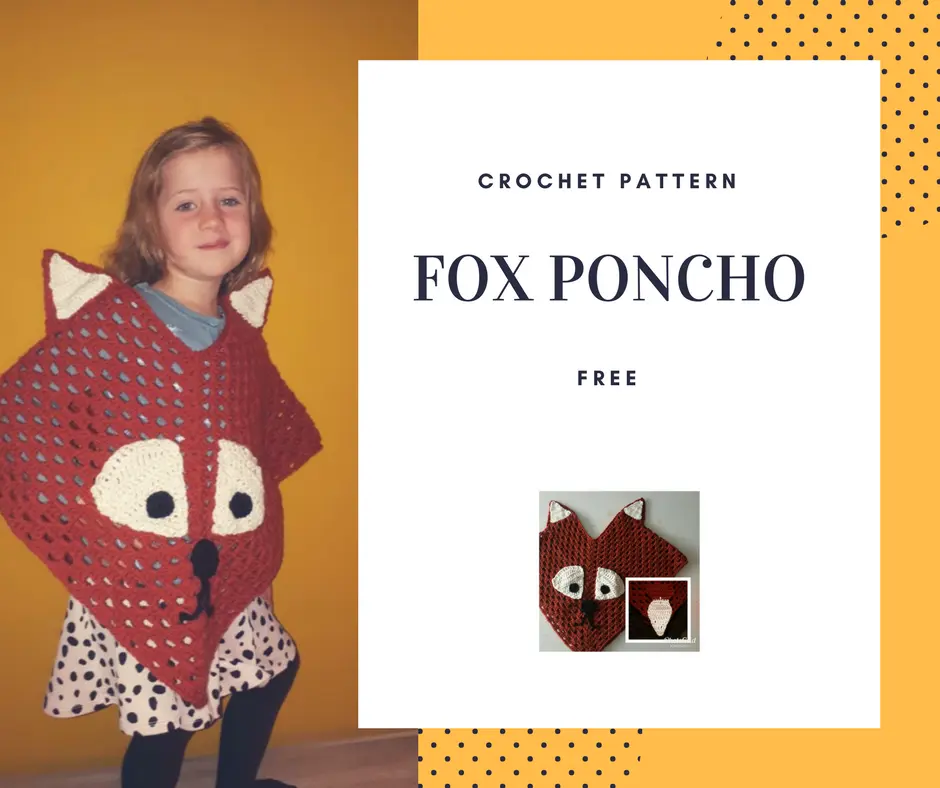
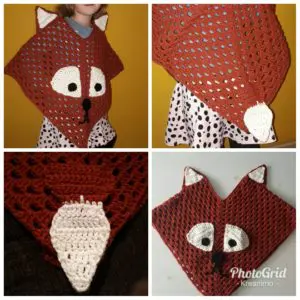
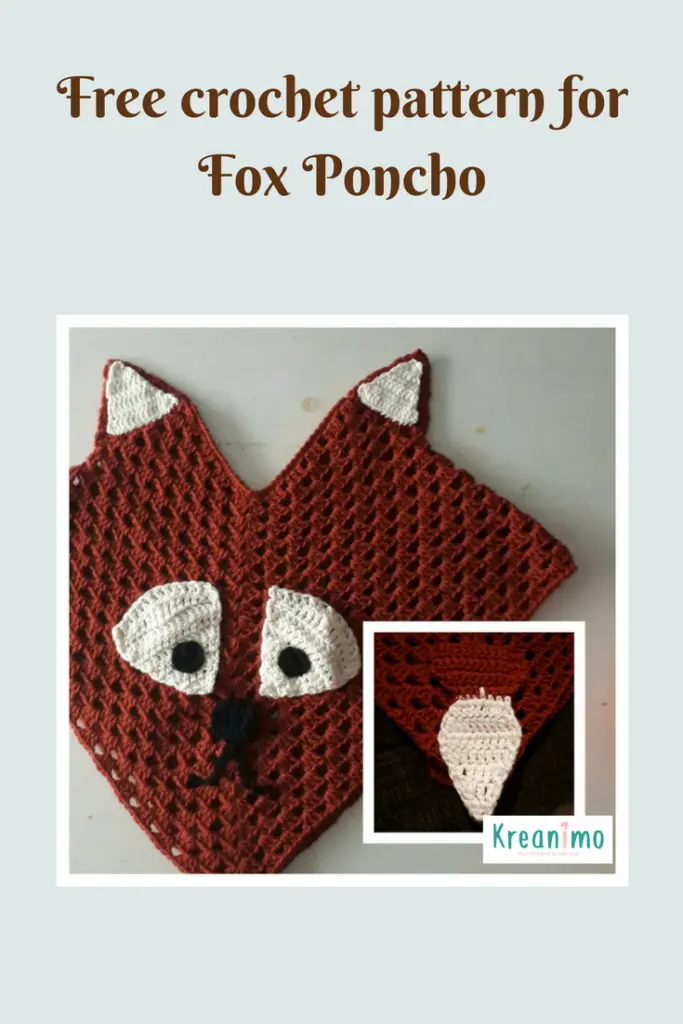
Sometimes an idea pops into my head and I just have to start crocheting! This is what happened when I took al look at the poncho of my daughter. I noticed the shape of it looked like a fox head! So I got the idea to turn the poncho into a fox poncho.
I wrote the pattern down for all of you! Happy crocheting!

Materials (5 year old size 116)

Lana Red ochre (for hook size 6.5) – Wool en acrylic – 250 g/450 m. This was a very larg skein, so one was enough
Lana ecru
Leftover black yarn for hook size 4
Hook size 5.5
Hook size 3
Needle
Scissors

Pattern fox poncho

Basic poncho (with hook size 5,5)

  • Crochet a chain of 72. (or a muliple of 8 that fits)
  • Close the chain with with a slip stitch. Be careful that the chain is not turned.
  • Sc in every ch (72)
  • Start the granny stitch
    Granny stitch = 3 dc, 1 ch (skip one)
    Put a stitch marker in st 18 and 56 – you are going to increase in every row in these stitches.
    Go around with the granny stitch.
  • Keep going until your poncho has the right length – end with a slip stitch.
  • fasten off

White parts

(Crochet 2 with hoog size 5.5)

  • Ch 4, 1dc in 1 st ch. – turn
  • 2dc – 2 dc (4dc) – turn
  • 2 dc in 1st st – 2 dc – 2dc in last st (6dc) – turn
  • 2 dc in 1st st – 4 dc – 2dc in last st (8dc) – turn
  • 2 dc in 1st st – 6 dc – 2dc in last st (10dc) – turn
  • 2 dc in 1st st – 10 dc – 2dc in last st (12dc) – turn
  • 2 dc in 1st st – 12 dc – 2dc in last st (16dc) – turn
  • 1 sl st – 1 sc – 1 hdc – 2 dc – 2 tr – 2dtr -2tr -2dc- 1hdc- 1 sc – 1 sl st (16 st)
  • fasten off

Nose for fox poncho

(hooksize 5,5)

  • 8 sc in ml
  • 2 dc in every sc (16)
  • 2 dc in 1st st, 7 dc, 2 dc in last st.  (18)
  • fasten off

eyes Fox poncho

Hooksize 3 – black yarn

  • 8 sc in ml
  • 2sc in every sc (16)
  • fasten off

Mouth fox poncho

Ch 25 – fasten off

Ear Fox Poncho

Crochet 2 in orange/red yarn (hooksize 5,5)
Crochet 2 in white (hooksize 3)

  • ch 2
  • 1 sc in 2nd loop from the hook – turn
  • 2 sc in sc – turn
  • 2 sc in every sc (4)
  • 2 sc in 1st st – 2 sc – 2 sc in last st (6) turn
  • 2 sc in 1st st – 4 sc – 2 sc in last st (8) turn
  • 2 sc in 1st st – 6 sc – 2 sc in last st (10) turn
  • 2 sc in 1st st – 8 sc – 2 sc in last st (12) turn
  • 3 sc in 1st st – 10 sc – 3 sc in last st (15)
  • Fasten off

Tail fox poncho

Start with orange/red in hooksize 5,5 – every row has a ch to turn.

  • Ch 14
  • 1 dc in 2nd st from the hook – 1 dc in every next st (13) turn
  • crochet 4 rows of 13 st
  • dc2tog- 9 dc – dc2tog (11)
  • dc2tog – 7 dc -dc2tog (9)
  • dc2tog – 5 dc – dc2tog (7)
  • change to white yarn
  • 2dc in 1st st – 5 dc – 2dc in last st (9)
  • 2dc in 1st  st- 7 dc – 2 2c in last st (11)
  • dc2tog – 7 dc – dc2tog (9)
  • dc2tog – 5dc – dc2tog (7)
  • dc2tog – 3dc – dc2tog (5)
  • dc2tog – 1dc – dc2tog (3)
  • dc3tog

Put the poncho together:

Put the eyes on the 2 white pieces.
Put the 2 white parts on the front of the poncho so it looks like a nose bridge.
Put the nose between the two tips of the white parts.
The chain for the mouth should have the middle part against the nose.
Sow the white ear part on the brown – Sow them both on the shoulders of the poncho.
Sow the tail on the back of the poncho? make sure the tail doesn’t stick out too much.

Ready!

Pin for later:

fox poncho

Happy crocheting

Broomstick stitch: infinity and beyond scarf – crea-cross

Broomstick stitch: infinity and beyond scarf – crea-cross

Summer scarf

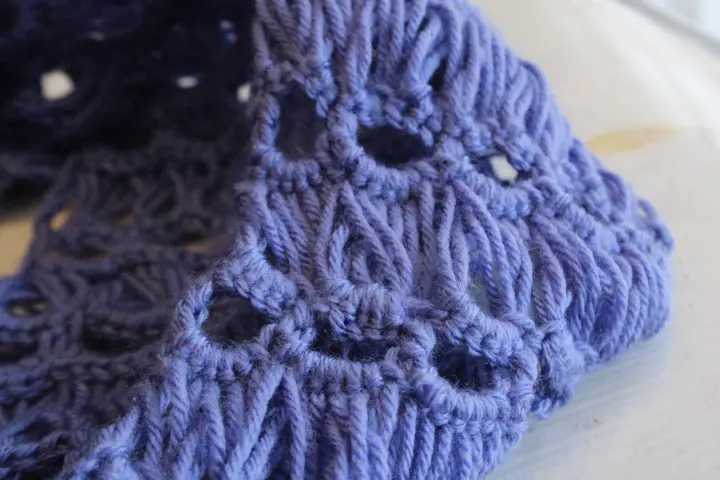
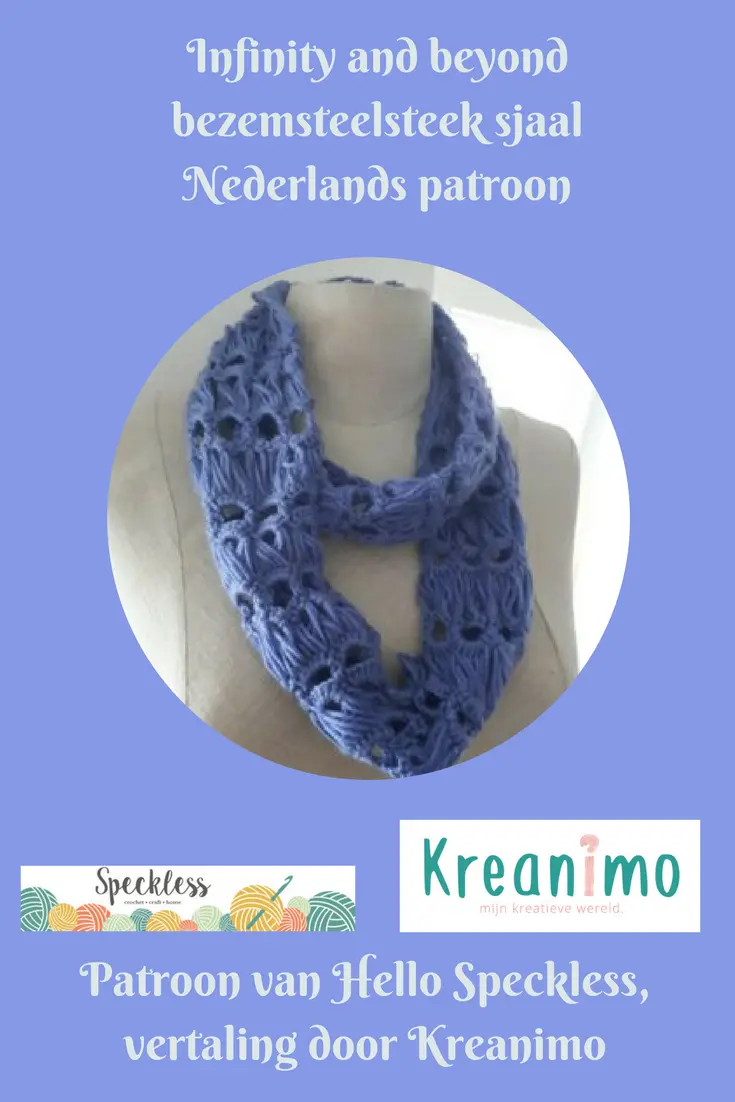
I was looking for a summer scarf and found a lovely pattern called the infinity and beyond broomstick scarf.  I never heard of the broomstick stitch when I made this scarf.  I had to google to know what it was exactly.  The broomstick stitch is made with a very large hook. I used 35 (no, not 3,5 – really 35 )
Often even thicker sticks are used… hence the broomstick stitch! 😉
What’s is a name! 😉

Broomstick stitch

The pattern of the Infinity and Beyond

This is not my pattern en just copy pasting is not the way to go!  I asked Heidi, who did write down this pattern if it was oké to translate the pattern for my Dutch readers.  She was oké with it.  So here, on the English translation of this article I will link back to her, so you can find the English pattern and all other pattern specifications over there.
If you are Dutch or Belgian and you want the translation, just click on the translate button on my blog and it will take you to the right place to read the Duch version of the pattern!

broomstick stitch
Pattern design by Heidi of Hello Speckless – translated by Ilse on Kreanimo
[inlinkz_linkup id=721636 mode=1]


Purse – wishbag – crochet pattern – crea-cross Tiny
Purse – wishbag – crochet pattern – crea-cross Tiny
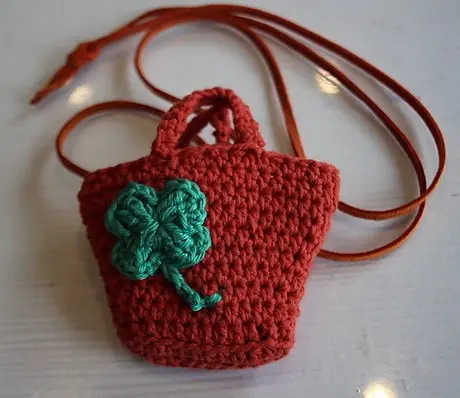
Purse – wishbag crochet pattern

A while ago I had a friend who needed to be sheered up a bit.  She needed some luck.  On Ravelry I vout the pattern of Shana at the Chris and Shana’s craft shack.
Shana made a little bag that could be used to wrap presents in.  So cute!
I made the bag even smaller and made it into a wishbag.  A little purse you can wear around your neck with your dearest wish inside, to wear close to your heart!

When the wishbag was finished, I gave it to my friend and posted a picture in my Ravelry gallery. Shana liked it and asked if she could use my picture as a featured picture.  I felt honored, so I said she could.
I asked her if I could translate the pattern into Dutch and post in on my own blog.  She like the idea, but I never go round to it.
Today the tiny wishbag fits the prompt of the linkparty, so I made the time to translate it – finally! 😉

wishbag

The petite purse pattern – wishbag

Here at the English post, I’m nog going to translate the pattern! 😉
If you love this little purse as much as I do or if you’d love to make a wishbag too, you can find the pattern here.

Happy Crochet time!

Pin the pattern for later?

You can pin this picturen for later on if you wish.  🙂

wishbag

Broomstick stitch: infinity and beyond scarf – crea-cross

[inlinkz_linkup id=701658 mode=1]

Princess Poppy hat – free chrochet pattern crea-cross

Princess Poppy hat – free chrochet pattern crea-cross

 Dress-up like Poppy

If you haven’t seen the movie yet: shame on you! 😉
Such a lovely movie!  And even boys can enjoy Glitter with is glitter farts! 😉
Since we’ve seen the movie my oldest daughter is really into Trolls.
I found some patterns online how to crochet a Poppy hat already, but when you put eyes on the hat, the kids who puts in on his head seems to have four eyes from where I was standing.
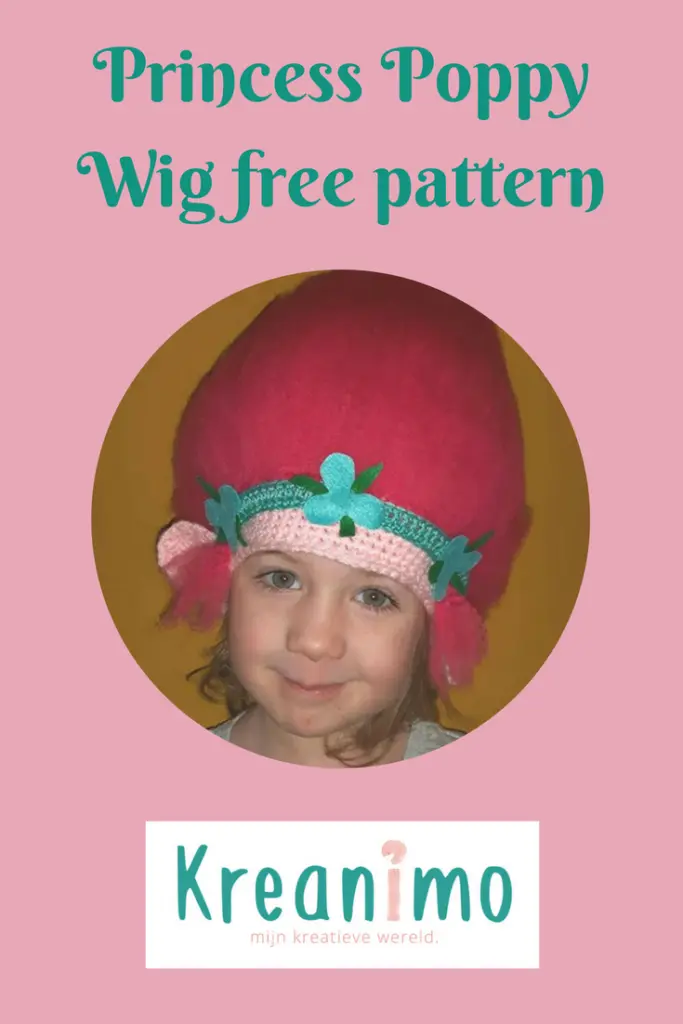
So I started to crochet my own Poppy hat … today I’m going to share the pattern with you all:

Princess Poppy hat dress-up:

Princess Poppy hat

I crocheted two hats for my girls ( 2,5 years and 4,5 years old!)
I used a 4,5 mm. crochet hook. (G-size)

Princess Poppy hat – 3 to 6 years old

R1: 8 sc in magic loop (8)
R2: 2 sc in every st (16)
R3: [1 sc, 2 sc in next st.] 8 times  (24)
R4: 1 sc in every st (24)
R5: [sc in next sc, 2 sc in next sc] 12 times (36)
R6: sc in every sc (36)
R7: [sc in next two sc, 2 sc in next sc] 12 times ( 48)
R8: sc in every sc (48)
R9: [sc in next 2 sc, 2 sc in next sc] 12 times(60)
R10: sc in every st (60)
R11: [sc in next 4 st, 2 sc in next st] 12 keer (72)
R12-28: sc in next 72 st

Ears of the Princess Poppy hat

The first ear starts where you stop with row 28 of the hat.
The ears are crocheted in row.
R 1:1 ch,14 sc in next st. (15)
T2-6: 1 turning chain and 1 sc in al 15  st. (15)
T7: 1 turning chain, 2sctog, 11 sc, 2sctog
T8: 1 turning chain, 2sctog, 9 sc, 2sctog
T9: 1 turning chain, 2sctog, 7 sc, 2sctog
T10: 1 turning chain, 2sctog, 5 sc, 2sctog
T11: 1 turning chain, 2sctog, 3 sc, 2sctog
T12: 1 tuning chain, 2sctog, 1 sc, 2sctog (3)
finish off

Skip 25 on the left of the first ear and  reattach – repeat the part of the ears a second time.

Fold the ears upwards and the to the front.  The edge of the backside of the ears is on the edge of the hat that way (see the pictures)

Crochet the 2 folded parts of the ear to the edge of the hat with 4 secure stitches.

Hairband

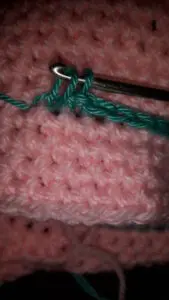
Count 5 rows from the edge of the hat and attach the color of the headband.
Crochet through the stitches of the 5th row a chain around the hat.
The second row of the hairband you crochet one secure in every stitch.
You finish the hairband with one double crochet in every secure stitch.


Hair

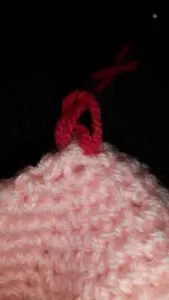
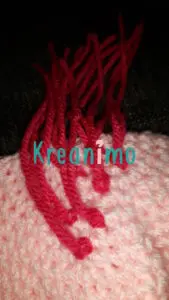
Cut pink yarn in pieces of 20-25 cm en put them into the stitches of the hat.
The first that I made, I made way too many strings.  It works with less too!

If you have enough of them, you have to unroll the yarn in the seperate threads of the yarn.
When every string of yarn is unrolled into into seperate strings you can brush the troll hair with a dog comb. (works best!)

At the front you can attach a few pieces too, because Poppy has some strings of hair that fall next to her ears.

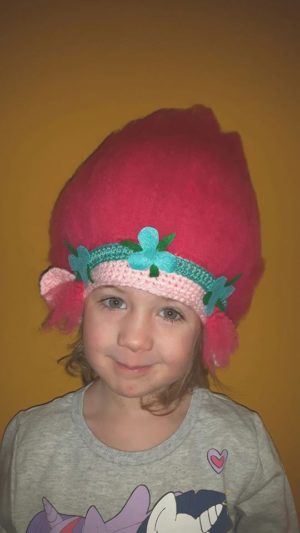
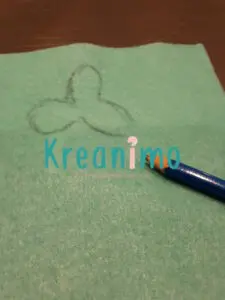
Details of the Princess Poppy hat with felt.

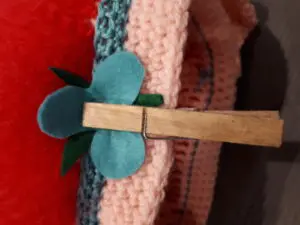
I cut some flower petals from colored felt and glued them onto the hairband with textile glue.
That way, the hat looks like a real Poppy hat!

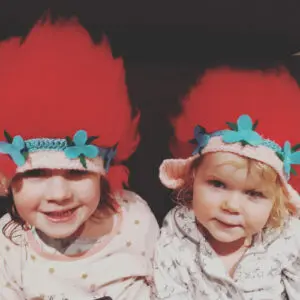
Mommy I want a Princess Poppy hat too

And yes, when you finally finished the first hat. (Finally, ’cause the hair does take a while!), the youngest wanted a hat too…
Oh well, it looks so cute!

When they were both finished the girls were in their pyjama’s, just out of the bath tub… but they just had to do a fitting session! 😉

verkleden als poppy

Next week’s prompt is ‘on the road’

As easy as this weeks challenge will be, as hard will be the next one!  I’m really curious what you will all link this week and next week!

Enjoy!

Save for later?  Pin this picture:

Princess Poppy hat

Maybe you would like the unicorn bag for kids too? You can find the pattern here. 

The Anna Hat is another free pattern on my blog. 

Barbie hat – crochet in round.

Barbie hat – crochet in round.

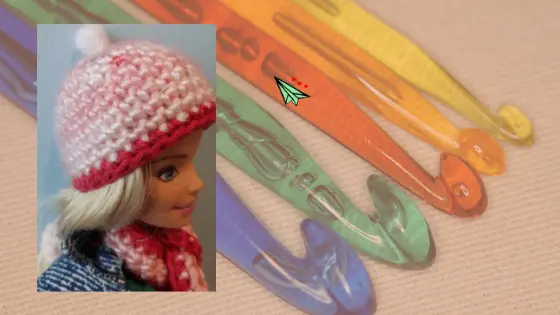
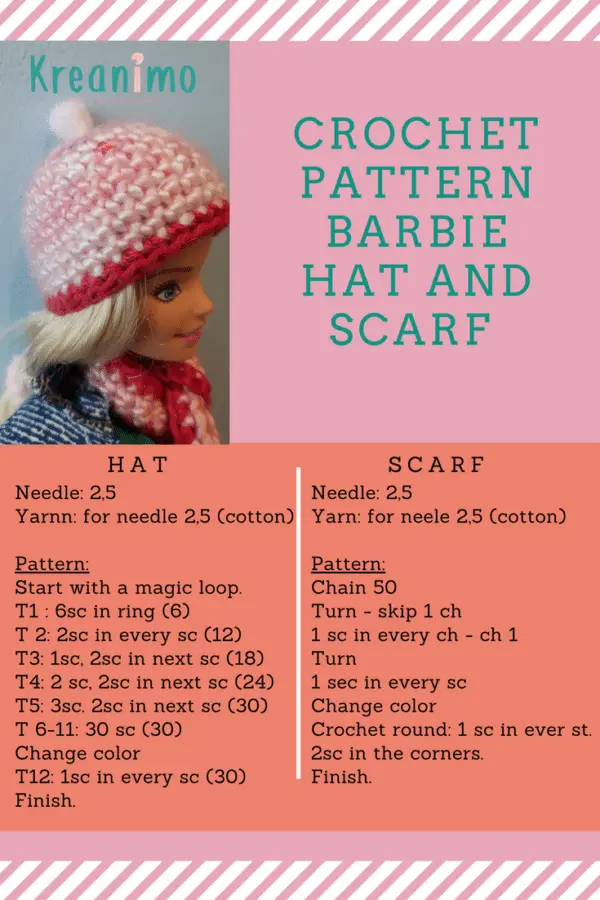
When I was young, one of my aunts was great at knitting! She knitted all kinds of clothes vor my Barbie doll. I thought, now I can crochet, it must be doable to make some Barbie clothes as well. I started with a Barbie hat and scarf:

A Barbie hat and scarf.

When you crochet amigurumi, you work in circles, so in the round.
This hat isn’t an amigurumi, but I did crochet in circles!  The Barbie doll of my daughter got a lovely little hat and scarf.
The pattern is uper easy and every beginner can try this! It’s really a piece of cake!

Those little projects are ideal for leftover yarn… very ecological!

With the thread of the magic loop I sew a little craft pompon on top of the Barbie hat for the finishing touch!

[inlinkz_linkup id=691104 mode=1]